Einleitung
This guide shows how to open your tablet to replace the back case. Please be careful in following all instructions provided. You don't want to damage anything.
Was du brauchst
-
-
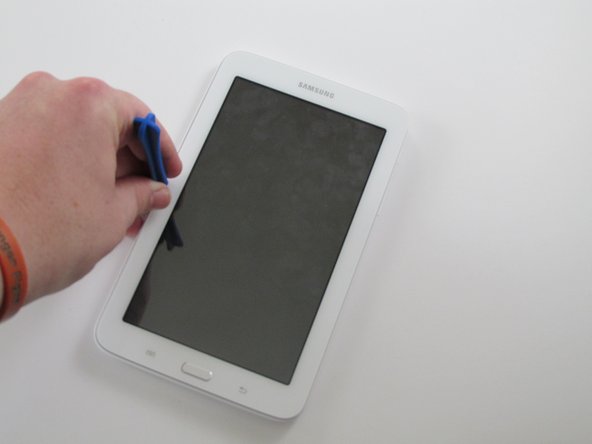
Using a plastic opening tool, wedge in the seam between the screen and the case.
-
Rock the tool by moving it towards and away from the middle of the screen, trying to separate the tape holding the screen and case together.
-
This is a long process, so don't try and rush it. Also, be careful about applying pressure.
-
-
-
-
After separating the tape holding the screen and case together, slowly start taking the screen off the case from the opposite side of the side with the buttons
-


To reassemble your device, snap the screen into the case.
To reassemble your device, snap the screen into the case.
Rückgängig: Ich habe diese Anleitung nicht absolviert.
12 weitere Personen haben diese Anleitung absolviert.
Team

USF Tampa, Team 11-1, Cheng Spring 2016 Mitglied von USF Tampa, Team 11-1, Cheng Spring 2016
USFT-CHENG-S16S11G1
4 Mitglieder
12 Anleitungen geschrieben