Zum Hauptinhalt wechseln

Samsung Galaxy Tab 4 7.0 Sprint Front-Facing Camera Replacement

Was du brauchst

  1. Samsung Galaxy Tab 4 7.0 Sprint Front-Facing Camera Replacement, Motherboard: Schritt 1, Bild 1 von 2 Samsung Galaxy Tab 4 7.0 Sprint Front-Facing Camera Replacement, Motherboard: Schritt 1, Bild 2 von 2
    • Insert the plastic opening tool into the gap between the device frame and the back panel on any side of the device.

    • Slide the opening tool around the edges of the device to disconnect the back panel from the frame.

  2. Samsung Galaxy Tab 4 7.0 Sprint Front-Facing Camera Replacement: Schritt 2, Bild 1 von 3 Samsung Galaxy Tab 4 7.0 Sprint Front-Facing Camera Replacement: Schritt 2, Bild 2 von 3 Samsung Galaxy Tab 4 7.0 Sprint Front-Facing Camera Replacement: Schritt 2, Bild 3 von 3
    • Carefully remove the back panel from the frame of the device.

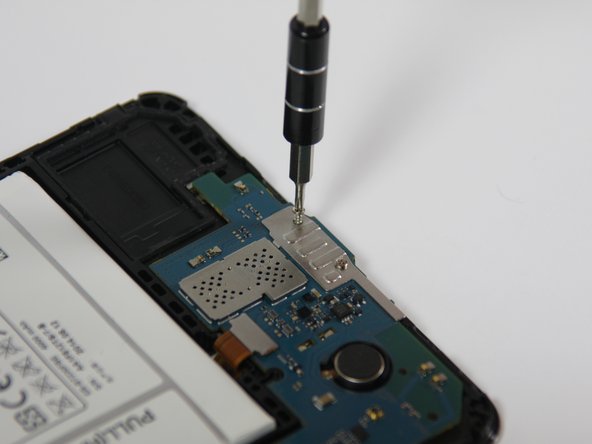
  3. Samsung Galaxy Tab 4 7.0 Sprint Front-Facing Camera Replacement: Schritt 3, Bild 1 von 3 Samsung Galaxy Tab 4 7.0 Sprint Front-Facing Camera Replacement: Schritt 3, Bild 2 von 3 Samsung Galaxy Tab 4 7.0 Sprint Front-Facing Camera Replacement: Schritt 3, Bild 3 von 3
    • Using a Phillips #00 Screwdriver, remove the five 4 mm screws connecting the motherboard to the frame of the device.

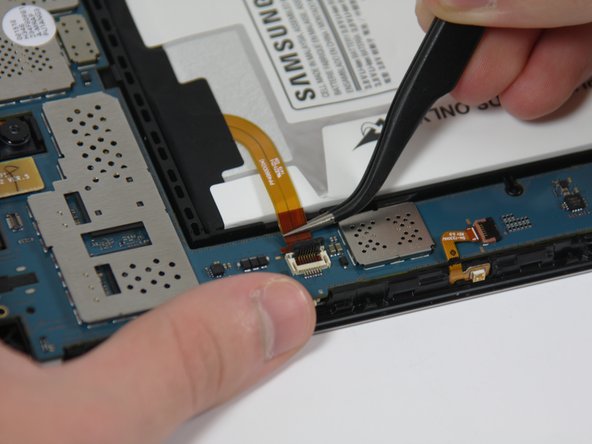
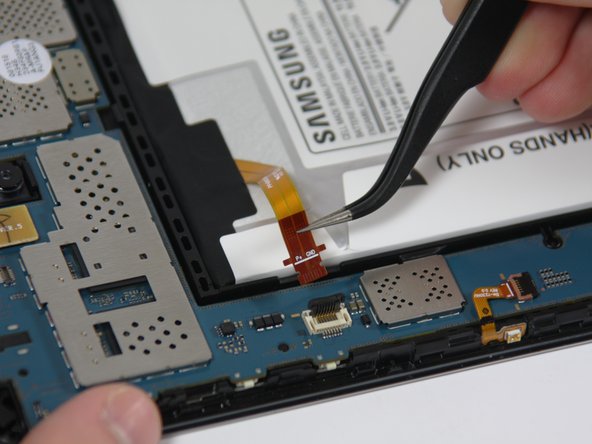
  4. Samsung Galaxy Tab 4 7.0 Sprint Front-Facing Camera Replacement: Schritt 4, Bild 1 von 3 Samsung Galaxy Tab 4 7.0 Sprint Front-Facing Camera Replacement: Schritt 4, Bild 2 von 3 Samsung Galaxy Tab 4 7.0 Sprint Front-Facing Camera Replacement: Schritt 4, Bild 3 von 3
    • Use the plastic opening tool to unlock the battery wire from the motherboard by flipping-up the small retaining flap.

    • Use the tweezers to carefully remove the battery wire from the motherboard by pulling it away from the retainer flap.

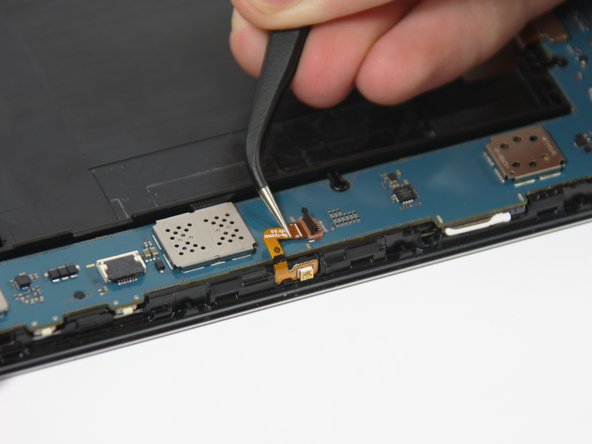
  5. Samsung Galaxy Tab 4 7.0 Sprint Front-Facing Camera Replacement: Schritt 5, Bild 1 von 3 Samsung Galaxy Tab 4 7.0 Sprint Front-Facing Camera Replacement: Schritt 5, Bild 2 von 3 Samsung Galaxy Tab 4 7.0 Sprint Front-Facing Camera Replacement: Schritt 5, Bild 3 von 3
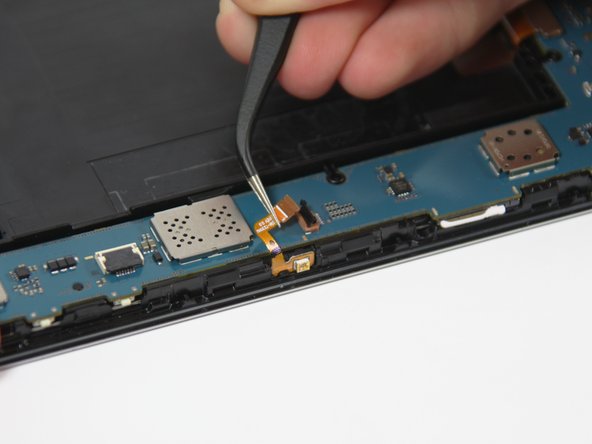
    • Use the plastic opening tool to unlock the wire on the narrow section of the motherboard by flipping-up the retaining flap.

    • Use the tweezers to carefully remove the wire from the motherboard by sliding it away from the retaining flap.

  6. Samsung Galaxy Tab 4 7.0 Sprint Front-Facing Camera Replacement: Schritt 6, Bild 1 von 3 Samsung Galaxy Tab 4 7.0 Sprint Front-Facing Camera Replacement: Schritt 6, Bild 2 von 3 Samsung Galaxy Tab 4 7.0 Sprint Front-Facing Camera Replacement: Schritt 6, Bild 3 von 3
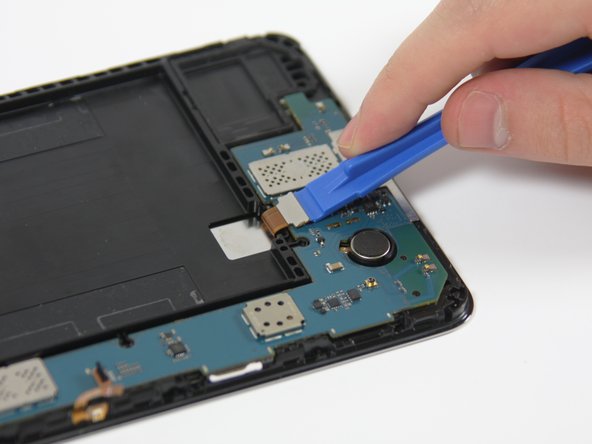
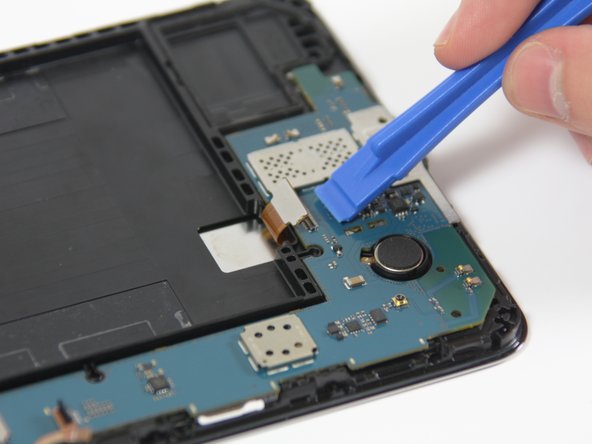
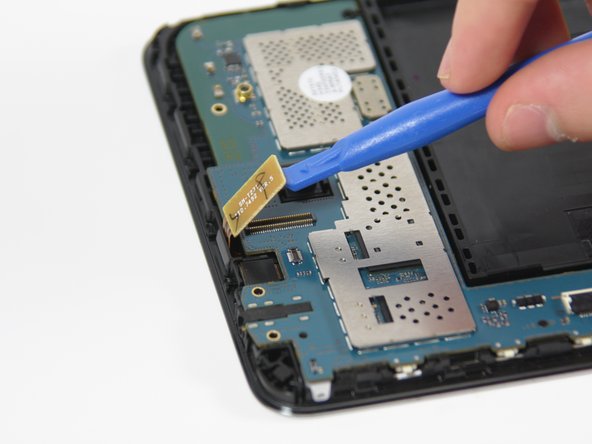
    • Disconnect the wire near the bottom of the motherboard by placing the plastic opening tool under the edge of the connector to flip it up.

  7. Samsung Galaxy Tab 4 7.0 Sprint Front-Facing Camera Replacement: Schritt 7, Bild 1 von 3 Samsung Galaxy Tab 4 7.0 Sprint Front-Facing Camera Replacement: Schritt 7, Bild 2 von 3 Samsung Galaxy Tab 4 7.0 Sprint Front-Facing Camera Replacement: Schritt 7, Bild 3 von 3
    • Disconnect the wire near the top of the motherboard by placing the plastic opening tool under the edge of the connector to flip it up.

  8. Samsung Galaxy Tab 4 7.0 Sprint Front-Facing Camera Replacement: Schritt 8, Bild 1 von 3 Samsung Galaxy Tab 4 7.0 Sprint Front-Facing Camera Replacement: Schritt 8, Bild 2 von 3 Samsung Galaxy Tab 4 7.0 Sprint Front-Facing Camera Replacement: Schritt 8, Bild 3 von 3
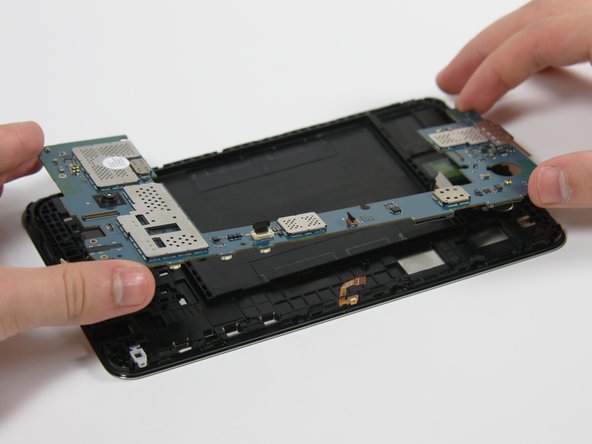
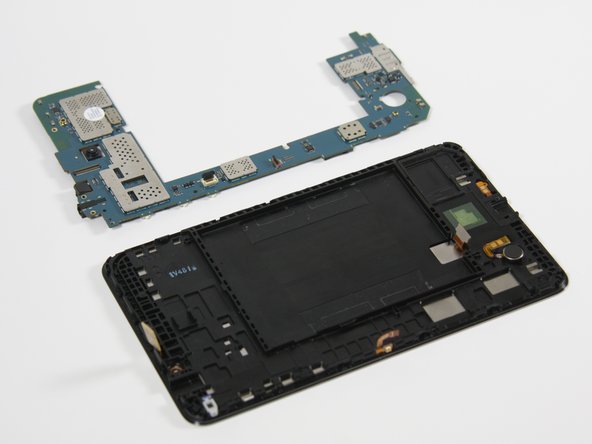
    • Gently remove the motherboard from the frame of the device by grabbing the top and bottom ends and pulling it toward you.

    • Several plastic tabs keep the motherboard in place, so you will have to apply some force.

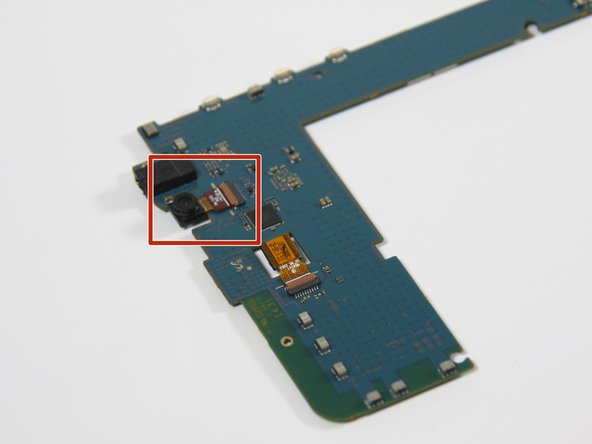
  9. Samsung Galaxy Tab 4 7.0 Sprint Front-Facing Camera Replacement, Front-Facing Camera: Schritt 9, Bild 1 von 3 Samsung Galaxy Tab 4 7.0 Sprint Front-Facing Camera Replacement, Front-Facing Camera: Schritt 9, Bild 2 von 3 Samsung Galaxy Tab 4 7.0 Sprint Front-Facing Camera Replacement, Front-Facing Camera: Schritt 9, Bild 3 von 3
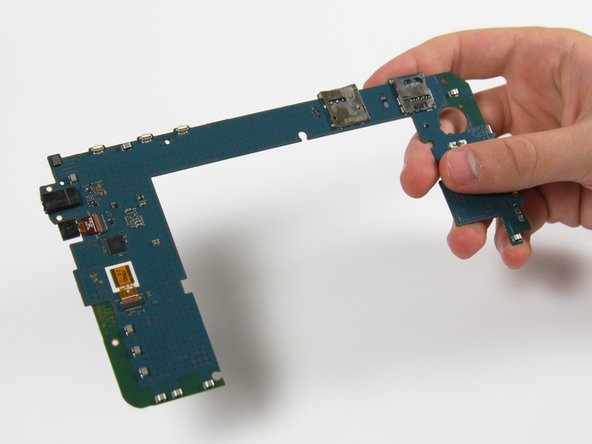
    • Flip the motherboard over to view the back side.

    • Locate the front-facing camera on the motherboard.

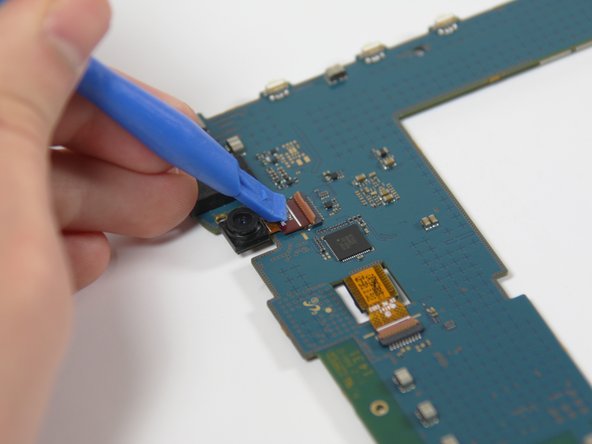
  10. Samsung Galaxy Tab 4 7.0 Sprint Front-Facing Camera Replacement: Schritt 10, Bild 1 von 2 Samsung Galaxy Tab 4 7.0 Sprint Front-Facing Camera Replacement: Schritt 10, Bild 2 von 2
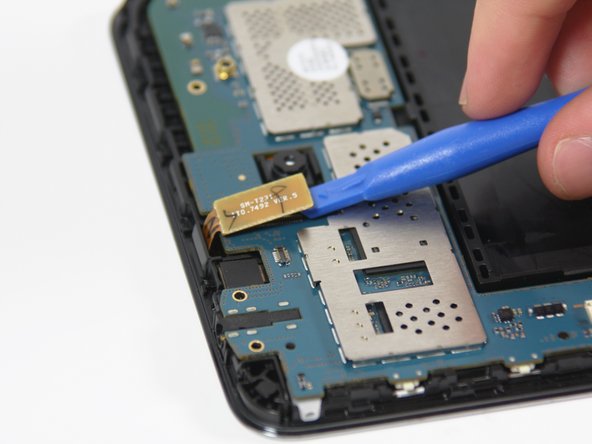
    • Use a plastic opening tool to unlock the front-facing camera wire from the motherboard by flipping-up the retainer flap.

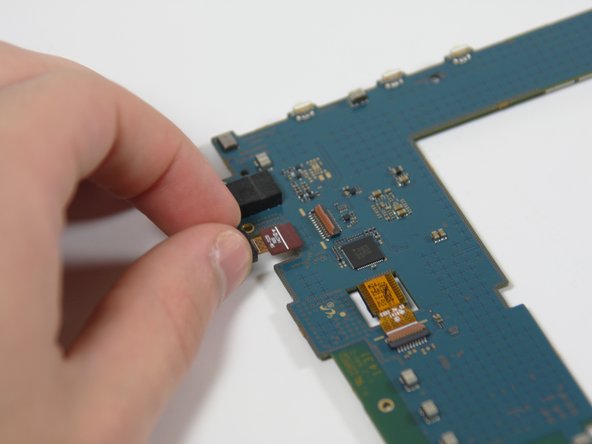
  11. Samsung Galaxy Tab 4 7.0 Sprint Front-Facing Camera Replacement: Schritt 11, Bild 1 von 2 Samsung Galaxy Tab 4 7.0 Sprint Front-Facing Camera Replacement: Schritt 11, Bild 2 von 2
    • Use your fingers to grip the camera and carefully pull it out and away from the motherboard.

Abschluss

To reassemble your device, follow these instructions in reverse order.

Ein:e weitere:r Nutzer:in hat diese Anleitung absolviert.
Team

Cal Poly, Team 18-3, Forte Fall 2016 Mitglied von Cal Poly, Team 18-3, Forte Fall 2016

CPSU-FORTE-F16S18G3

4 Mitglieder

5 Anleitungen geschrieben

0 Kommentare

Kommentar hinzufügen

Seitenaufrufe:

Letzte 24 Stunden: 0

Letzte 7 Tage: 0

Letzte 30 Tage: 1

Insgesamt: 764