Einleitung
This replacement guide will help you easily follow the steps in order to replace the headphone jack on a Samsung Galaxy Tab A 9.7. The difficulty of this guide is moderate and requires special attention to details.
The headphone jack is also a part of the charging port, so for clarification the part listed is both the charging port connected with the headphone jack.
Was du brauchst
-
-
Pry along the edge of the Samsung Galaxy Tab A 9.7 with an iFixit opening tool.
-
-
-
Insert a second iFixit opening tool along the edge and begin to pry open the back cover a little with each one.
-
-
-
Remove one of the opening tools and begin to go around the device with the other one until the back cover pops off.
-
-
-
-
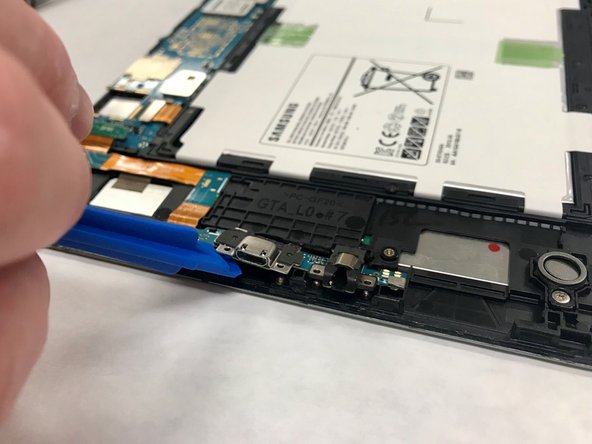
Remove both side pieces using one of the the iFixit opening tools.
-
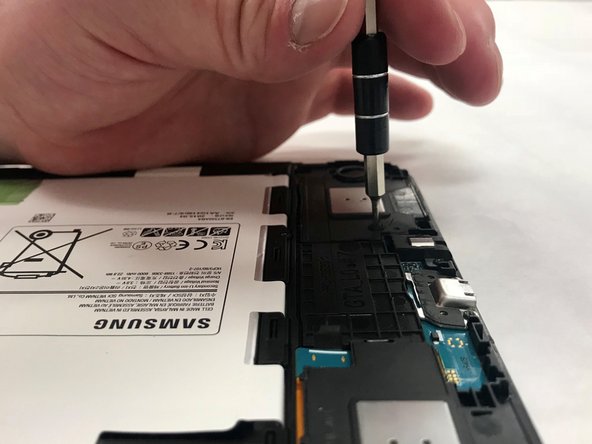
Lift up the headphone jack port with the iFixit opening tool as well.
-


To reassemble your device, follow the instructions in reverse order.
To reassemble your device, follow the instructions in reverse order.
Rückgängig: Ich habe diese Anleitung nicht absolviert.
2 weitere Nutzer:innen haben diese Anleitung absolviert.
Team

IUPUI, Team S1-G3, Hovde Spring 2019 Mitglied von IUPUI, Team S1-G3, Hovde Spring 2019
IUPUI-HOVDE-S19S1G3
3 Mitglieder
3 Anleitungen geschrieben