Einleitung
The camera in a phone or a tablet is easy to damage if it is dropped. So this guide highlights how to remove the back cover of the tablet in order to replace the back camera.
Was du brauchst
-
-
Using the plastic opening tool, start in the center and wedge the angled tip between the plastic back and the scree.
-
Try to pressure it, wedge it back and forth.
-
-
-
Once the bottom edge has been loosened, use the suction tool to pull it.
-
The second picture shows the internal portion of the tablet once the back cover is removed.
-
-
-
-
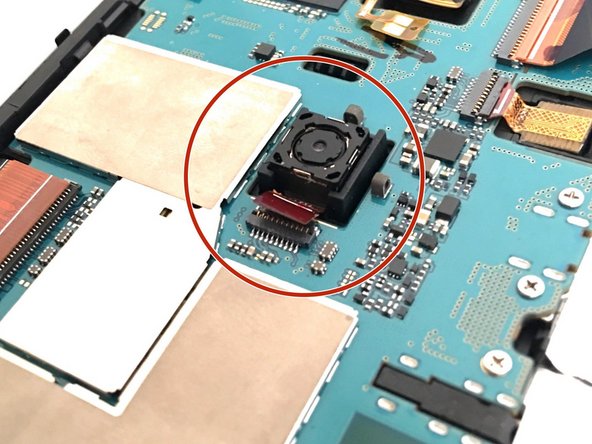
The first picture shows the location of back camera.
-
Disconnect the rectangular connection from the back camera to the motherboard.
-
-
-
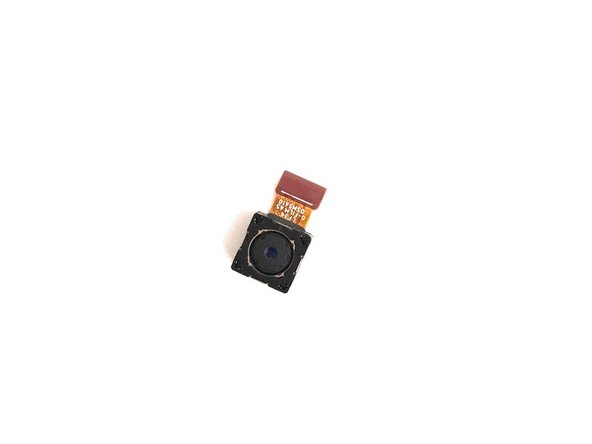
The picture illustrates what the device should look like once the back camera is removed.
-


To reassemble your device, follow these instructions in reverse order.
To reassemble your device, follow these instructions in reverse order.
Team

USF Tampa, Team 1-4, Cagle Fall 2016 Mitglied von USF Tampa, Team 1-4, Cagle Fall 2016
USFT-CAGLE-F16S1G4
3 Mitglieder
14 Anleitungen geschrieben