Diese Version enthält möglicherweise inkorrekte Änderungen. Wechsle zur letzten geprüften Version.
Was du brauchst
-
Dieser Schritt ist noch nicht übersetzt. Hilf mit, ihn zu übersetzen!
-
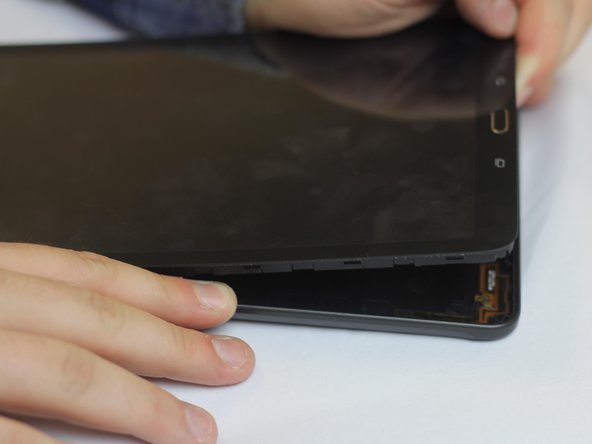
Insert the plastic opening tool by wedging it between the device's screen and back cover.
-
Move the plastic tool around the edges of the device to undo the plastic lips holding the casing together.
-
-
-
Dieser Schritt ist noch nicht übersetzt. Hilf mit, ihn zu übersetzen!
-
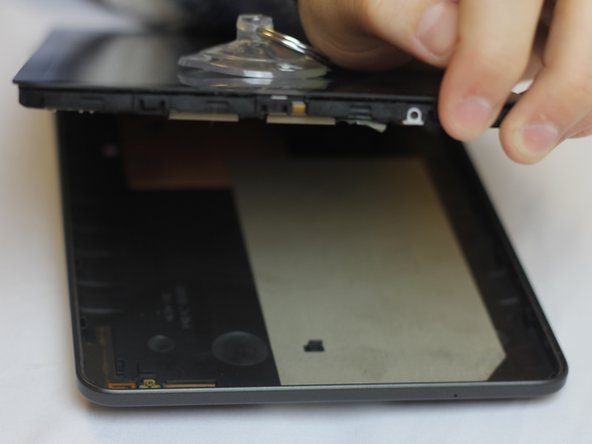
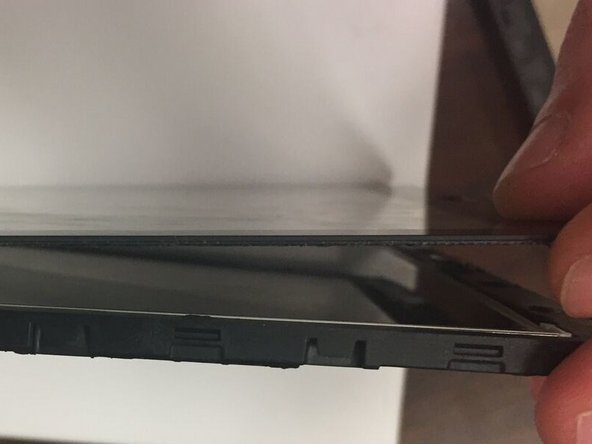
This process will become easier as more clips are separated.
-
Use your hands to gently pull the back cover off the device after about half of the clips are separated.
-
-
Dieser Schritt ist noch nicht übersetzt. Hilf mit, ihn zu übersetzen!
-
Turn the device over so the screen is facing down. Locate the front panel assembly connector at the top left corner of the motherboard.
-
To remove the connector, first use a pair of tweezers and flip the connector lock upwards towards the battery.
-
-
Dieser Schritt ist noch nicht übersetzt. Hilf mit, ihn zu übersetzen!
-
Once you've undone the connector lock, use a pair of tweezers to pull the cable front its housing.
-
-
Dieser Schritt ist noch nicht übersetzt. Hilf mit, ihn zu übersetzen!
-
Turn the device back over and use a plastic opening tool to detach the adhesive glue securing the front casing.
-
You will need to wedge a plastic opening tool in between the front casing and the screen. Then move the tool around the perimeter of the device to break the adhesive.
-
Once you've loosed the front panel enough with the prying tool, you can use your hands to pull the front panel off of the device.
-


Rückgängig: Ich habe diese Anleitung nicht absolviert.
6 weitere Nutzer:innen haben diese Anleitung absolviert.
Team

USF Tampa, Team 1-4, Cagle Fall 2016 Mitglied von USF Tampa, Team 1-4, Cagle Fall 2016
USFT-CAGLE-F16S1G4
3 Mitglieder
14 Anleitungen geschrieben