Einleitung
This replacement guide will show you how to replace the battery in your Samsung Galaxy Tab E Lite 7 Kids. You will need to follow the instructions carefully as to not damage any fragile components in your tablet.
Was du brauchst
-
-
Using a plastic opening tool, wedge in the seam between the screen and the case.
-
Rock the tool by moving it towards and away from the middle of the screen, trying to separate the tape holding the screen and case together.
-
-
-
After separating the latches holding the screen and case together, slowly take the screen off the case.
-
-
-
-
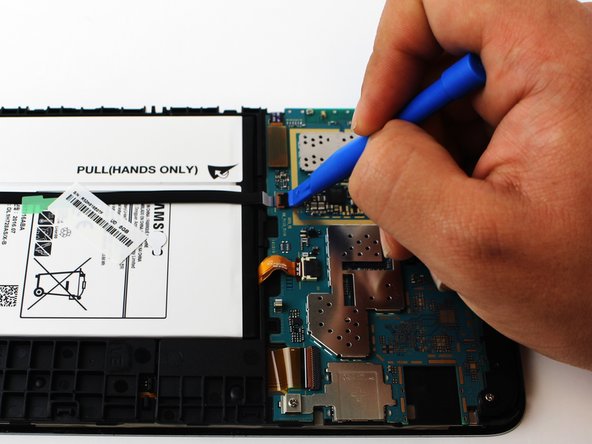
Use the plastic opening tool to gently lift the black ZIF (zero insertion force) connector shown within the red circle.
-
Use your hands to pull the black cable out of its slot.
-
-
-
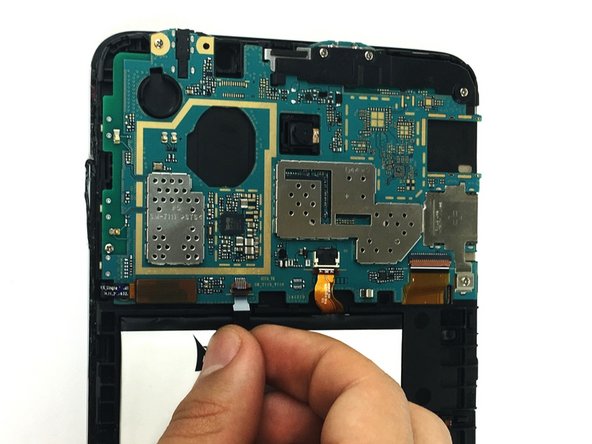
Use the plastic opening tool to gently lift black ZIF (zero insertion force) connector shown within the red square.
-
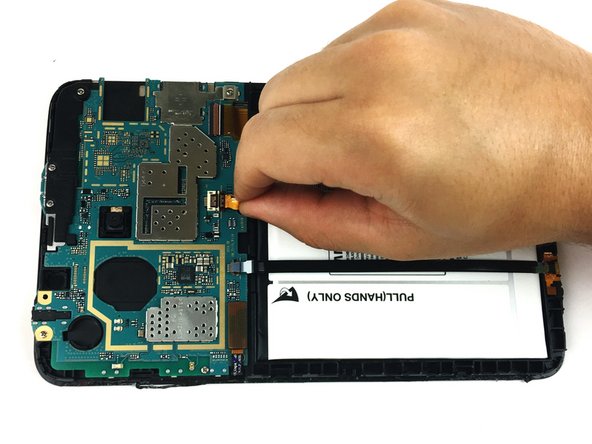
Now gently pull out the battery's ribbon cable.
-
-
-
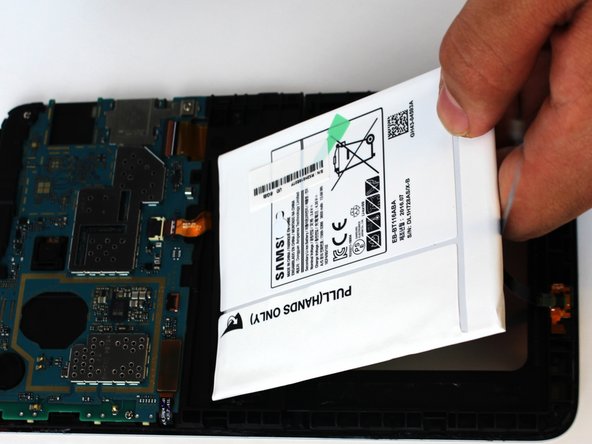
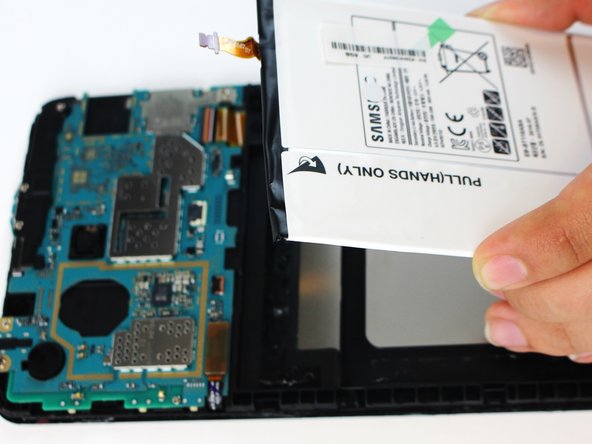
Use the plastic opening tool and gently pry out the battery from the left-hand side.
-
Grab the battery and lift it up.
-


To reassemble your device, follow these instructions in reverse order.
To reassemble your device, follow these instructions in reverse order.
Rückgängig: Ich habe diese Anleitung nicht absolviert.
5 weitere Personen haben diese Anleitung absolviert.

Team

USF Tampa, Team S19-G2, Hoffman Spring 2017 Mitglied von USF Tampa, Team S19-G2, Hoffman Spring 2017
USFT-HOFFMAN-S17S19G2
4 Mitglieder
7 Anleitungen geschrieben
Ein Kommentar
Great information. You need to show how to replace a screen- LCD for a Samsung Galaxy TAB E Lite Kids.