Zum Hauptinhalt wechseln

Samsung NP-N102S-B05PH Display Replacement

Was du brauchst

  1. Samsung NP-N102S-B05PH Display Replacement, Display: Schritt 1, Bild 1 von 3 Samsung NP-N102S-B05PH Display Replacement, Display: Schritt 1, Bild 2 von 3 Samsung NP-N102S-B05PH Display Replacement, Display: Schritt 1, Bild 3 von 3
    • Take out the four 4.5mm Phillips #0 screws located at the corners of the screen.

  2. Samsung NP-N102S-B05PH Display Replacement: Schritt 2, Bild 1 von 2 Samsung NP-N102S-B05PH Display Replacement: Schritt 2, Bild 2 von 2
    • Now, use the blue opening tool to gently pry the front bezel off.

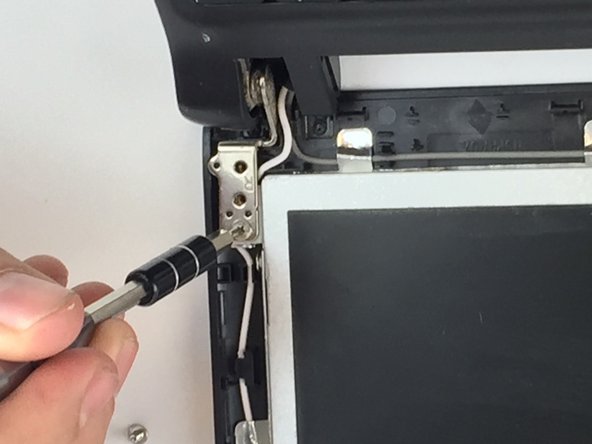
  3. Samsung NP-N102S-B05PH Display Replacement: Schritt 3, Bild 1 von 3 Samsung NP-N102S-B05PH Display Replacement: Schritt 3, Bild 2 von 3 Samsung NP-N102S-B05PH Display Replacement: Schritt 3, Bild 3 von 3
    • Unscrew each of the four 6.5mm Phillips #0 screws securing the screen to the case.

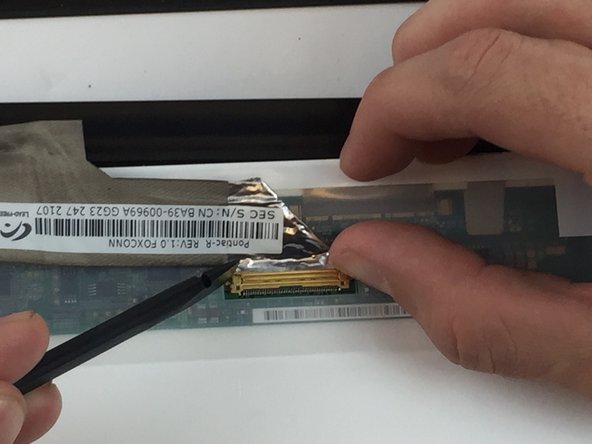
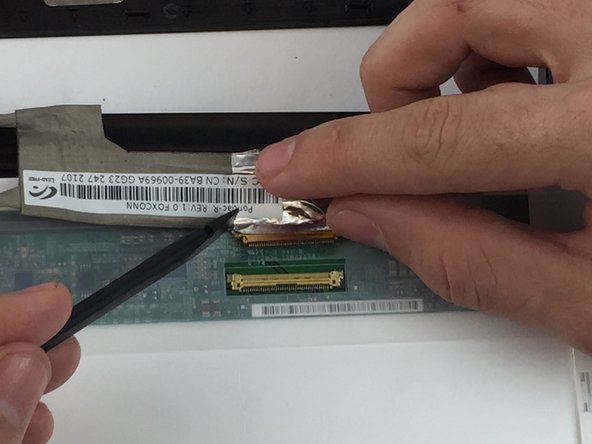
  4. Samsung NP-N102S-B05PH Display Replacement: Schritt 4, Bild 1 von 3 Samsung NP-N102S-B05PH Display Replacement: Schritt 4, Bild 2 von 3 Samsung NP-N102S-B05PH Display Replacement: Schritt 4, Bild 3 von 3
    • Using the black spudger tool and your fingertip, gently push on the ends of the ribbon cable to pop it out of the socket.

  5. Samsung NP-N102S-B05PH Display Replacement: Schritt 5, Bild 1 von 1
    • The screen is can now be lifted away from the laptop.

Abschluss

To reassemble your device, follow these instructions in reverse order.

Ein:e weitere:r Nutzer:in hat diese Anleitung absolviert.

Daniel Rudzik

Mitglied seit: 10/04/16

349 Reputation

3 Anleitungen geschrieben

Team

USF Tampa, Team 2-4, Nance Fall 2016 Mitglied von USF Tampa, Team 2-4, Nance Fall 2016

USFT-NANCE-F16S2G4

4 Mitglieder

5 Anleitungen geschrieben

0 Kommentare

Kommentar hinzufügen

Seitenaufrufe:

Letzte 24 Stunden: 1

Letzte 7 Tage: 3

Letzte 30 Tage: 13

Insgesamt: 742