Einleitung
The motherboard is the "brains" in this speaker, and may need to be replaced if other components may appear to be faulty. They may actually not be faulty at all, the communication between components may be inhibited by a compromised motherboard. Damage like this is likely if the speaker was exposed to water damage. This guide will demonstrate the removal of the motherboard from the mounting frame.
Was du brauchst
-
-
Use the plastic opening tool to lift and remove the rubber grommet plugs.
-
-
-
Using a PH1 Philips screwdriver, remove four (9.5mm x 1.6mm) screws from the base plate.
-
Remove base plate by stabilizing speaker and using plastic prying tool to pry the base plate from the speaker.
-
-
-
Place the speaker on the table with the Touch Pad facing down. This will leave you with the Port Panel exposed.
-
Remove speaker grill by stabilizing speaker on a table and applying pressure to the bottom of the speaker. Slide the speaker grill up and away from the remaining endcap.
-
-
-
Remove the two exposed (9.5mm x 1.6mm) PH1 Phillips screws on the Port Panel.
-
Remove the Port Panel from the speaker body, exposing the ribbon cables.
-
-
-
While stabilizing the Port Panel remove the two ribbon cables one at a time by pressing the locking clip down on the ribbon cable connectors and pulling the connector away from the Port Panel.
-
-
-
Remove the four (9.5mm x 1.6mm) PH1 Phillips screws on the port speaker body.
-
Remove the Port Panel exposing the subwoofer.
-
-
-
-
Remove the eight (9.5mm x 1.6mm) PH1 Phillips screws on the right side of the speaker body.
-
Remove the one (9.5mm x 1.6mm) PH1 Phillips screw on the left side of the speaker body.
-
-
-
Remove the ribbon cable from the tweeter which is attached to the main motherboard.
-
Slide the tweeter out of the enclosure.
-
-
-
Disconnect white connector by pushing down on the release tab while gently pulling the connector free from the socket.
-
Remove wiring harness and set aside.
-
-
-
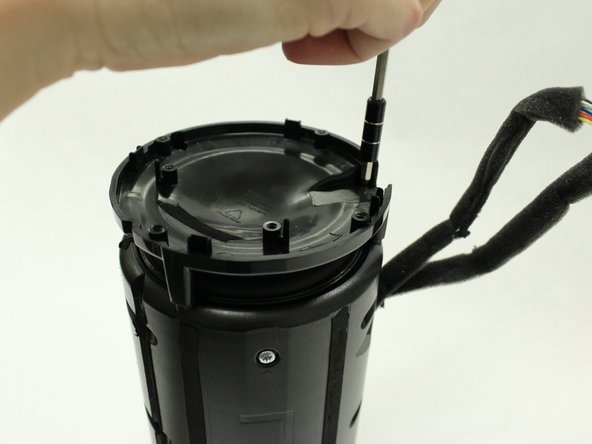
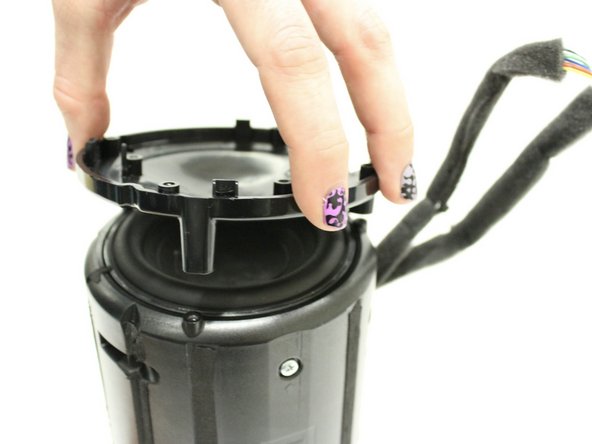
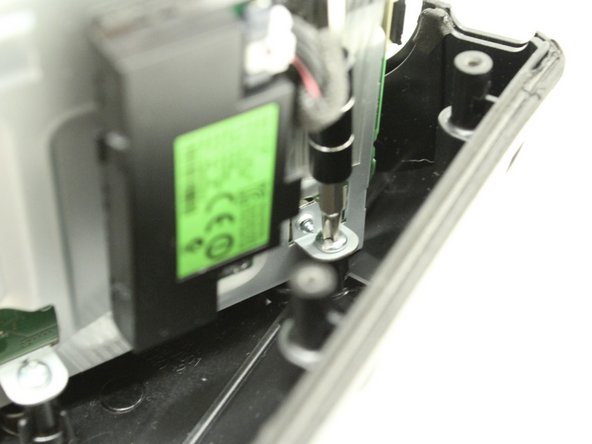
Locate and remove the two PH2 Phillips screws from the base of the motherboard assembly.
-
-
-
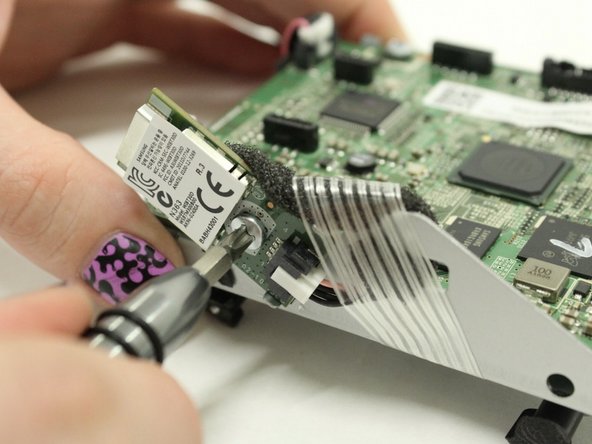
Flip the motherboard assembly over and locate the Bluetooth module on the side of the metal frame.
-
Remove the one PH2 Philips screw.
-
-
-
Press the white tab while gently pulling the Bluetooth module away from the connector and frame.
-
-
-
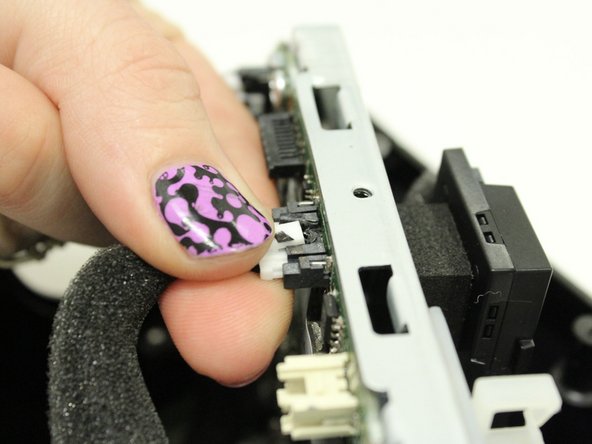
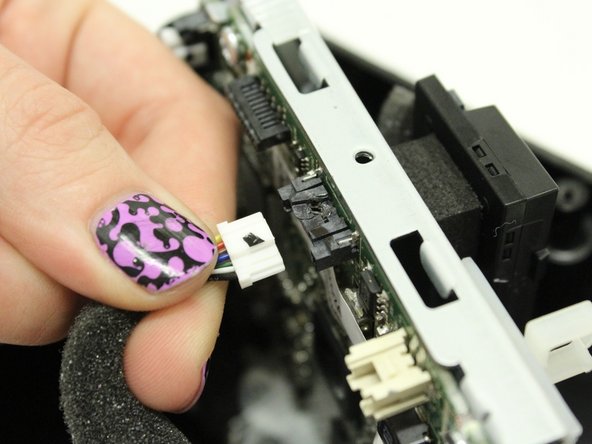
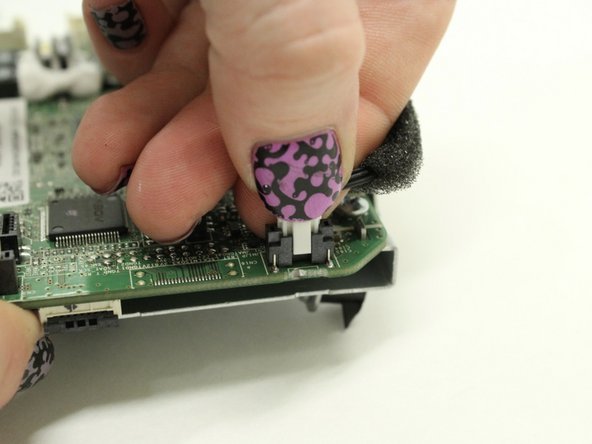
Pinch the release tab on the remaining small white connector to disconnect the final wiring harness from the motherboard.
-
-
-
Remove the four PH2 Phillips screws holding the motherboard to the mounting frame.
-
Carefully separate the motherboard from the metal frame.
-


To reassemble your device, follow these instructions in reverse order.
To reassemble your device, follow these instructions in reverse order.
Rückgängig: Ich habe diese Anleitung nicht absolviert.
Ein:e weitere:r Nutzer:in hat diese Anleitung absolviert.
Team

Washington State, Team S5-G121, Phelps-Hillen Fall 2017 Mitglied von Washington State, Team S5-G121, Phelps-Hillen Fall 2017
WSU-PHELPS-HILLEN-F17S5G121
4 Mitglieder
3 Anleitungen geschrieben