Einleitung
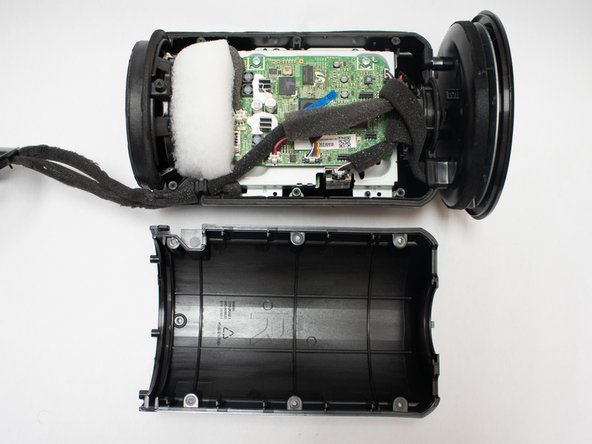
This guide will take you through the process of removing the bottom of the speaker, separating the shell of the enclosure, and accessing the motherboard for removal.
Was du brauchst
-
-
Flip the device so that the bottom of the device is facing you. Remove these feet with a pair of tweezers.
-
Remove the four 10mm long screws with the Phillips #1 screwdriver.
-
-
-
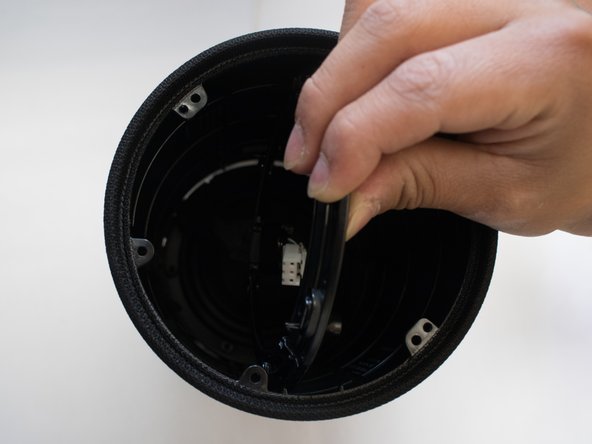
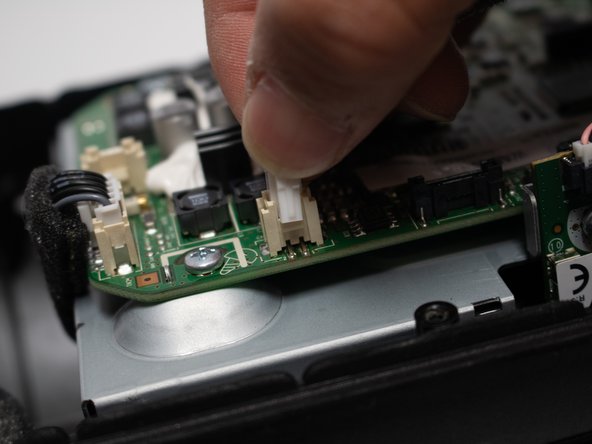
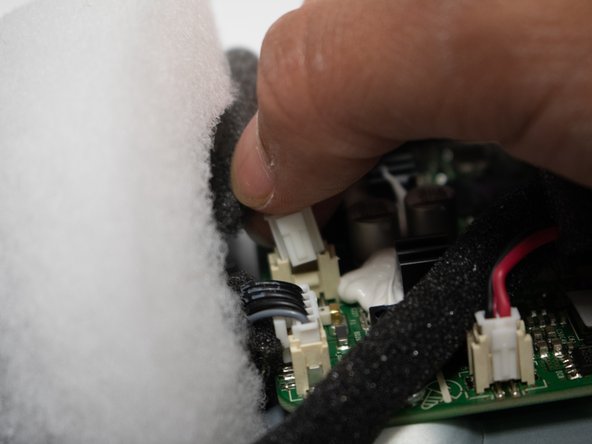
Remove the connector from the board by pressing down on the center tab while nudging the connector away with a spudger.
-
-
-
Remove the two 10mm long screws from the board utilizing the Phillips #1 screwdriver.
-
-
-
Use a spudger to press the plastic tab away from the board until the board pops up.
-
Remove the board with the USB module from the device.
-
-
-
Remove the two 12mm long screws with the Phillips #1 screwdriver.
-
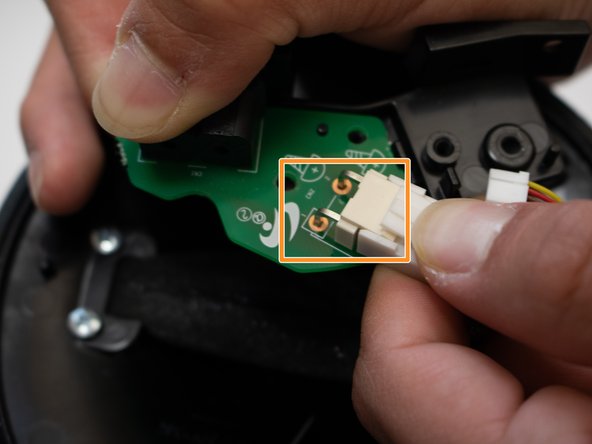
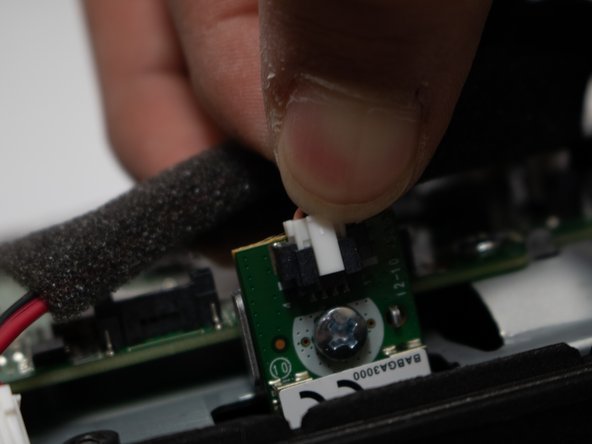
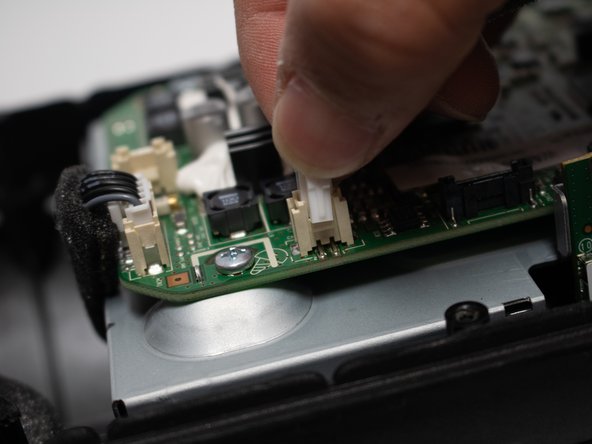
Unplug white plug connected to the green circuit board.
-
-
-
Remove the four 12mm long screws with the Phillips #1 screwdriver.
-
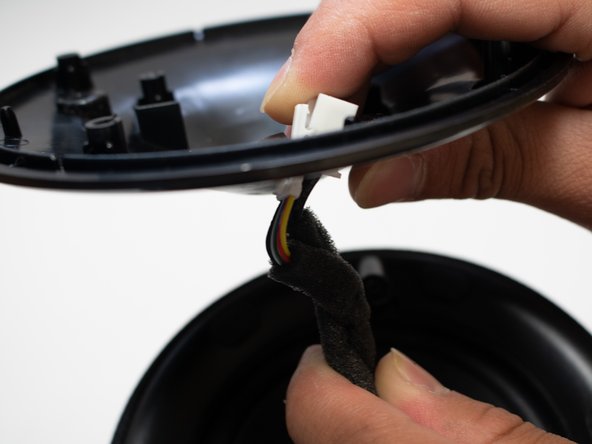
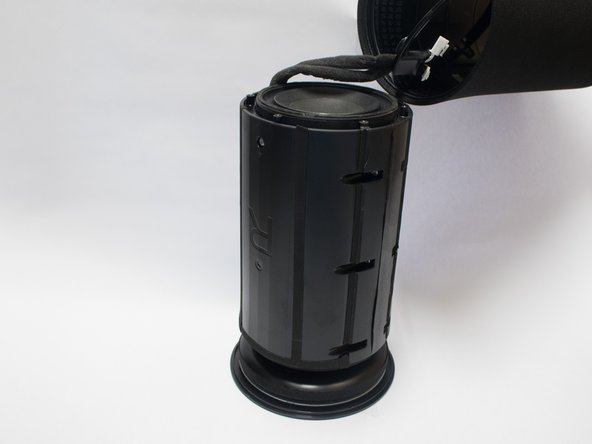
Remove the cover, and slide the cord through the hole.
-
-
-
-
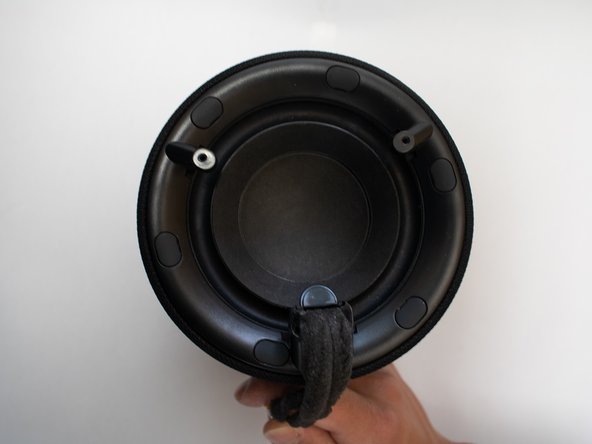
Remove rubber covers covering the screws with pair of tweezers.
-
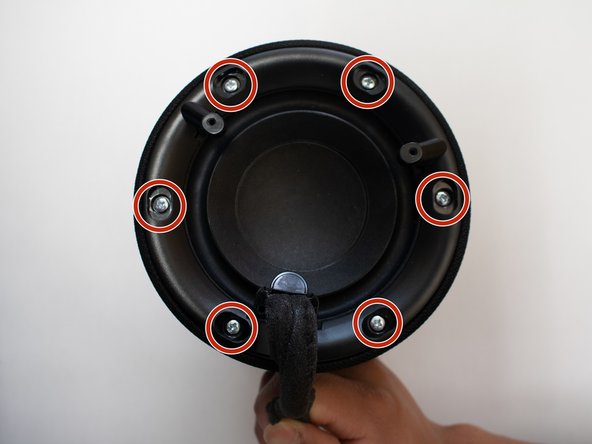
Remove the six 12mm screws that are under the rubber covers with the Phillips #1 screwdriver.
-
-
-
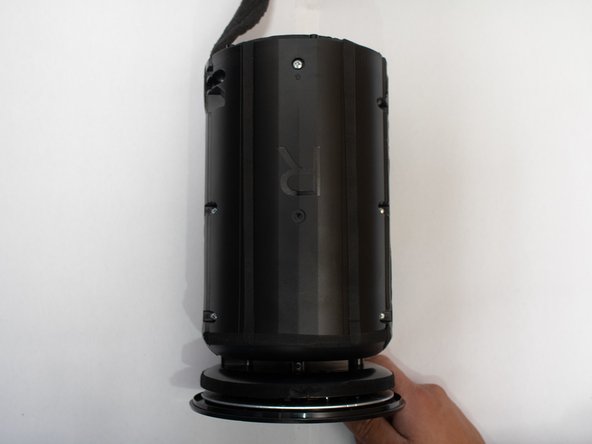
Remove the eight 12mm long screws around the body with the Phillips #1 screwdriver.
-
-
-
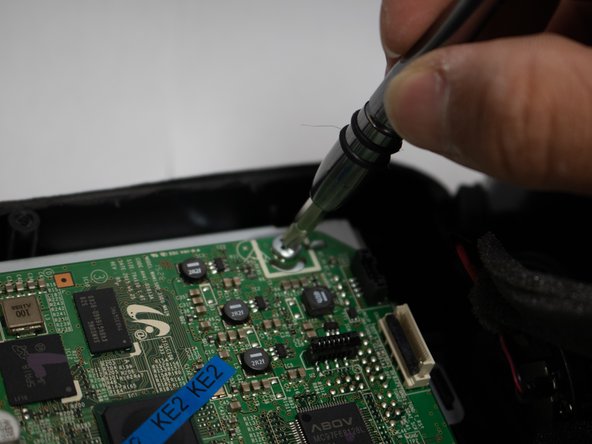
Unscrew the four 8mm screws on the side of the motherboard with the Phillips #1 screwdriver .
-
Remove the Wireless Module from the device.
-
-
-
Remove the four 12mm screws with the Phillips #1 screwdriver .
-
Remove the motherboard from the device.
-


To reassemble your device, follow these instructions in reverse order.
To reassemble your device, follow these instructions in reverse order.
Rückgängig: Ich habe diese Anleitung nicht absolviert.
Ein:e weitere:r Nutzer:in hat diese Anleitung absolviert.
Team

Cal Poly, Team S25-G18, Maness Spring 2018 Mitglied von Cal Poly, Team S25-G18, Maness Spring 2018
CPSU-MANESS-S18S25G18
4 Mitglieder
5 Anleitungen geschrieben