Einleitung
This guide will help you replace the power supply board in the Samsung UBD-K8500.
Was du brauchst
-
-
Remove the six 10 mm screws from the back of the unit using a Phillips #0 screwdriver.
-
-
-
Carefully lift up the top panel.
-
Detach the cable connecting the top panel to the motherboard.
-
Take the top off and set it to the side.
-
-
-
-
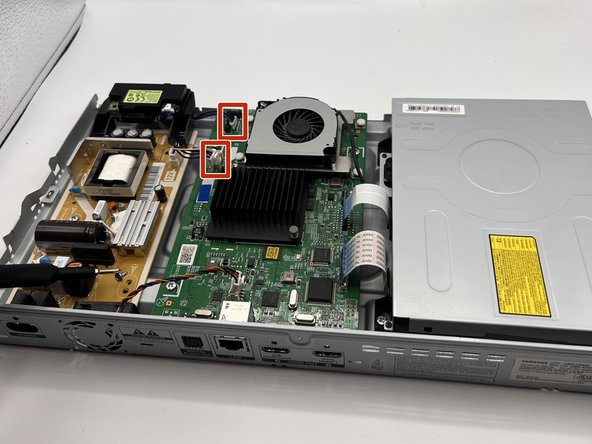
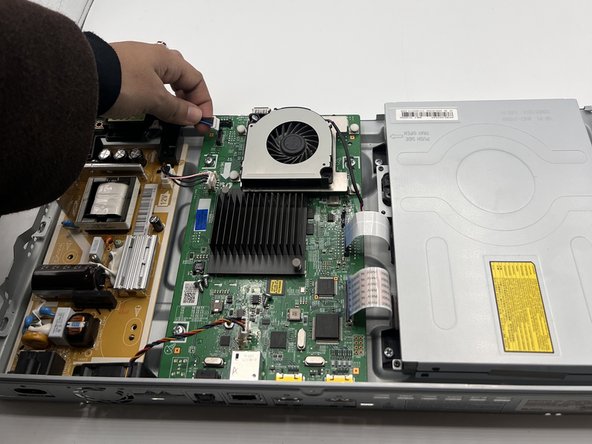
Using your fingers, carefully pinch the clipping part of the two connectors and gently pull them out of their sockets.
-
-
-
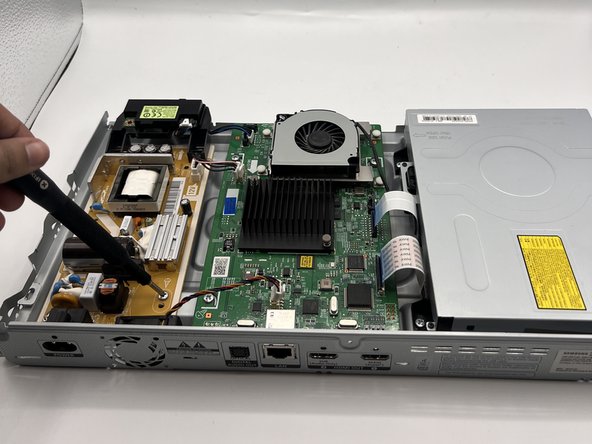
Remove the four 7 mm screws from the power supply board using a Phillips #0 screwdriver.
-


To reassemble your device, follow these instructions in reverse order.
To reassemble your device, follow these instructions in reverse order.

Team

University of North Texas, Team 2-7, Harold Fall 2023 Mitglied von University of North Texas, Team 2-7, Harold Fall 2023
UNT-HAROLD-F23S2G7
4 Mitglieder
5 Anleitungen geschrieben