Diese Version enthält möglicherweise inkorrekte Änderungen. Wechsle zur letzten geprüften Version.
Was du brauchst
-
Dieser Schritt ist noch nicht übersetzt. Hilf mit, ihn zu übersetzen!
-
Lay the vacuum on its side.
-
Using a Phillips #1 screwdriver, unscrew the screws located behind the front wheels on the underside of the vacuum.
-
-
Dieser Schritt ist noch nicht übersetzt. Hilf mit, ihn zu übersetzen!
-
Stand the vacuum upright, unscrew the single screw located on the center dial using a Torx T20 screwdriver and remove the dial form the vacuum body.
-
-
Dieser Schritt ist noch nicht übersetzt. Hilf mit, ihn zu übersetzen!
-
Lift the top cover off of the vacuum.
-
-
-
Dieser Schritt ist noch nicht übersetzt. Hilf mit, ihn zu übersetzen!
-
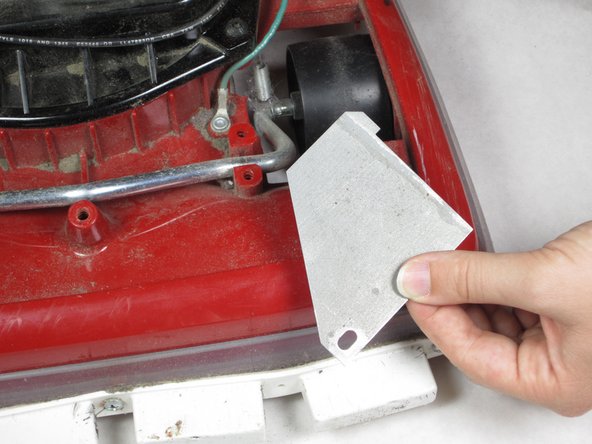
Identify the two gray metal plates at the front of the vacuum.
-
Using the T20 Torx screwdriver, remove the four screws on the smaller gray plate holding the larger gray metal plates.
-
-
Dieser Schritt ist noch nicht übersetzt. Hilf mit, ihn zu übersetzen!
-
Remove the small metal plate with the black bolt in the center and the larger gray plate from both sides.
-
-
Dieser Schritt ist noch nicht übersetzt. Hilf mit, ihn zu übersetzen!
-
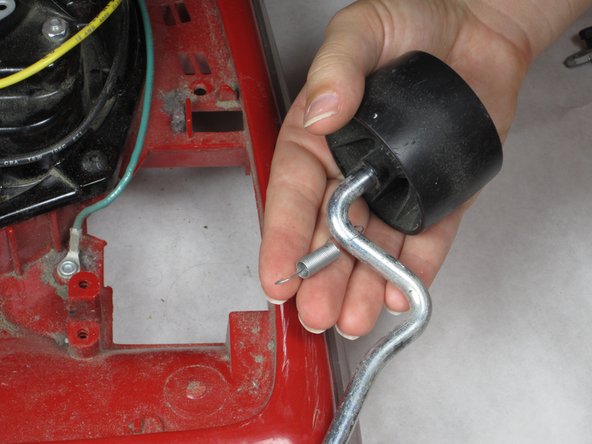
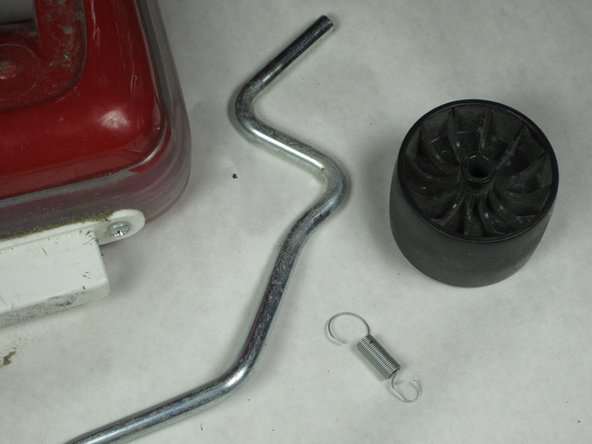
Pull out the silver bar that holds the two wheels to the vacuum body and detach the small spring from the vacuum body.
-
-
Dieser Schritt ist noch nicht übersetzt. Hilf mit, ihn zu übersetzen!
-
Remove the wheel from the side with the spring by pulling it off the axel and slide off the spring, as it will be needed for the replacement front wheels.
-


Team

Cal Poly, Team 16-58, Forte Fall 2012 Mitglied von Cal Poly, Team 16-58, Forte Fall 2012
CPSU-FORTE-F12S16G58
5 Mitglieder
8 Anleitungen geschrieben