Diese Version enthält möglicherweise inkorrekte Änderungen. Wechsle zur letzten geprüften Version.
Was du brauchst
-
Dieser Schritt ist noch nicht übersetzt. Hilf mit, ihn zu übersetzen!
-
Push and hold the button on the back toward the direction of the arrow to unlock the battery.
-
Lift and remove the battery from the back of the phone.
-
-
Dieser Schritt ist noch nicht übersetzt. Hilf mit, ihn zu übersetzen!
-
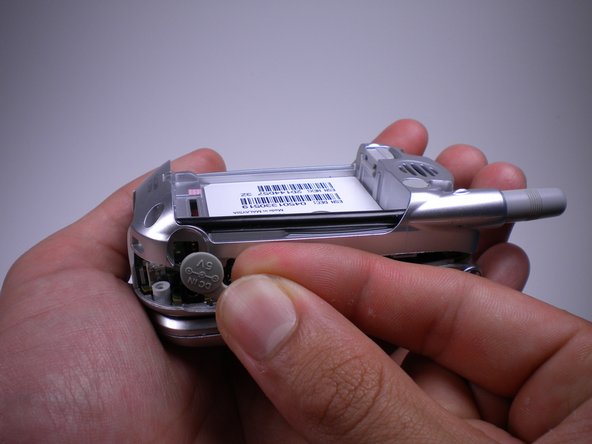
Using a push pin, pull out the plug on the back, located under the antenna.
-
-
Dieser Schritt ist noch nicht übersetzt. Hilf mit, ihn zu übersetzen!
-
Unscrew the four 6mm long screws with a Tri-Wing Y1 screwdriver.
-
-
-
Dieser Schritt ist noch nicht übersetzt. Hilf mit, ihn zu übersetzen!
-
Use a plastic opening tool to pry the back panel along the edges.
-
-
Dieser Schritt ist noch nicht übersetzt. Hilf mit, ihn zu übersetzen!
-
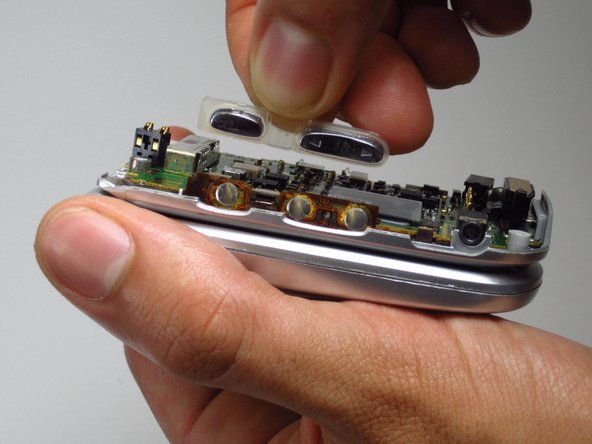
While removing the back panel, take out the rubber cover on each side.
-
-
Dieser Schritt ist noch nicht übersetzt. Hilf mit, ihn zu übersetzen!
-
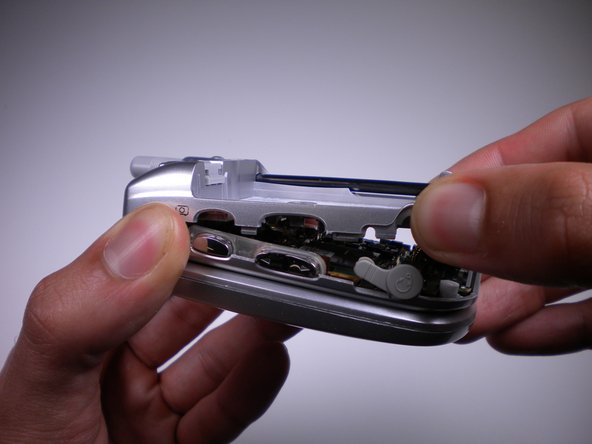
Pull the volume and camera buttons off from the side of the phone.
-
-
Dieser Schritt ist noch nicht übersetzt. Hilf mit, ihn zu übersetzen!
-
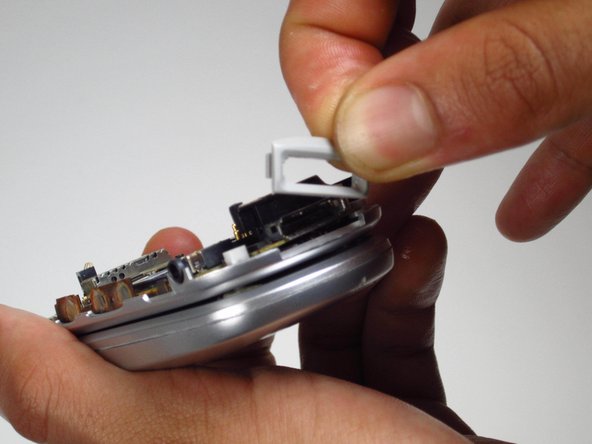
Pull the gray frame covering the charging port from the bottom of the phone.
-
-
Dieser Schritt ist noch nicht übersetzt. Hilf mit, ihn zu übersetzen!
-
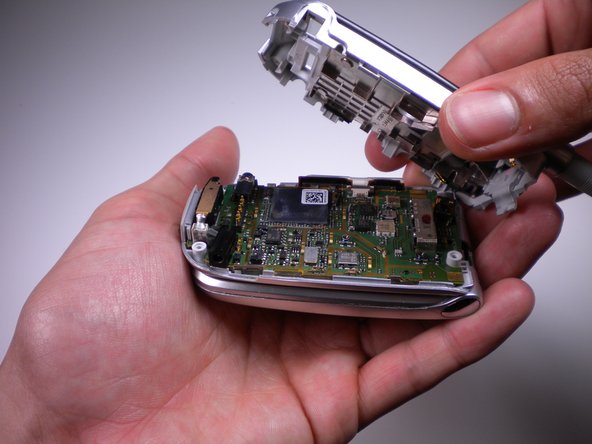
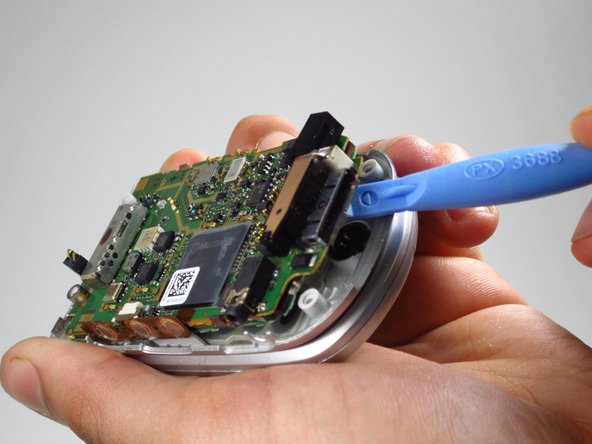
Use the opening tool to lift the motherboard up from the phone.
-
-
Dieser Schritt ist noch nicht übersetzt. Hilf mit, ihn zu übersetzen!
-
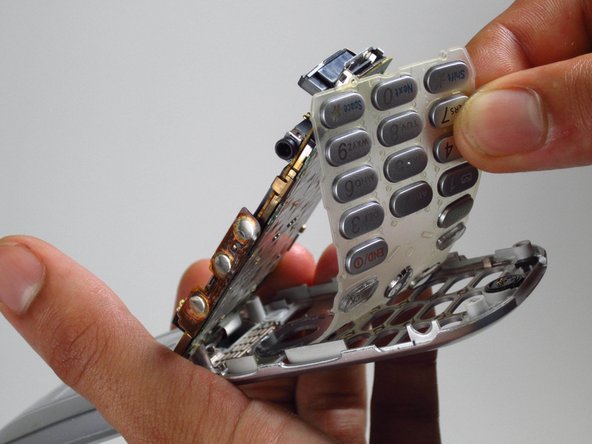
Flip open the phone, exposing the keypad.
-
Use the opening tool to push the buttons from the bottom to lift the rubber keypad up.
-
Pull the keypad out of the phone.
-


Rückgängig: Ich habe diese Anleitung nicht absolviert.
Ein:e weitere:r Nutzer:in hat diese Anleitung absolviert.
Team

Cal Poly, Team 10-41, Amido Spring 2013 Mitglied von Cal Poly, Team 10-41, Amido Spring 2013
CPSU-AMIDO-S13S10G41
4 Mitglieder
12 Anleitungen geschrieben