Diese Version enthält möglicherweise inkorrekte Änderungen. Wechsle zur letzten geprüften Version.
Was du brauchst
-
Dieser Schritt ist noch nicht übersetzt. Hilf mit, ihn zu übersetzen!
-
Using a Phillips head screwdriver remove six screws from the bottom of the console.
-
The six screws are marked.
-
-
Dieser Schritt ist noch nicht übersetzt. Hilf mit, ihn zu übersetzen!
-
Remove the two screws that attach the Genesis' connector to the rest of the console.
-
The two screws are marked in the diagram.
-
-
Dieser Schritt ist noch nicht übersetzt. Hilf mit, ihn zu übersetzen!
-
Slide the lock tab to the left to separate the halves of the console.
-
-
Dieser Schritt ist noch nicht übersetzt. Hilf mit, ihn zu übersetzen!
-
Lift from the left side to remove the top of the case.
-
-
Dieser Schritt ist noch nicht übersetzt. Hilf mit, ihn zu übersetzen!
-
Using the spudger, pry the cover off of the Genesis attachment.
-
-
Dieser Schritt ist noch nicht übersetzt. Hilf mit, ihn zu übersetzen!
-
Lift the top of the case to remove the cover.
-
-
-
Dieser Schritt ist noch nicht übersetzt. Hilf mit, ihn zu übersetzen!
-
Remove the faceplate by pulling it up, then out.
-
-
Dieser Schritt ist noch nicht übersetzt. Hilf mit, ihn zu übersetzen!
-
Remove metal plate by unscrewing the three screws with the Phillips head screwdriver and then lifting the plate.
-
The three screws are shown on the diagram.
-
-
Dieser Schritt ist noch nicht übersetzt. Hilf mit, ihn zu übersetzen!
-
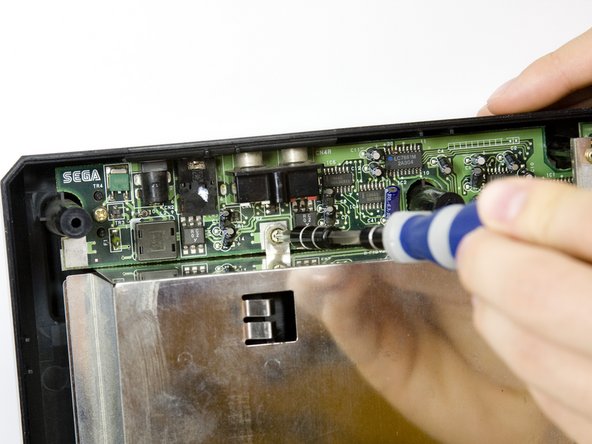
Remove the two screws from the plastic bar.
-
The two screws are shown pictured.
-
-
Dieser Schritt ist noch nicht übersetzt. Hilf mit, ihn zu übersetzen!
-
To remove the CD tray
-
Remove the four screws with the Phillips head screwdriver.
-
-
Dieser Schritt ist noch nicht übersetzt. Hilf mit, ihn zu übersetzen!
-
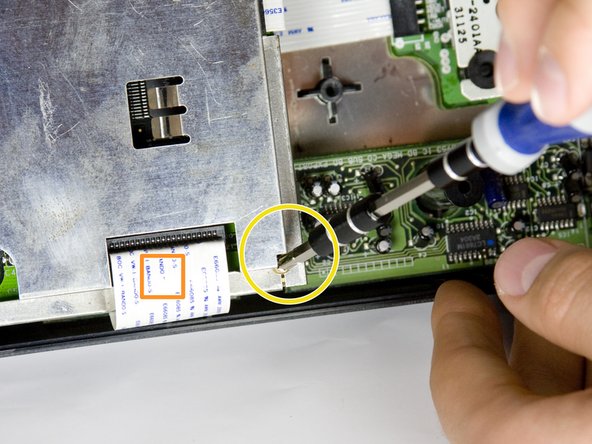
Carefully unplug the wire connected to optical reader.
-
-
Dieser Schritt ist noch nicht übersetzt. Hilf mit, ihn zu übersetzen!
-
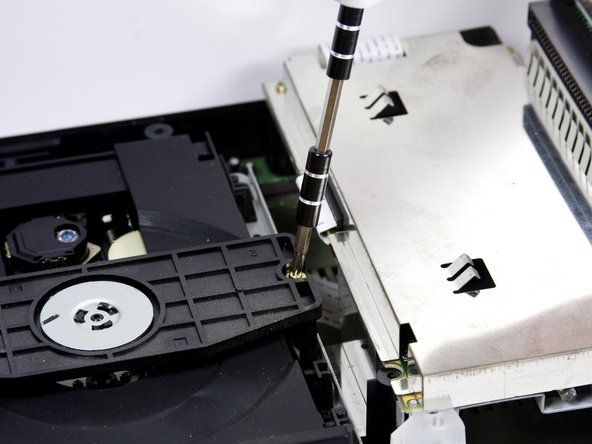
Remove the four screws on the underside of the CD tray with a small Phillips head screwdriver.
-
The four screws are highlighted on the diagram.
-
-
Dieser Schritt ist noch nicht übersetzt. Hilf mit, ihn zu übersetzen!
-
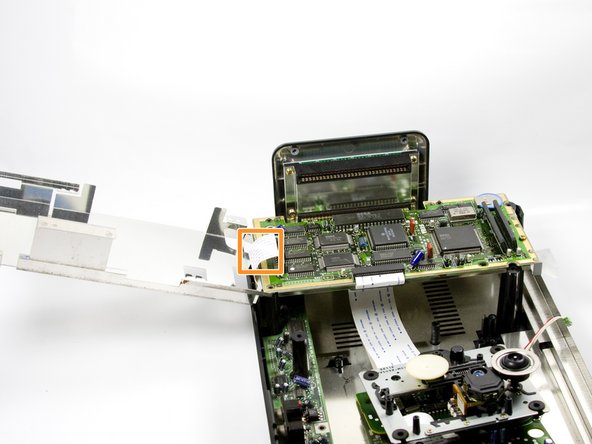
Carefully remove the CD tray from circuit board.
-
-
Dieser Schritt ist noch nicht übersetzt. Hilf mit, ihn zu übersetzen!
-
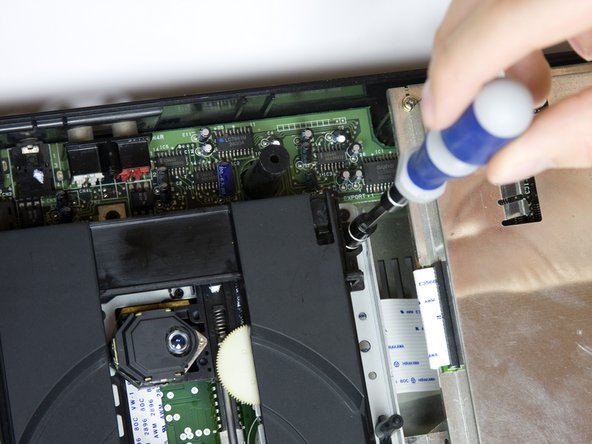
Remove the two bronze screws from the metal plate with a medium Phillips head screwdriver.
-
The screws are marked on the diagram.
-
Carefully lift the metal plate up to expose the motherboard.
-
There is a wire strip running through the metal plate that is soldered to motherboard and power supply board. The plate cannot be completely removed. Do NOT force plate upwards. All the ribbon cables can be safely unplugged by simply pulling them out of their slots.
-
-
Dieser Schritt ist noch nicht übersetzt. Hilf mit, ihn zu übersetzen!
-
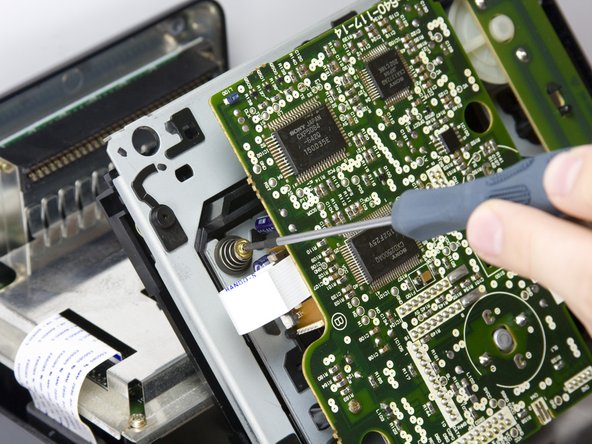
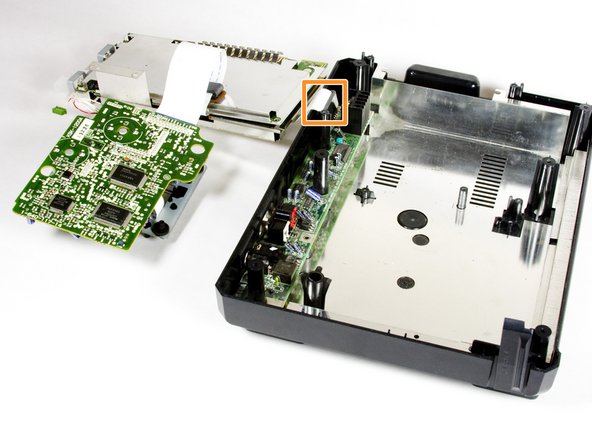
Carefully lift off the metal plate, the motherboard, and the CD tray circuit board. Then, flip each piece over, as pictured.
-
-
Dieser Schritt ist noch nicht übersetzt. Hilf mit, ihn zu übersetzen!
-
Remove the two screws from the power supply using a medium Phillips head screwdriver.
-
The two screws are marked on the diagram.
-
-
Dieser Schritt ist noch nicht übersetzt. Hilf mit, ihn zu übersetzen!
-
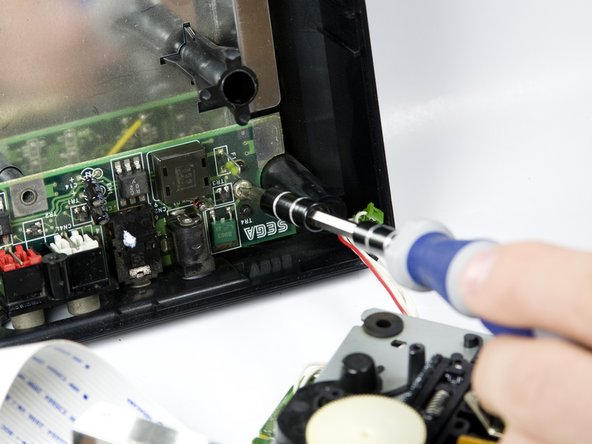
Remove the power supply unit from the console by lifting the unit up.
-
-
Dieser Schritt ist noch nicht übersetzt. Hilf mit, ihn zu übersetzen!
-
This is what the motherboard unit will look like once removed.
-


Rückgängig: Ich habe diese Anleitung nicht absolviert.
5 weitere Nutzer:innen haben diese Anleitung absolviert.

Team

Cal Poly, Team 5-14, Maness Fall 2010 Mitglied von Cal Poly, Team 5-14, Maness Fall 2010
CPSU-MANESS-F10S5G14
4 Mitglieder
12 Anleitungen geschrieben