Einleitung
Dirty filters will cause the vacuum to work less efficiently. Make sure to replace your filter on a regular basis.
-
-
Lift the latches on both sides of the vacuum to release the dust canister.
-
-
-
-
Tilt the dust canister forward to release it from its position.
-
Carefully lift away the dust canister and set it aside.
-
-
-
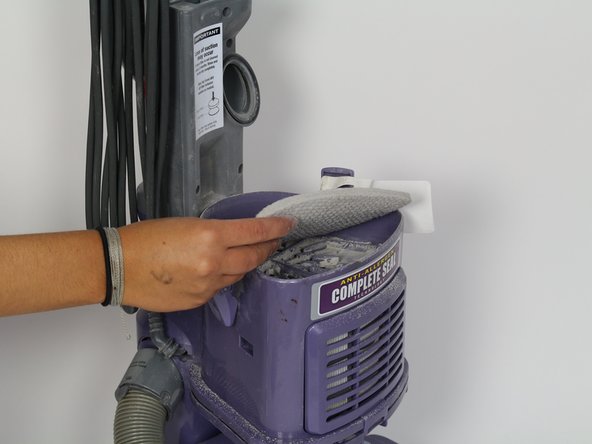
Remove the upper filter by lifting upwards on it.
-
Now that the lower filter is exposed, remove it by pulling it upwards.
-
To reassemble your device, follow these instructions in reverse order.
To reassemble your device, follow these instructions in reverse order.
Rückgängig: Ich habe diese Anleitung nicht absolviert.
4 weitere Personen haben diese Anleitung absolviert.


