Einleitung
This guide will show you how to replace the battery in a Sharp-EL-531xg calculator. You may need to change the battery when the calculator's display is dim or when the calculator is not working. This calculator has two ways to charge the battery: the solar cell and the battery; however, the solar cell is dependent on the battery.
Was du brauchst
-
-
Press the 2nd F button and then the OFF button to power down the calculator.
-
-
-
Flip the calculator over so the back is facing upwards.
-
Remove the single screw from the battery panel using a Phillips #0 screwdriver.
-
-
-
-
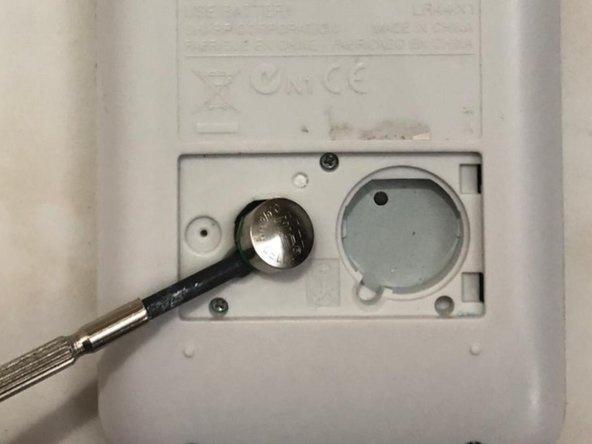
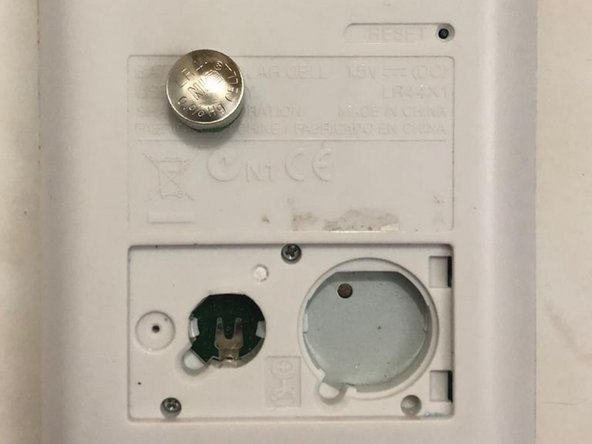
Place a spudger in the slot next to the battery and pry upwards to remove the battery.
-
-
-
Put the battery cover back on.
-
Tighten the battery cover screw with a Phillips #0 screwdriver.
-
-
-
Press the On button to turn on the calculator.
-
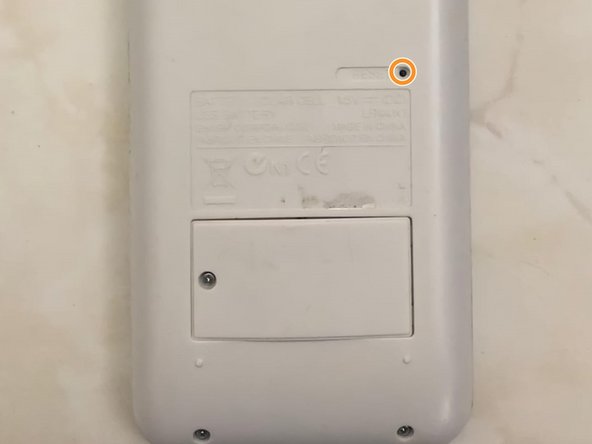
Flip the calculator over so the bottom is facing upwards.
-
Press the reset button with the pointed end of a spudger to restart the calculator.
-


Rückgängig: Ich habe diese Anleitung nicht absolviert.
Eine weitere Person hat diese Anleitung absolviert.

Team

York University, Team P-2, O'Regan Winter 2022 Mitglied von York University, Team P-2, O'Regan Winter 2022
YORK-O'REGAN-W22SPG2
1 Mitglied
1 Anleitung geschrieben