Diese Anleitung enthält neuere Änderungen. Wechsel zur neuesten unüberprüften Version.
Einleitung
This guide will demonstrate how to remove the two speakers located in the front of the device. Only minimal disassembly is required.
Was du brauchst
-
-
Gently position the device so that the buttons and speakers lie face down.
-
Unplug the power cord from the "DC Input."
-
-
-
Remove the four 12mm phillips head #2 screws located along the outer edge of the white case.
-
Once you remove the screws, pick the device up so that the grey label on the bottom of the device faces toward you.
-
With your thumbs on either side of the grey label, slowly push with both thumbs until the case pops open.
-
-
-
-
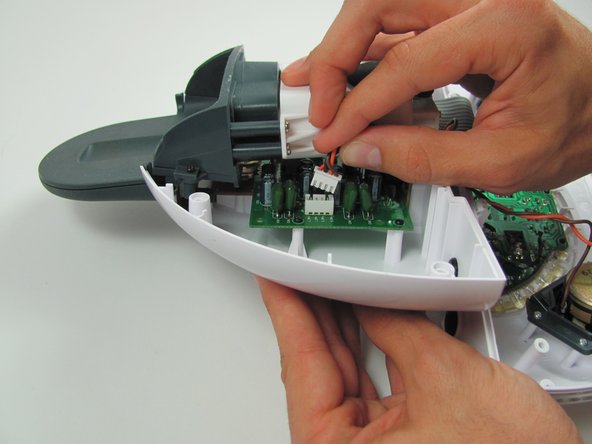
Grip both sides of the top round part of the case and carefully open it like a clam. The bottom of the two halves are connected by the speaker wire. Do not separate by more than 1 centimeter.
-
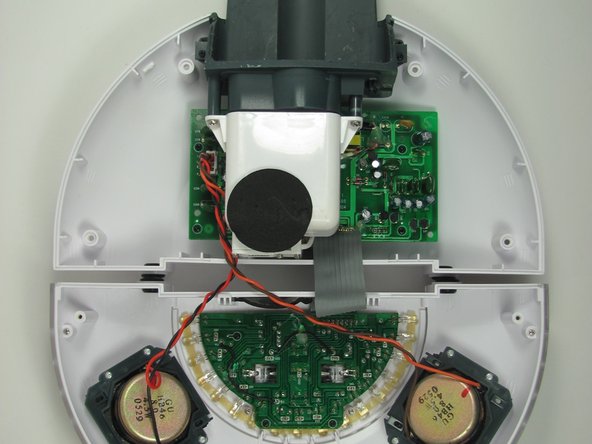
Grip either side of the top round part of the case and carefully open the device to reveal all the hidden treasures inside!
-
Lay the device down, so that all the internal components are facing upwards.
-
-
-
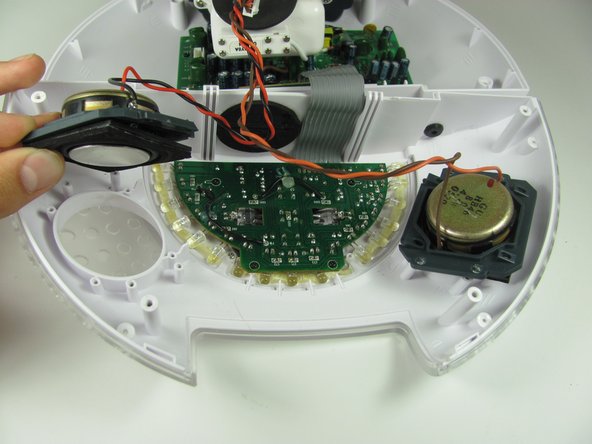
Disconnect the speaker wire from the motherboard by firmly griping the black and red wires close to the connection with two fingers and pulling the connector out.
-
-
-
Remove the eight 11mm Phillips #1 screws that connect the speakers to the white outer case.
-


To reassemble your device, follow these instructions in reverse order.
To reassemble your device, follow these instructions in reverse order.
Team

Cal Poly, Team 11-33, Amido Fall 2013 Mitglied von Cal Poly, Team 11-33, Amido Fall 2013
CPSU-AMIDO-F13S11G33
4 Mitglieder
8 Anleitungen geschrieben