Einleitung
The faceplate connects all of the internal wiring of the microphone. If it is defective (or wires need to be reattached to it), this guide shows how to replace it.
Was du brauchst
-
-
-
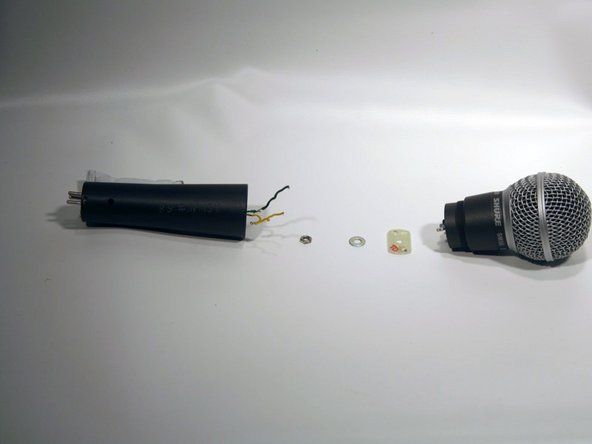
Using an adjustable crescent wrench, remove the nut and washer from the face plate by twisting the nut counterclockwise.
-


Follow the steps of the guide in reverse to reassemble the microphone. In order to solder wires back to faceplate use soldering guide.
Follow the steps of the guide in reverse to reassemble the microphone. In order to solder wires back to faceplate use soldering guide.
Team

Cal Poly, Team 7-53, Forte Fall 2012 Mitglied von Cal Poly, Team 7-53, Forte Fall 2012
CPSU-FORTE-F12S7G53
5 Mitglieder
20 Anleitungen geschrieben