Einleitung
The buttons are the components that allow you to navigate the options on the device screen. If this troubleshooting page failed to fix your device buttons, then this repair guide will show you how to get the buttons working again.
Was du brauchst
-
-
Apply pressure to the iFixit opening tool, pushing down until the the plastic casing pops off.
-
-
-
-
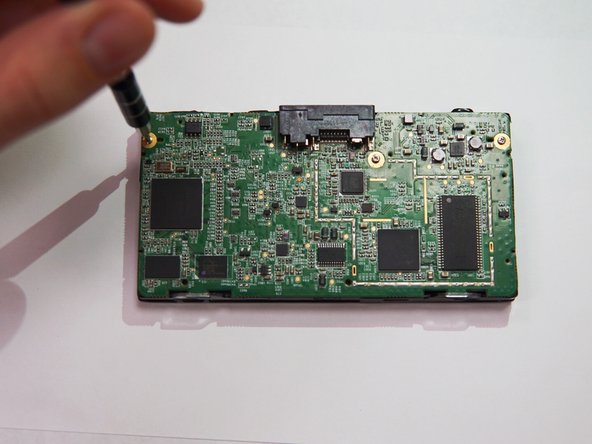
The buttons are on the opposite side of the motherboard. To remove the motherboard, use a 0.8~0.9 mm Phillips #00 screwdriver to remove the three screws that attach the motherboard to the front part of the plastic casing.
-
-
-
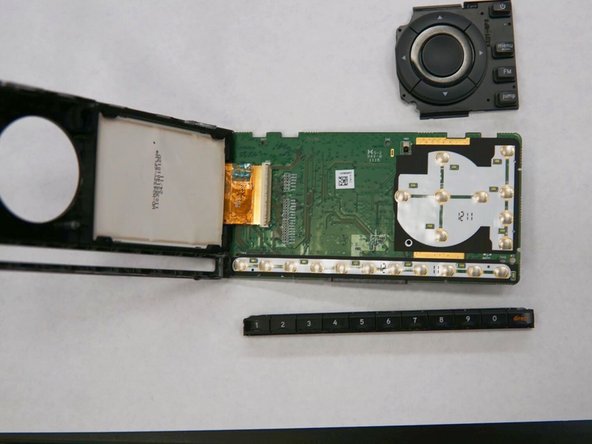
The buttons are resting in the corresponding sections of the motherboard, so pull them off.
-


To reassemble your device, follow these instructions in reverse order.
To reassemble your device, follow these instructions in reverse order.
Rückgängig: Ich habe diese Anleitung nicht absolviert.
Eine weitere Person hat diese Anleitung absolviert.
Team

UC Santa Barbara, Team S2-G8, Weedon Fall 2017 Mitglied von UC Santa Barbara, Team S2-G8, Weedon Fall 2017
UCSB-WEEDON-F17S2G8
5 Mitglieder
4 Anleitungen geschrieben