Zum Hauptinhalt wechseln

SiriusXM Onyx Plus Buttons Replacement

Was du brauchst

  1. SiriusXM Onyx Plus Buttons Replacement, Case: Schritt 1, Bild 1 von 1
    • Wedge a plastic opening tool in between the case.

  2. SiriusXM Onyx Plus Buttons Replacement: Schritt 2, Bild 1 von 3 SiriusXM Onyx Plus Buttons Replacement: Schritt 2, Bild 2 von 3 SiriusXM Onyx Plus Buttons Replacement: Schritt 2, Bild 3 von 3
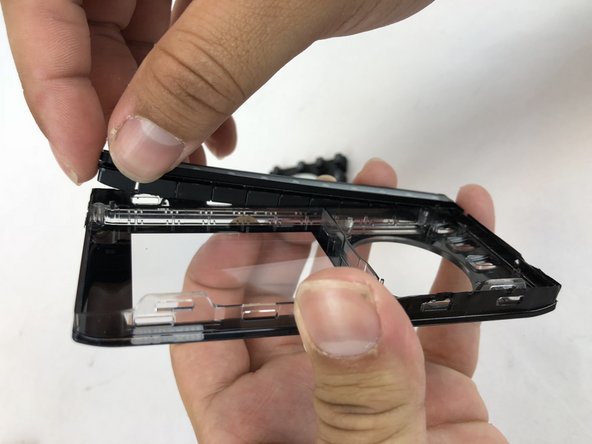
    • Starting with the bottom left corner, press down on the plastic opening tool to unhook the latches on the inside of the device.

    • You have to start with the bottom left and right corners, and then flip the device to over and do the top of the device.

  3. SiriusXM Onyx Plus Buttons Replacement: Schritt 3, Bild 1 von 1
    • Once unclipped, separate the back casing from the device.

  4. SiriusXM Onyx Plus Buttons Replacement, Buttons: Schritt 4, Bild 1 von 2 SiriusXM Onyx Plus Buttons Replacement, Buttons: Schritt 4, Bild 2 von 2
    • Remove the three 5mm JIS #00 screws from the motherboard.

  5. SiriusXM Onyx Plus Buttons Replacement: Schritt 5, Bild 1 von 1
    • Unlatch the two clips that hold the motherboard in place.

  6. SiriusXM Onyx Plus Buttons Replacement: Schritt 6, Bild 1 von 1
    • Lift the motherboard up and out of the frame.

  7. SiriusXM Onyx Plus Buttons Replacement: Schritt 7, Bild 1 von 2 SiriusXM Onyx Plus Buttons Replacement: Schritt 7, Bild 2 von 2
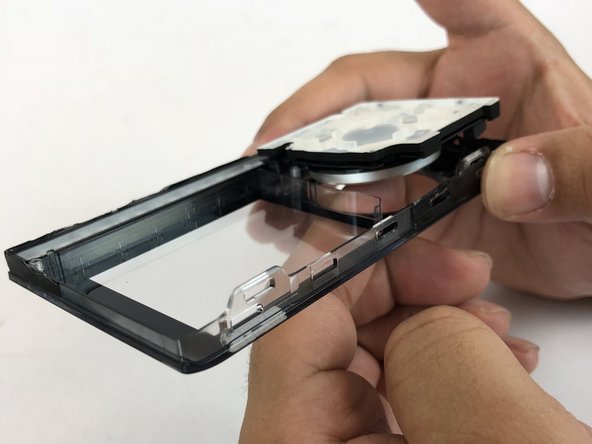
    • Holding the front casing in your hand, push the button panels out of the casing.

    • There are two buttons panels: Navigation panel and the Channel Number panel

Abschluss

To reassemble your device, follow these instructions in reverse order.

Angel Rivera

Mitglied seit: 01/25/18

532 Reputation

5 Anleitungen geschrieben

Team

USF Tampa, Team S7-G2, Passmore Spring 2018 Mitglied von USF Tampa, Team S7-G2, Passmore Spring 2018

USFT-PASSMORE-S18S7G2

4 Mitglieder

5 Anleitungen geschrieben

0 Kommentare

Kommentar hinzufügen

Seitenaufrufe:

Letzte 24 Stunden: 0

Letzte 7 Tage: 0

Letzte 30 Tage: 1

Insgesamt: 225