Einleitung
I will demonstrate how to repair the torn lining of a piece of clothing using simple methods and accessible tools. This fix will show you how to replace the inner lining of this garment in a few non-tedious steps.
The inner lining of a skirt is a very essential part and caters to a diverse range of needs, from the privacy and conservation of the body to those that desire it, to warmth, personal style choices and sustainability practices.
Was du brauchst
-
-
Cut out the old or damaged skirt lining. This can be done using a pair of scissors, or a razor blade/seam ripper if you have one.
-
-
-
After threading the needle, take some new lining (chiffon or silk material), iron it out, and make sure the lining isn't longer than the actual skirt.
-
-
-
-
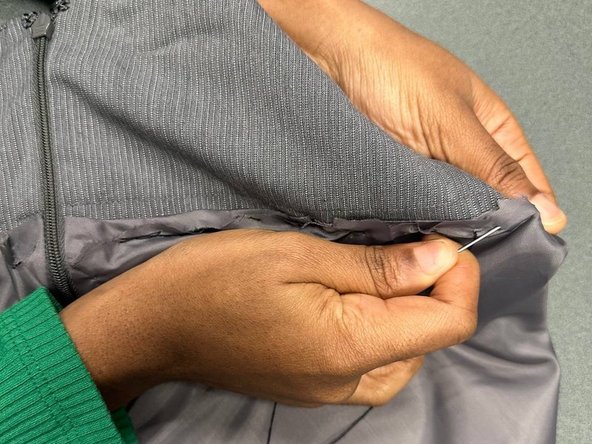
Gently insert the threaded needle. Be careful not to prick your finger.
-
Push through the skirt fabric from below.
-
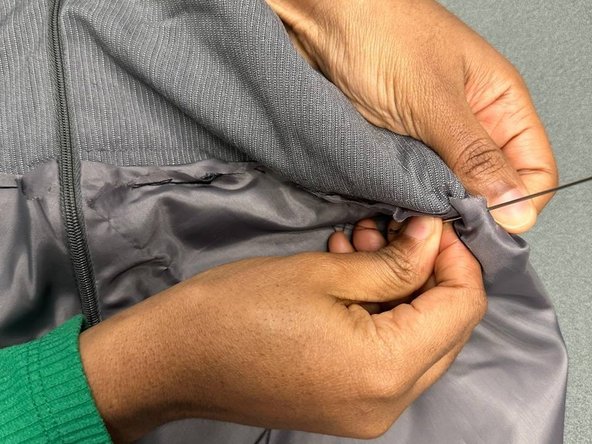
Pull the needle all the way out to form a stitch.
-
-
-
Continue with step 3 until you create stitches around the whole waistband of your skirt.
-
-
-
Cut out extra fabric if you have any, and here's what the waistline of your skirt should look like.
-
Try it on!
-


Rückgängig: Ich habe diese Anleitung nicht absolviert.
Eine weitere Person hat diese Anleitung absolviert.
Team

York University, Team O-2, O'Regan Winter 2024 Mitglied von York University, Team O-2, O'Regan Winter 2024
YORK-O'REGAN-W24SOG2
1 Mitglied
1 Anleitung geschrieben