Diese Version enthält möglicherweise inkorrekte Änderungen. Wechsle zur letzten geprüften Version.
Was du brauchst
-
Dieser Schritt ist noch nicht übersetzt. Hilf mit, ihn zu übersetzen!
-
Begin by removing the 4 screws in the back of the device using a #00 Philips screwdriver
-
-
Dieser Schritt ist noch nicht übersetzt. Hilf mit, ihn zu übersetzen!
-
Gently open the zif connector that leads to the tips. Remove the tab, allowing access to the centre screw.
-
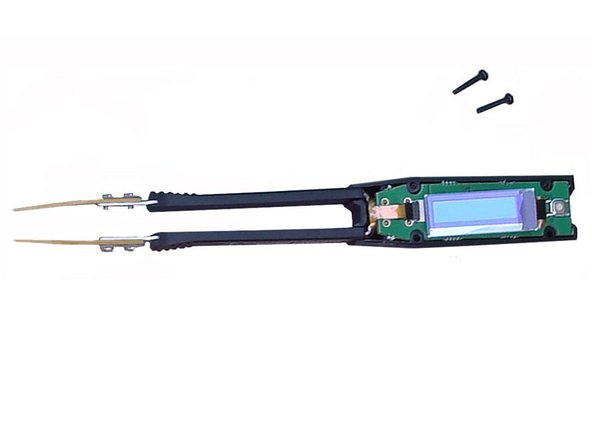
Using a T6 torx screwdriver, remove the centre screw. A nut on the back of the device will fall loose. The PCB can now be removed.
-
-
-
Dieser Schritt ist noch nicht übersetzt. Hilf mit, ihn zu übersetzen!
-
Remove the tips from the arms.
-
Remove the arms from the slots in the bottom of the housing
-
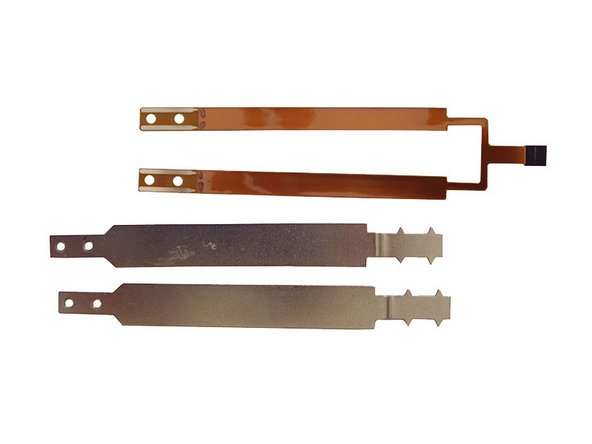
Peel the old flex off of the arms.
-
Clean off any old glue from the arms using isopropyl
-
-
Dieser Schritt ist noch nicht übersetzt. Hilf mit, ihn zu übersetzen!
-
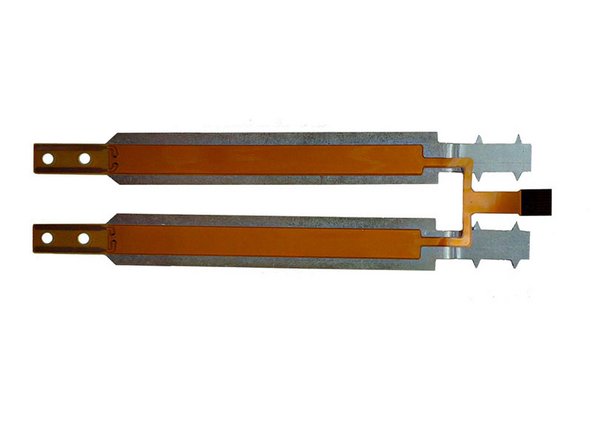
Carefully put the new flex cable on the arms. Be sure to line up the holes as perfectly as possible. Any overlap may cause false readings.
-
-
Dieser Schritt ist noch nicht übersetzt. Hilf mit, ihn zu übersetzen!
-
Reinsert the arms into the slots in the housing, and replace the PCB.
-
Tighten in the PCB with the centre screw.
-
Reconnect the tab from the arms into the zif connector. Touch the arms to test if they are measuring.
-
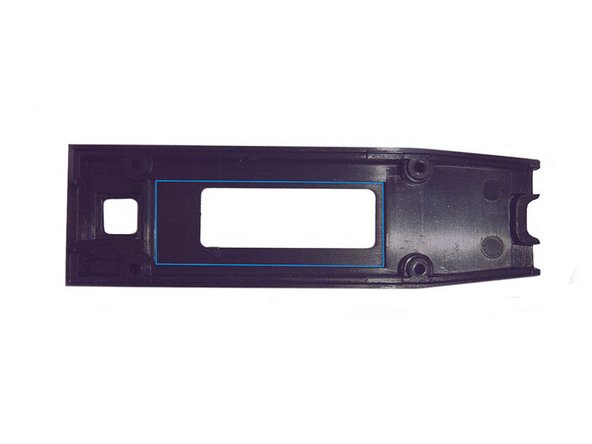
Replace the top housing. Be sure to carefully fit the screen into the rectangle in the top housing; failing to do so may damage the screen.
-
Replace the 4 screws in the bottom.
-
Replace the tips after cleaning with isopropyl.
-
If the device begins to give false readings, remove the tips and clean again. If the problem persists, look for bits of debris. Tiny pieces of metal caught in the screw threads or between the tips and the flex can cause the misreadings.
-