Was du brauchst
-
-
Take care not to damage the wires of the Wi-Fi antennas which are very bothersome.
-
-
-
-
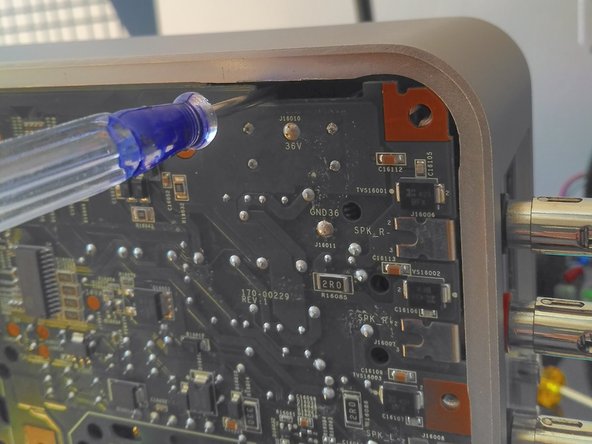
By using a screwdriver inserted through each of the 8 peripheral slots, you can access the clips of the top cover.
-
-
-
Continue unscrewing (there is a screw under the seal).
-
-
-
It's a soldered fuse. You will need to desolder it from the back in order to replace it.
-


To reassemble your device, follow these instructions in reverse order.
To reassemble your device, follow these instructions in reverse order.
Rückgängig: Ich habe diese Anleitung nicht absolviert.
Ein:e weitere:r Nutzer:in hat diese Anleitung absolviert.
Besonderer Dank geht an diese Übersetzer:innen:
100%


Diese Übersetzer:innen helfen uns, die Welt zu reparieren! Wie kann ich mithelfen?
Hier starten ›
Ein Kommentar
Bravo
Ce tuto peux rendre service a des consommateurs abusés par la sociète Sonos .
Merci