Einleitung
The mid-woofer ensures the faithful reproduction of mid-range frequencies crucial for accurate playback of vocals and instruments, while also delivering a deep, rich bass. If it seizes to function the audio out put of the device will be greatly inhibited. This guide gives a step by step procedure on how to dismantle and replace the mid-woofer speaker.
Was du brauchst
-
-
Remove the rubber footing from the bottom of the device. Pry it up from one end using one of the plastic opening tools.
-
Once you pry open one end, use precision tweezers to remove rubber footing.
-
-
-
Using a metal spudger, pry open a corner of the adhesive tape.
-
Use precision tweezers to remove the adhesive tape.
-
-
-
Remove the four 10 mm Torx security #10 screws that hold the base together.
-
Remove the base by lifting it vertically away from the bulk of the device.
-
-
-
Remove the 10 mm Torx security #10 screw that holds down the exterior screen.
-
Using precision tweezers, remove the metal bracket.
-
-
-
-
Remove the four 9 mm Torx Security #9 head screws. There are two on each side.
-
-
-
Using a plastic opening tool, pry open the top cap containing the power and volume button.
-
Vertically remove the top cap.
-
-
-
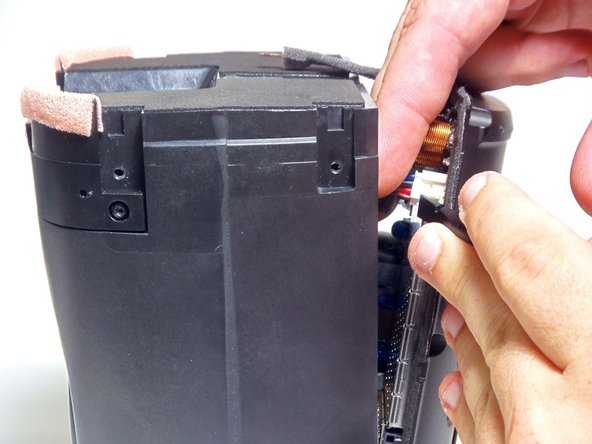
Using a plastic opening tool, pry open the circuit flap.
-
Once flap is loosened, use your hand to remove the circuit wire.
-
-
-
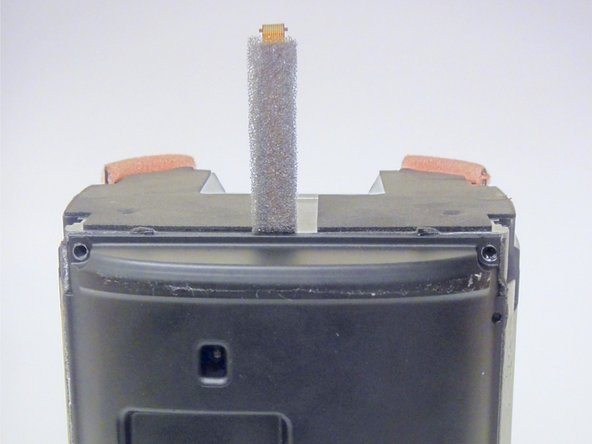
Using a plastic opening tool, remove the grey tape from both sides of the device.
-
-
-
Remove the six 9 mm Torx #9 screws.
-
Using a plastic opening tool, detach the rear housing cover from the housing.
-
-
-
Using tweezers, grip the connector fixed to the motherboard's audio cable.
-
While pulling on the connector, detach the cable by pressing the connectors release.
-
-
-
Using your fingers, grip the connector fixed to the motherboards power cable and detach it.
-
You will now be able to remove the rear housing cover.
-
-
-
Remove the two 9mm Torx #9 screws fastening the power cable to the housing.
-
Remove the power cable.
-
-
-
Using a metal spudger, press the release located in the center of the connector .
-
While pressing the release pull on the connector detaching it from the speaker.
-
Do this for both connections.
-
-
-
Using the Torx T20 bit remove the four 13 mm screws fastening the speaker to the housing.
-
Remove the speaker by lifting it up towards the top of the housing and out at an angle.
-


To reassemble your device, follow these instructions in reverse order.
To reassemble your device, follow these instructions in reverse order.
Rückgängig: Ich habe diese Anleitung nicht absolviert.
15 weitere Nutzer:innen haben diese Anleitung absolviert.
Team

USF Tampa, Team 8-4, Eyestone Fall 2015 Mitglied von USF Tampa, Team 8-4, Eyestone Fall 2015
USFT-EYESTONE-F15S8G4
4 Mitglieder
16 Anleitungen geschrieben
41 Kommentare
Step 12 omits the connection to the Wi-Fi board. It's attached behind the hand in the picture and removing two T7 screws lets it slide out.
Where can i buy a new mid-woofer speaker?
Hi you have notice for midWoofer? asmaccocell@gmail.com
asmacco -
Nice guide. But without a matching replacement speaker, or at least specifications, it is useless. Even worse: without opening my Play:1 would be accepted at Sonos support :(
true true ))
totally pointless
whats the specs to replace the subwoofer
))
montpc74 -