Diese Version enthält möglicherweise inkorrekte Änderungen. Wechsle zur letzten geprüften Version.
Was du brauchst
-
Dieser Schritt ist noch nicht übersetzt. Hilf mit, ihn zu übersetzen!
-
Remove all cables from the device.
-
-
Dieser Schritt ist noch nicht übersetzt. Hilf mit, ihn zu übersetzen!
-
Use a #1 Phillips screwdriver to remove the three screws located in the back of the device.
-
-
Dieser Schritt ist noch nicht übersetzt. Hilf mit, ihn zu übersetzen!
-
Pull the top cover off by sliding back from the device once the screws have been taken out.
-
-
-
Dieser Schritt ist noch nicht übersetzt. Hilf mit, ihn zu übersetzen!
-
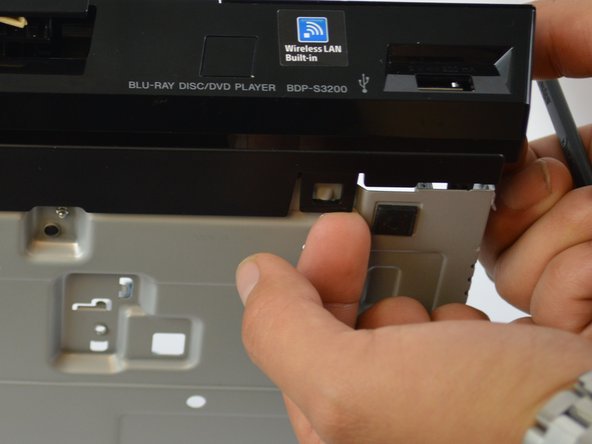
Lightly lift off the hook on both front rear side and the bottom of the device to remove the front panel
-
-
Dieser Schritt ist noch nicht übersetzt. Hilf mit, ihn zu übersetzen!
-
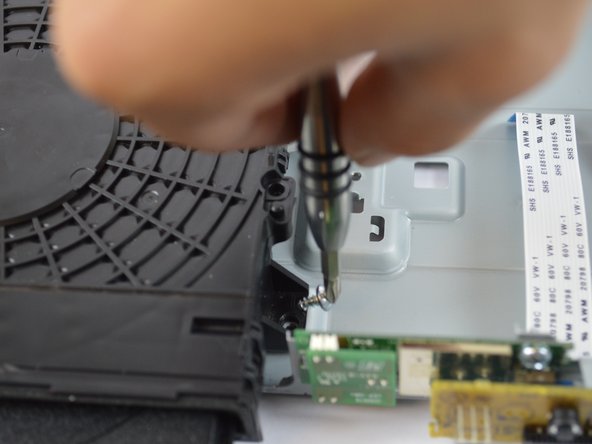
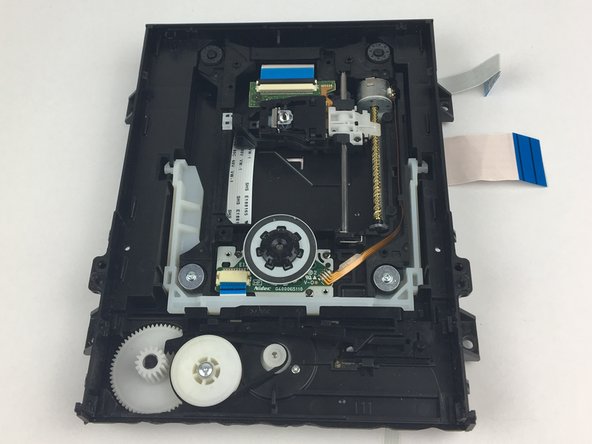
Remove the two screws that attach the disk drive to the frame using a #1 Phillips screwdriver.
-
-
Dieser Schritt ist noch nicht übersetzt. Hilf mit, ihn zu übersetzen!
-
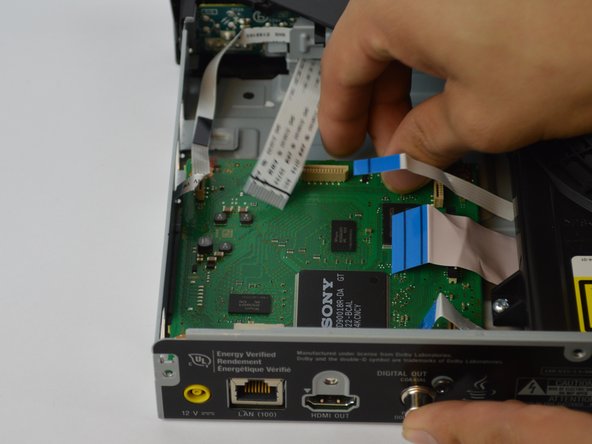
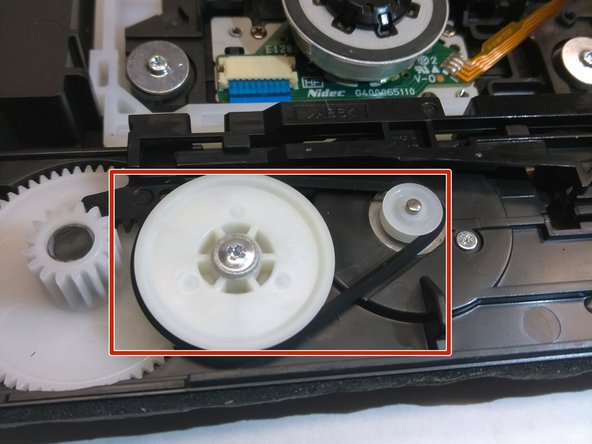
Carefully pull the (3) three bands off vertically.
-
-
Dieser Schritt ist noch nicht übersetzt. Hilf mit, ihn zu übersetzen!
-
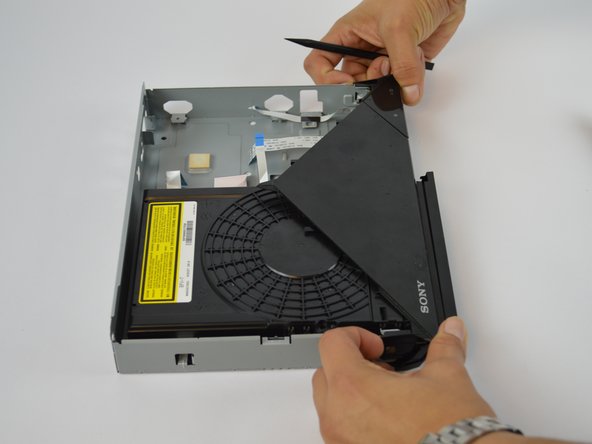
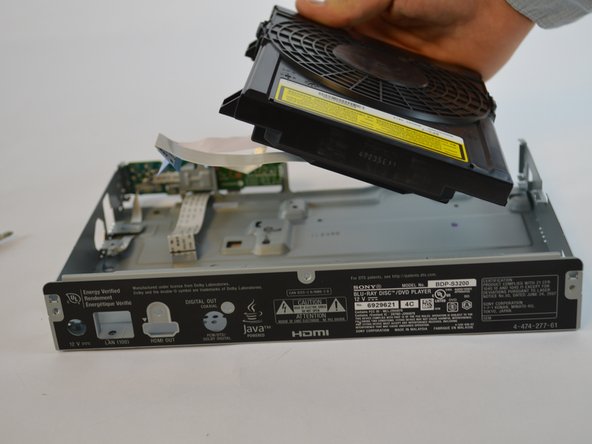
Lift the disk drive off of the device
-
-
Dieser Schritt ist noch nicht übersetzt. Hilf mit, ihn zu übersetzen!
-
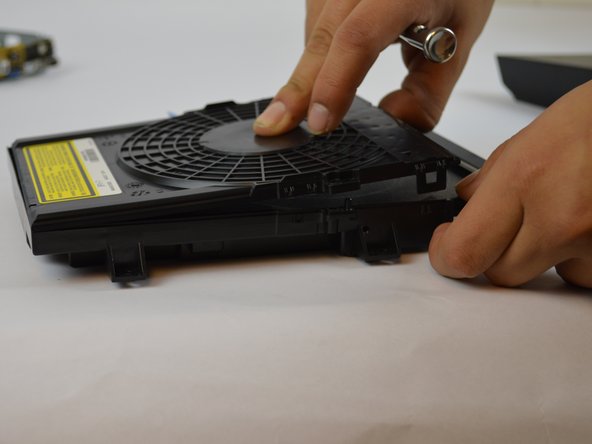
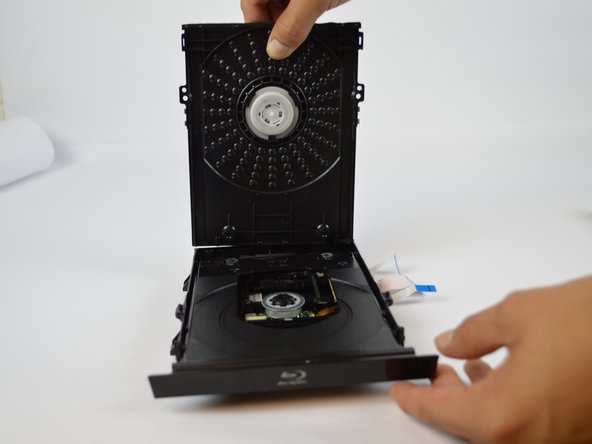
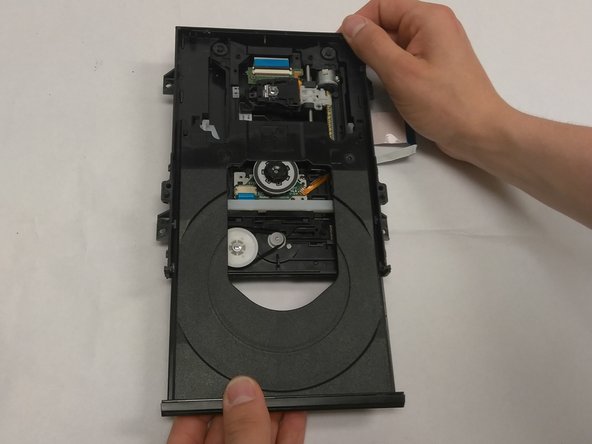
Remove the top of the disk drive by gently lifting up on the four latches located on both sides of the disk drive while lifting upwards.
-


Rückgängig: Ich habe diese Anleitung nicht absolviert.
2 weitere Nutzer:innen haben diese Anleitung absolviert.
Team

USF Tampa, Team S5-G2, Walkup Fall 2017 Mitglied von USF Tampa, Team S5-G2, Walkup Fall 2017
USFT-WALKUP-F17S5G2
5 Mitglieder
3 Anleitungen geschrieben