Zum Hauptinhalt wechseln

Sony Cyber-shot DSC-HX300 View Finder Replacement

Was du brauchst

  1. Sony Cyber-shot DSC-HX300 View Finder Replacement, Battery: Schritt 1, Bild 1 von 1
    • Make sure the camera is powered off

    • Turn the camera upside down. This is a view of the bottom of the camera.

  2. Sony Cyber-shot DSC-HX300 View Finder Replacement: Schritt 2, Bild 1 von 1
    • Push battery cover away from the camera.

  3. Sony Cyber-shot DSC-HX300 View Finder Replacement: Schritt 3, Bild 1 von 1
    • Push the blue tab that secures the battery. The battery will then spring out.

  4. Sony Cyber-shot DSC-HX300 View Finder Replacement: Schritt 4, Bild 1 von 2 Sony Cyber-shot DSC-HX300 View Finder Replacement: Schritt 4, Bild 2 von 2
    • Remove the battery.

  5. Sony Cyber-shot DSC-HX300 View Finder Replacement, View Finder: Schritt 5, Bild 1 von 3 Sony Cyber-shot DSC-HX300 View Finder Replacement, View Finder: Schritt 5, Bild 2 von 3 Sony Cyber-shot DSC-HX300 View Finder Replacement, View Finder: Schritt 5, Bild 3 von 3
    • Make sure to remove the battery before disassembly to prevent electrocution.

    • Remove the 3 (4 cm) Philips head screws holding the plastic camera housing together. They are located on the back of the camera.

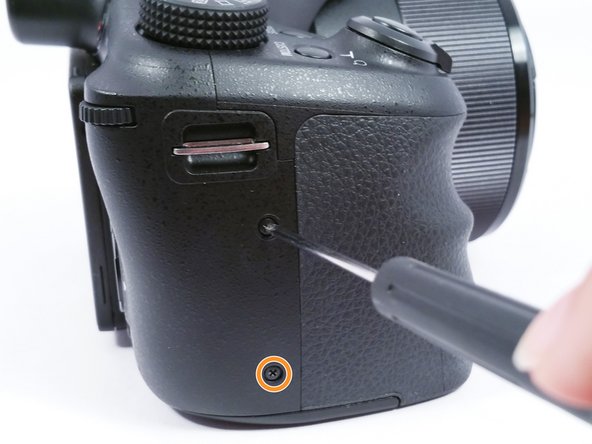
    • Remove the 2 (4 cm) Phillips head screws on the right side of the camera.

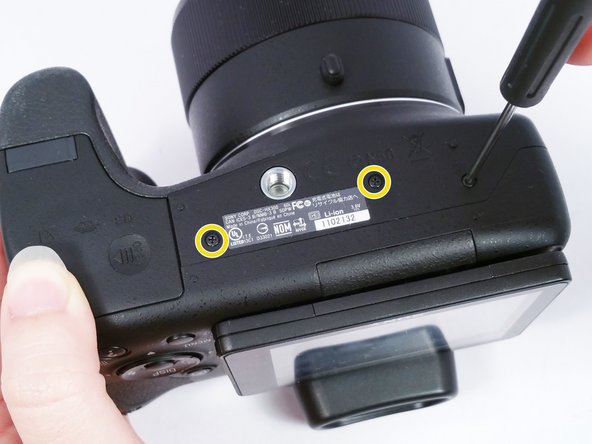
    • Turn the camera upside down and remove the remaining 3 (4 cm) Phillips head screws holding the plastic housing together.

  6. Sony Cyber-shot DSC-HX300 View Finder Replacement: Schritt 6, Bild 1 von 2 Sony Cyber-shot DSC-HX300 View Finder Replacement: Schritt 6, Bild 2 von 2
    • Using a plastic opening tool, separate the plastic camera housing.

  7. Sony Cyber-shot DSC-HX300 View Finder Replacement: Schritt 7, Bild 1 von 1
    • Disconnect the ribbon wire attaching the screen to the camera.

  8. Sony Cyber-shot DSC-HX300 View Finder Replacement: Schritt 8, Bild 1 von 2 Sony Cyber-shot DSC-HX300 View Finder Replacement: Schritt 8, Bild 2 von 2
    • Remove the 1 (2 cm) Phillips head screw

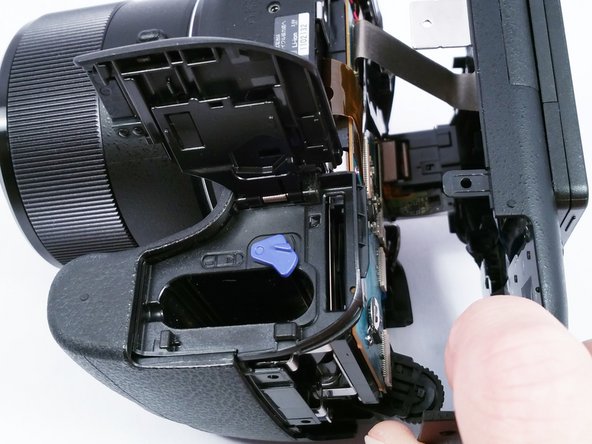
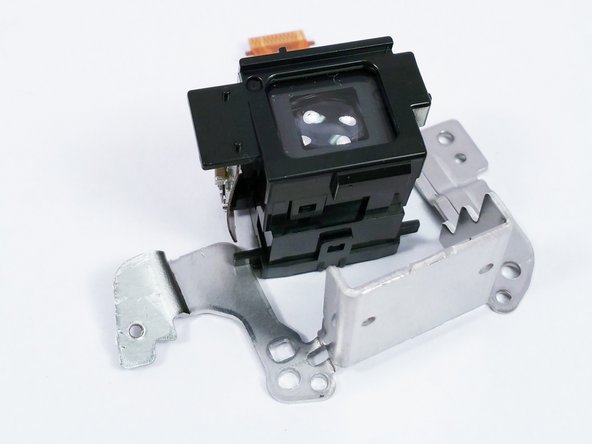
    • Remove the 2 (5 cm) Phillips head screws that mount the View Finder to the camera.

    • Carefully disconnect the ribbon wire that connects the View Finder to the Motherboard.

  9. Sony Cyber-shot DSC-HX300 View Finder Replacement: Schritt 9, Bild 1 von 2 Sony Cyber-shot DSC-HX300 View Finder Replacement: Schritt 9, Bild 2 von 2
    • Gently pull the plastic View Finder off of the metal mounting bracket.

  10. Sony Cyber-shot DSC-HX300 View Finder Replacement: Schritt 10, Bild 1 von 1
    • The replacement View Finder can now be installed.

Abschluss

To reassemble your device, follow these instructions in reverse order.

Ein:e weitere:r Nutzer:in hat diese Anleitung absolviert.

Team

USF Tampa, Team 4-6, Meier Fall 2015 Mitglied von USF Tampa, Team 4-6, Meier Fall 2015

USFT-MEIER-F15S4G6

4 Mitglieder

18 Anleitungen geschrieben

0 Kommentare

Kommentar hinzufügen

Seitenaufrufe:

Letzte 24 Stunden: 0

Letzte 7 Tage: 0

Letzte 30 Tage: 8

Insgesamt: 1,158