Diese Version enthält möglicherweise inkorrekte Änderungen. Wechsle zur letzten geprüften Version.
Was du brauchst
-
Dieser Schritt ist noch nicht übersetzt. Hilf mit, ihn zu übersetzen!
-
The battery cover is located on the right side of the camera.
-
Slide the cover to expose the battery.
-
-
Dieser Schritt ist noch nicht übersetzt. Hilf mit, ihn zu übersetzen!
-
Ensure that the battery lines up properly with the slot in the camera.
-
Slide battery in.
-
Slide cover closed.
-
-
Dieser Schritt ist noch nicht übersetzt. Hilf mit, ihn zu übersetzen!
-
This is the camera without the front cover.
-
-
Dieser Schritt ist noch nicht übersetzt. Hilf mit, ihn zu übersetzen!
-
Remove tripod piece located at the bottom of the camera. This piece should slide out with ease.
-
-
Dieser Schritt ist noch nicht übersetzt. Hilf mit, ihn zu übersetzen!
-
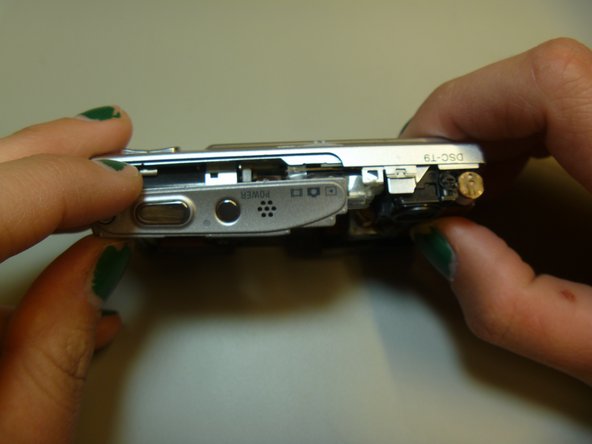
Slide open the top panel. This is located on the top of the camera, where the power button and shutter button are.
-
-
Dieser Schritt ist noch nicht übersetzt. Hilf mit, ihn zu übersetzen!
-
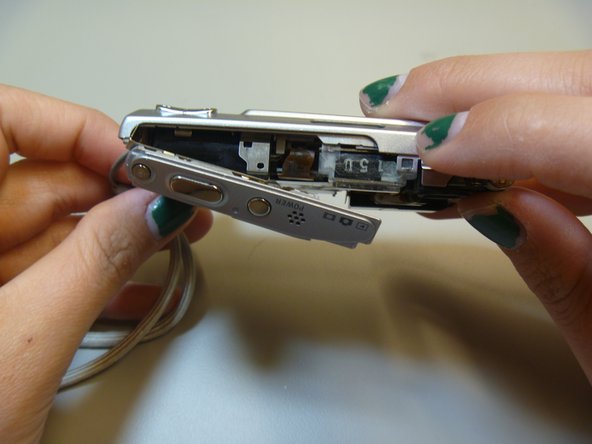
Pull apart the inner hardware from the back case by prying on the left side.
-
-
-
Dieser Schritt ist noch nicht übersetzt. Hilf mit, ihn zu übersetzen!
-
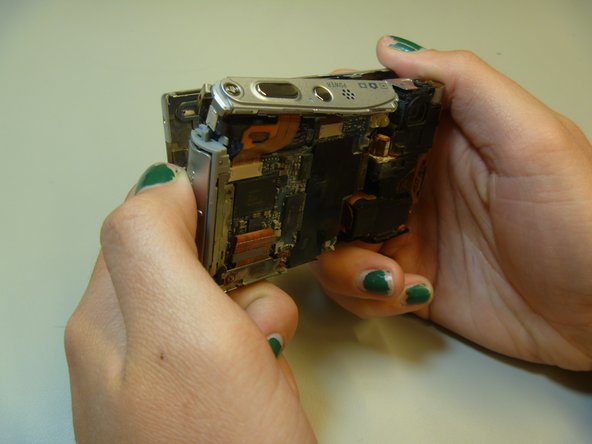
The back cover is now removed from the internal hardware.
-
-
Dieser Schritt ist noch nicht übersetzt. Hilf mit, ihn zu übersetzen!
-
Use plastic opening tool pop open the two ribbons attaching to the CCD module.
-
These are the two ribbons.
-
-
Dieser Schritt ist noch nicht übersetzt. Hilf mit, ihn zu übersetzen!
-
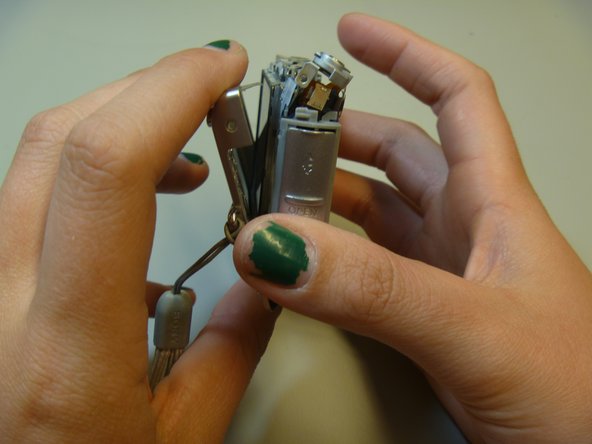
The CCD module is now removed from the camera.
-
-
Dieser Schritt ist noch nicht übersetzt. Hilf mit, ihn zu übersetzen!
-
These two screws hold in the AV port.
-
Use Phillips screwdriver to remove screws.
-
-
Dieser Schritt ist noch nicht übersetzt. Hilf mit, ihn zu übersetzen!
-
Use pry stick to pop off ribbon.
-


Team

Clemson, Team 13-1, Benson Spring 2013 Mitglied von Clemson, Team 13-1, Benson Spring 2013
CLEM-BENSON-S13S13G1
4 Mitglieder
20 Anleitungen geschrieben