Diese Anleitung enthält neuere Änderungen. Wechsel zur neuesten unüberprüften Version.
Einleitung
This guide provides access to the LCD of the camera, which is necessary to remove for many other parts. Replacing the LCD is a common procedure for this camera.
Was du brauchst
-
-
The battery cover is located on the right side of the camera.
-
Slide the cover to expose the battery.
-
-
-
Ensure that the battery lines up properly with the slot in the camera.
-
Slide battery in.
-
Slide cover closed.
-
-
-
Remove screws from outside of camera. There are 6 screws total.
-
3 screws on underside.
-
1 screw on right side, near battery cover.
-
2 screws on left side.
-
-
-
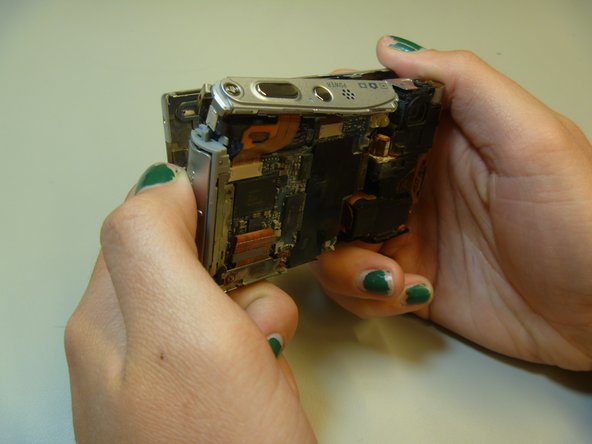
Gently pull the front cover off of the main camera.
-
All of the inner parts of the camera are attached to the back screen.
-
-
-
The front cover is now removed from the camera and the internal hardware is now exposed.
-
-
-
-
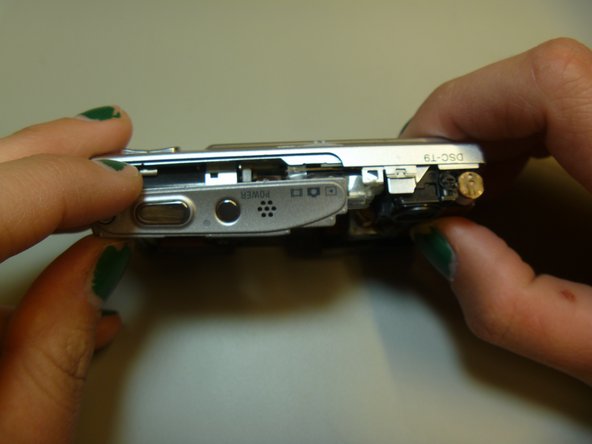
Remove tripod piece located at the bottom of the camera. This piece should slide out with ease.
-
-
-
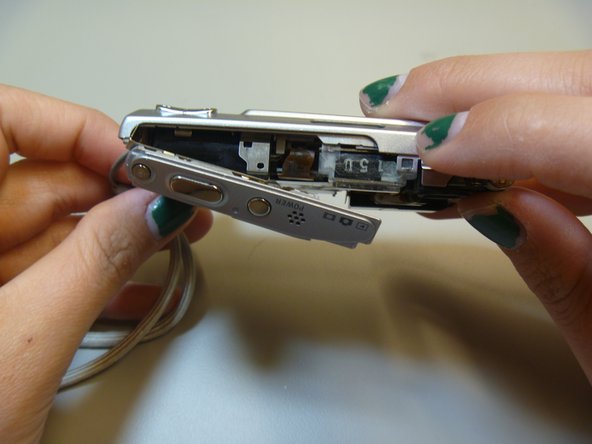
Slide open the top panel. This is located on the top of the camera, where the power button and shutter button are.
-
-
-
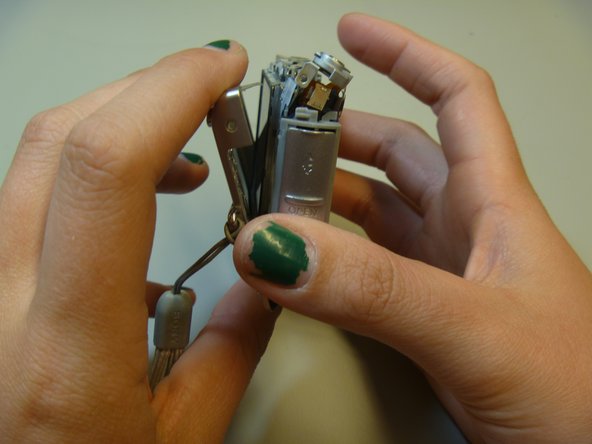
The LCD is now removed from the camera, although attached by a ribbon at the bottom of the camera.
-
-
-
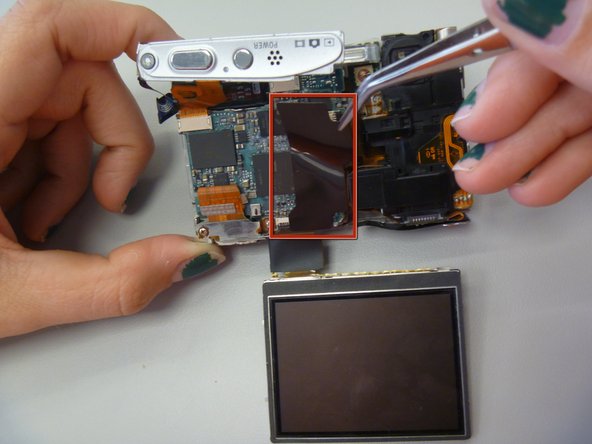
Flip camera to other side.
-
Use tweezers to peel off black sticker, located in middle of the motherboard.
-


To reassemble your device, follow these instructions in reverse order.
To reassemble your device, follow these instructions in reverse order.
Rückgängig: Ich habe diese Anleitung nicht absolviert.
Ein:e weitere:r Nutzer:in hat diese Anleitung absolviert.
Team

Clemson, Team 13-1, Benson Spring 2013 Mitglied von Clemson, Team 13-1, Benson Spring 2013
CLEM-BENSON-S13S13G1
4 Mitglieder
20 Anleitungen geschrieben