Diese Anleitung enthält neuere Änderungen. Wechsel zur neuesten unüberprüften Version.
Was du brauchst
-
-
Place the phone face down on a flat smooth surface so that the camera, logos, and speaker face up.
-
Using the provided notch on the bottom of the back cover, insert a plastic opening tool and lift upwards to remove the back cover of the phone.
-
-
-
Set the cover to the side upon removal.
-
Insert the plastic opening tool into the crevice between the camera and the battery of the phone. Using a gentle prying motion, lift the end of the battery and remove.
-
After removal, recycle the defective battery appropriately.
-
-
-
Flip the phone over and remove the Sony Ericsson sticker that is over the phone's ear speaker.
-
Using a T5 screwdriver, loosen and remove the two screws under the Sony Ericsson sticker by turning them counterclockwise.
-
-
-
-
Using a mini phillips head screwdriver, loosen and remove these screws by turning them counterclockwise.
-
-
-
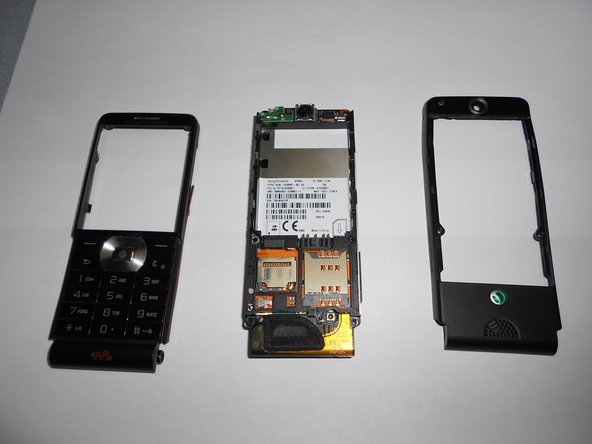
Insert a prybar in bottom crack between the front and back plates (see picture) and use a gentle upward pull to separate the back case from the front case.
-
-
-
Using a T5 screwdriver, loosen and remove the two screws by turning them counterclockwise.
-
-
-
Using a prybar and a gentle outward motion, separate the front plate from the inner phone workings.
-
After removing the back plate and the front plate, the phone should look like the remaining pictures.
-
-
-
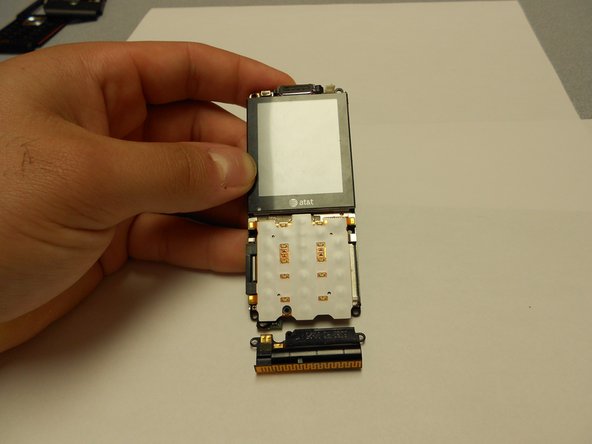
Using a mini phillips head screwdriver, loosen and remove the screw located on the front number pad by turning it counterclockwise.
-
After removing this screw, the speaker will be free to move and the phone will look like this remaining picture.
-
To reassemble the phone, follow these steps in reverse order.
-


To reassemble your device, follow these instructions in reverse order.
To reassemble your device, follow these instructions in reverse order.
Rückgängig: Ich habe diese Anleitung nicht absolviert.
Ein:e weitere:r Nutzer:in hat diese Anleitung absolviert.
Team

Clemson, Team 1-4, Benson Spring 2012 Mitglied von Clemson, Team 1-4, Benson Spring 2012
CLEM-BENSON-S12S1G4
4 Mitglieder
14 Anleitungen geschrieben