Einleitung
In this guide we well be removing the internal HDD of the DCR-SR68 Handycam and replacing it with a new one. This will involve removing some of the exterior casing to access the HDD.
Was du brauchst
-
-
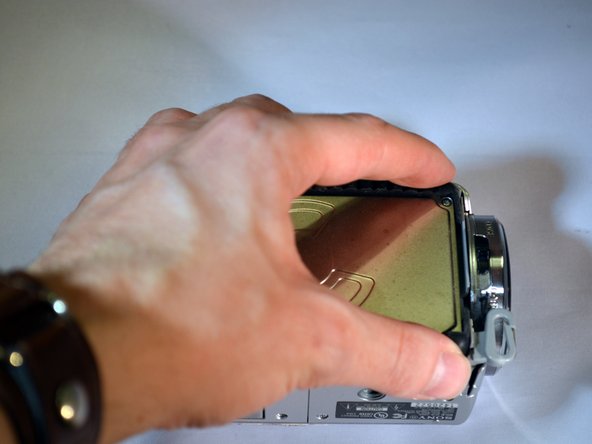
Undo Hand Strap
-
Get the iFixit screwdriver and remove the extension.
-
Use a JO Philips head bit.
-
-
-
Place device on left side with lens facing right.
-
Using the screwdriver, unscrew the left middle 3mm Philips screw.
-
Open the "DC IN" tabe. (Second 3mm Philips screw is revealed)
-
Unscrew this screw.
-
-
-
Turn device over onto it's top with the lens facing right.
-
Unscrew the top left and top right 3mm Philips screws.
-
-
-
-
Using your fingers, lift the HDD from it's right end, pivoting on it's left end.
-
-
-
Using your fingers, pull the black rubber bumpers off of the HDD.
-
Set the old HDD aside.
-


To reassemble your device, follow these instructions in reverse order.
To reassemble your device, follow these instructions in reverse order.
Rückgängig: Ich habe diese Anleitung nicht absolviert.
17 weitere Nutzer:innen haben diese Anleitung absolviert.

Team

Eastern Washington University, Team 2-5, Andersen Winter 2016 Mitglied von Eastern Washington University, Team 2-5, Andersen Winter 2016
EWU-ANDERSEN-W16S2G5
5 Mitglieder
12 Anleitungen geschrieben
7 Kommentare
What does the letter H after hte HDD1818 stands for?
My dcr-sr68 hdd not formting please find salution
My sony handycam DCR-SR68 HDD not formating plz find