Einleitung
If you notice your Sony ICF-C1PMK2 clock radio does not respond when you push the buttons, this guide provides step by step instructions on replacing the buttons. The buttons allow you to turn up volume play and pause the music etc.
Was du brauchst
-
-
Remove the 1 cm Phillips #00 head screws.
-
Use a plastic spudger to pry the back chassis away from the front.
-
-
-
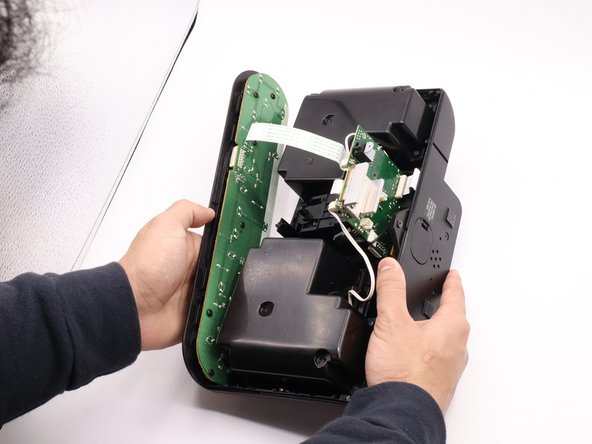
Open the back chassis.
-
Remove the top ribbon cable by pulling it straight out of the port.
-
-
-
-
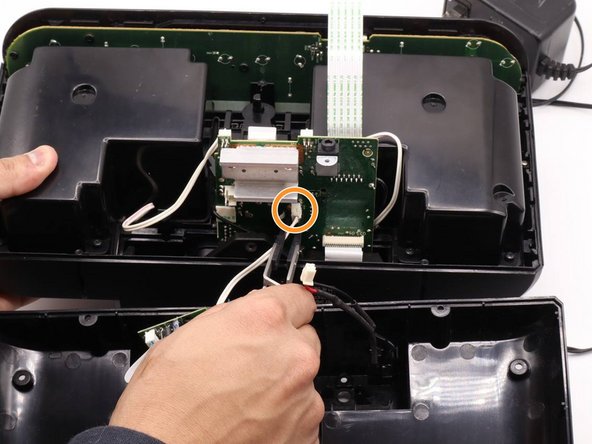
Disconnect the power connector.
-
Disconnect the AUX port connector.
-
Slide the buttons out of the front chassis.
-
-
-
Remove the 1 cm Phillips #00 screws on the board.
-
Pull the plastic buttons off of the housing.
-
-
-
Place the soldering iron onto the solder joint of the broken button.
-
Once melted, remove the button, being careful to not touch the melted metal.
-
Replace the button and touch the soldering iron to the solder wire over the button contacts. Refer to the prerequisite guide if you need more help.
-
Give the new solder 30 to 45 seconds to cool before reassembling.
To reassemble your device, follow these instructions in reverse order.
Give the new solder 30 to 45 seconds to cool before reassembling.
To reassemble your device, follow these instructions in reverse order.
Rückgängig: Ich habe diese Anleitung nicht absolviert.
Eine weitere Person hat diese Anleitung absolviert.


