Einleitung
The speakers of the device allow you to listen for your favorite songs and hear your alarm in the morning. If you hear a crackling sound or no sound at all, follow these steps to replace the speaker.
Was du brauchst
-
-
Unscrew the 1 cm Phillips #00 screws.
-
Use spudger to loosen the back panel of the device.
-
-
-
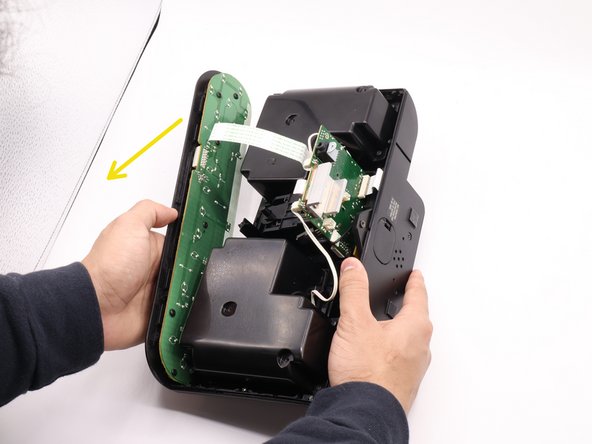
Slowly pull the back panel off until it separated from the main panel.
-
Carefully unplug all of the ribbon cables connecting the back panel to the main panel.
-
-
-
-
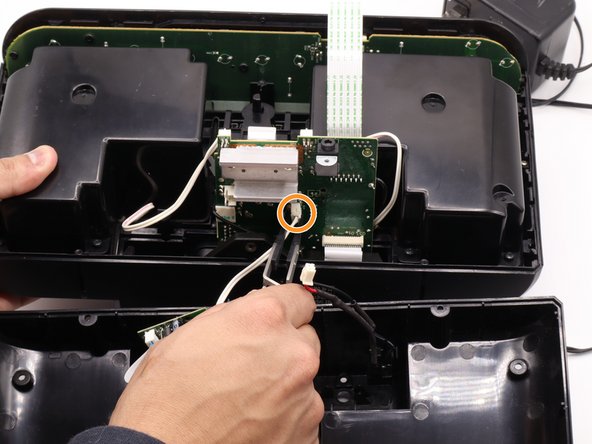
Remove the power connector with a pair of ESD safe tweezers.
-
Remove the Aux port connector with a pair of ESD safe tweezers.
-
Slide the button panels out of the chassis.
-
-
-
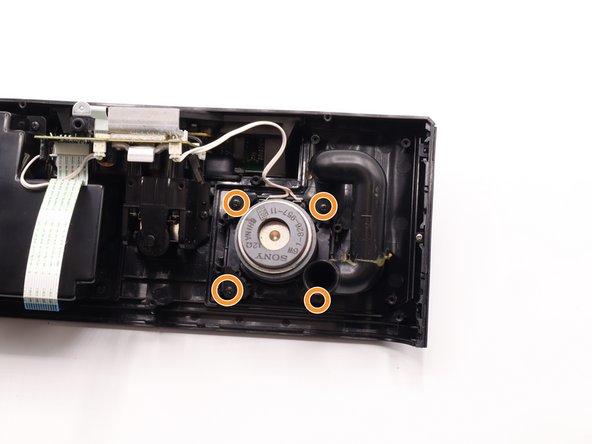
Unscrew the four 1 cm Phillips #00 screws and remove the speaker cover.
-
Unscrew the 1 cm Phillips #00 screws holding the speaker in place.
-
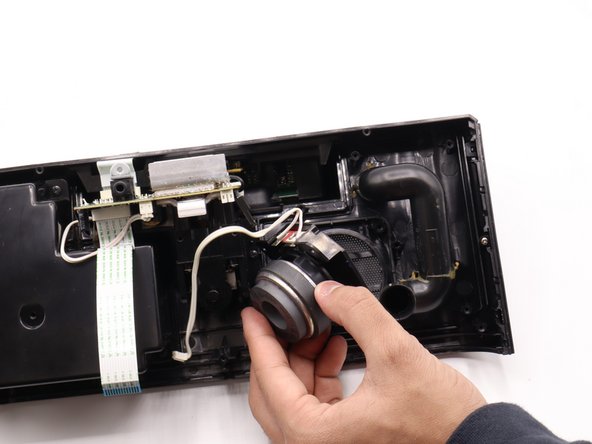
Remove the old speaker and insert the new one.
-


To reassemble your device, follow these instructions in reverse order.
To reassemble your device, follow these instructions in reverse order.

Team

University of North Texas, Team 6-5, Kilpatrick Fall 2023 Mitglied von University of North Texas, Team 6-5, Kilpatrick Fall 2023
UNT-KILPATRICK-F23S6G5
5 Mitglieder
5 Anleitungen geschrieben