Einleitung
When completing this guide, do not damage the processor or motherboard.
Was du brauchst
-
-
Use a Phillips #00 screwdriver to unscrew the two 5 mm screws located on the bottom of the back of the device.
-
-
-
-
Use a Phillips #00 screwdriver to remove the two 3 mm screws located on the portion under the top panel of the device.
-
-
-
Unscrew one 2.5 mm screw using a Phillips #00 screwdriver on bottom right portion of device located near audio jack.
-
-
-
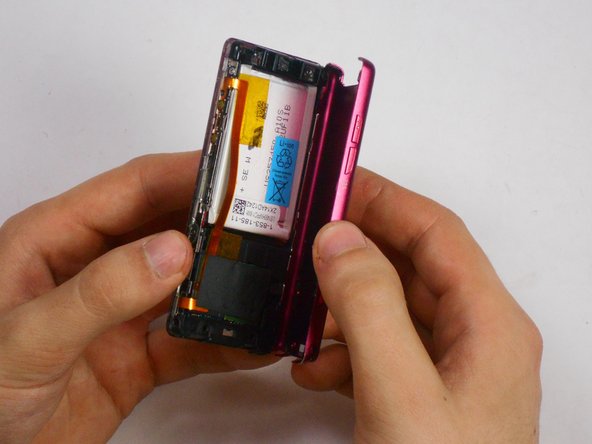
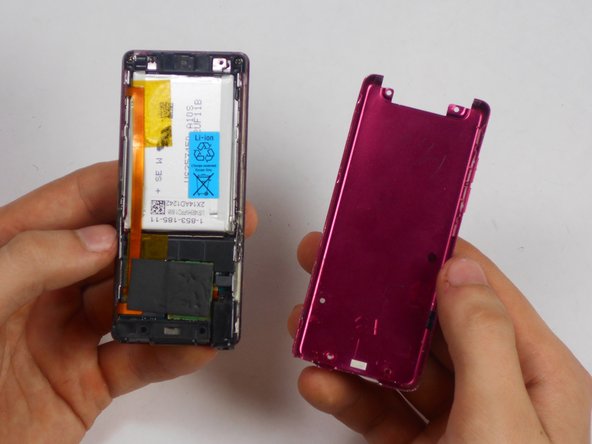
Disconnect the headphone jack connection from the motherboard using any tool to remove black audio piece that needs to be replaced.
-


To reassemble your device, follow these instructions in reverse order.
To reassemble your device, follow these instructions in reverse order.
Rückgängig: Ich habe diese Anleitung nicht absolviert.
Ein:e weitere:r Nutzer:in hat diese Anleitung absolviert.
Team

USF Tampa, Team 17-6, Watkins Winter 2015 Mitglied von USF Tampa, Team 17-6, Watkins Winter 2015
USFT-WATKINS-W15S17G6
4 Mitglieder
7 Anleitungen geschrieben