Einleitung
To complete this Sony NWZ-E473 guide, you will need a screw driver and a prying device. Caution is advised when prying the back panel because permanent damage may occur if done incorrectly.
Was du brauchst
-
-
Use a Phillips #00 screwdriver to unscrew the two 5 mm screws located on the bottom of the back of the device.
-
-
-
-
Use a Phillips #00 screwdriver to remove the two 3 mm screws located on the portion under the top panel of the device.
-


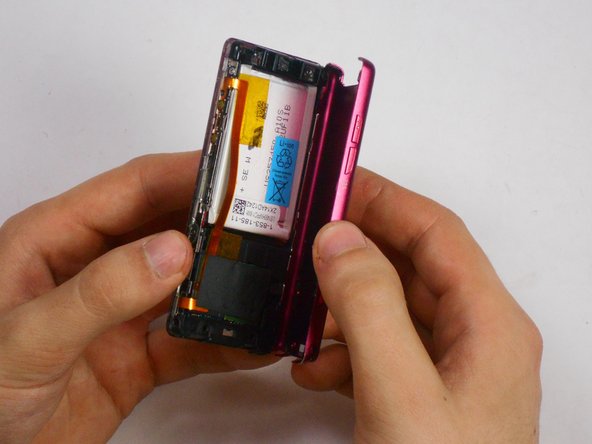
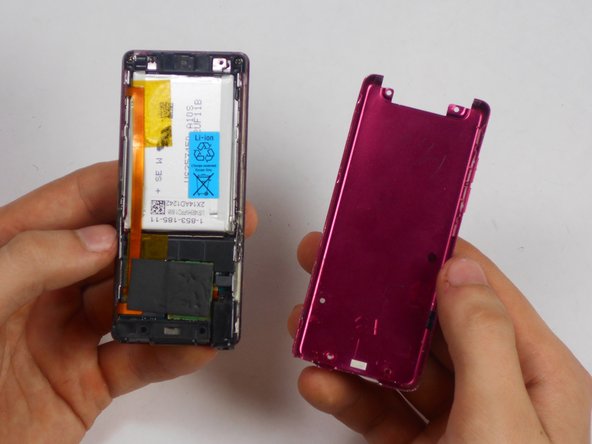
To reassemble your device, follow these instructions in reverse order.
To reassemble your device, follow these instructions in reverse order.
Rückgängig: Ich habe diese Anleitung nicht absolviert.
Ein:e weitere:r Nutzer:in hat diese Anleitung absolviert.
Team

USF Tampa, Team 17-6, Watkins Winter 2015 Mitglied von USF Tampa, Team 17-6, Watkins Winter 2015
USFT-WATKINS-W15S17G6
4 Mitglieder
5 Anleitungen geschrieben