Einleitung
This guide will aide you in performing the replacement of the Sony PlayStation Camera's microphone array.
The outer case will scratch easily if the device is not handled with care during the opening process. If the aesthetics don't matter to you, this will not be a problem.
Finding the seam to start the case separation can be difficult. Using a flashlight, or very well lit area, can help to find the seam under the right angle. This can be helpful during this step.
Was du brauchst
-
-
Separate the camera from the camera stand to gain access to the bottom of the camera.
-
-
-
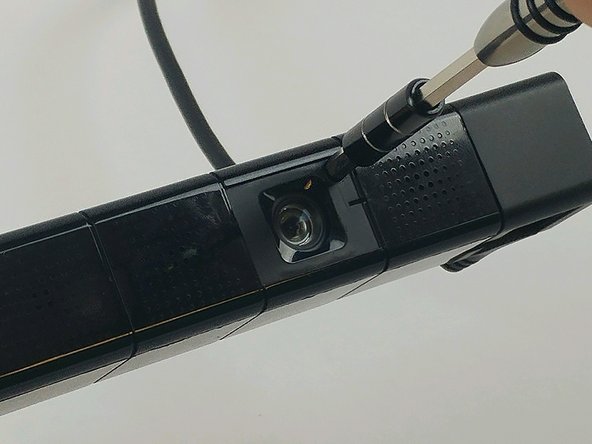
With the PH000 sized screwdriver, remove the two 6.5mm Phillips #000 screws located under the stand connection point, where the cable enters the case.
-
-
-
Using tweezers, remove the cap holding the cable grommet in place.
-
-
-
-
Using the PH0 sized screwdriver, remove two 3.2mm Phillips #0 screws, located under the coverplates.
-
-
-
The case joints can be hard to spot. They appear as a very fine line in the plastic. Start with light pressure until the seam parts, allowing the pry tool to work.
-
-
-
Using the PH0 sized screwdriver, remove the four 4.5mm Phillips #0 screws securing the circuit assembly to the device housing.
-
-
-
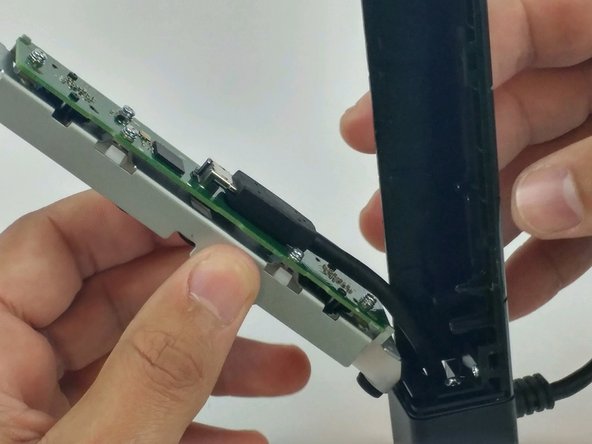
Lift the motherboard and frame from the plastic housing.
-
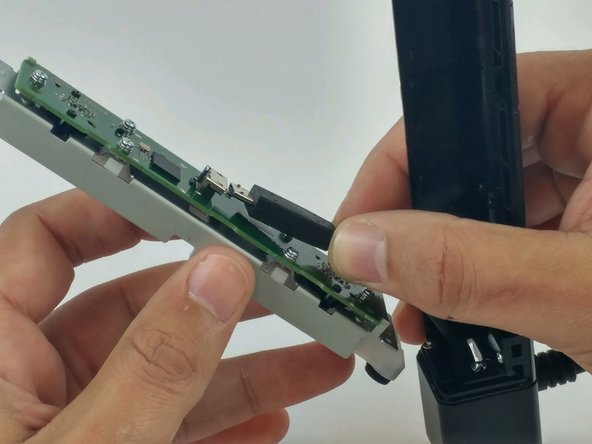
Disconnect the camera cable from the motherboard.
-
-
-
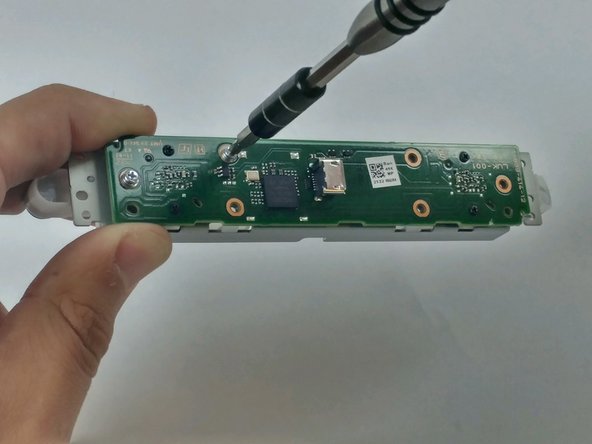
Using the PH0 sized screwdriver, remove the six 4.2mm Phillips #0 screws securing the motherboard to the metal frame.
-
-
-
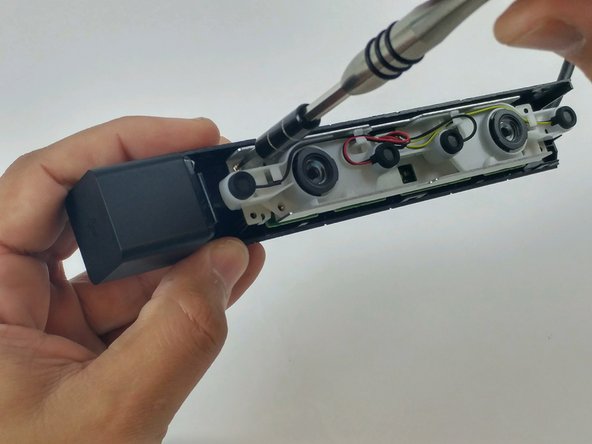
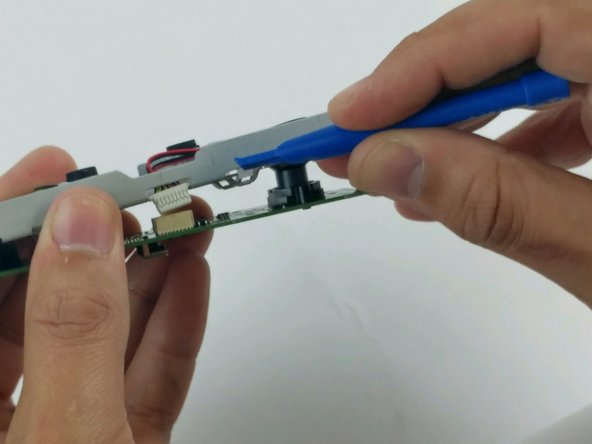
Using a plastic opening tool, disconnect the microphone array connector from the motherboard.
-
-
-
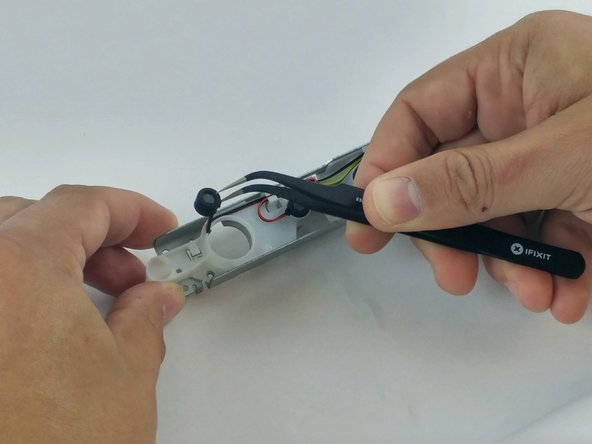
Using fine point tweezers, grab hold of each microphone, one at a time, and lift from the plastic frame.
-


To reassemble your device, follow these instructions in reverse order.
To reassemble your device, follow these instructions in reverse order.
Rückgängig: Ich habe diese Anleitung nicht absolviert.
Eine weitere Person hat diese Anleitung absolviert.

Team

USF Tampa, Team 5-5, Passmore Spring 2017 Mitglied von USF Tampa, Team 5-5, Passmore Spring 2017
USFT-PASSMORE-S17S5G5
3 Mitglieder
4 Anleitungen geschrieben