Einleitung
This guide demonstrates how to replace the USB/AUX board.
Was du brauchst
-
-
To gain access to the 6 bottom screws remove the following. Remove the adhered 4 corner foam pads on the bottom of the speaker using the blue plastic opening tool to reveal the screws underneath. Remove the adhered 2 center plastic squares.
-
-
-
Unscrew the six 6mm screws with a Phillips head #1 screwdriver.
-
Remove the bottom panel of the speaker.
-
-
-
Unplug the battery by gently pinching the plastic end connected to the smaller board and pull away.
-
Remove the battery.
-
-
-
To remove the speaker grill, first push down slightly on the 2 plastic hook tabs to release them, then push the middle plastic screw tab out.
-
-
-
-
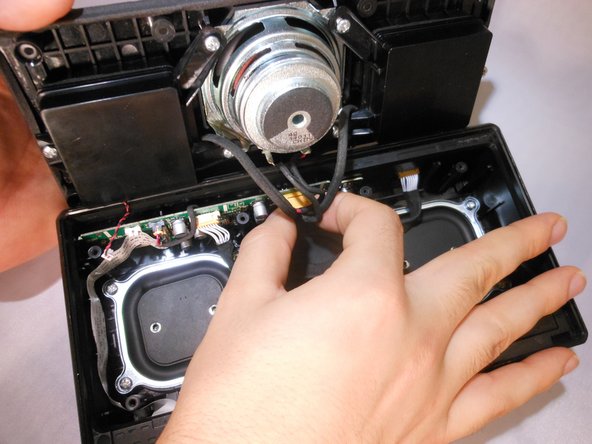
Unplug the 6-pin speaker connector and 2-pin microphone connector from the motherboard by squeezing the sides of the plastic ends.
-
-
-
Unplug the cord connected to the motherboard by squeezing the plastic sides.
-
-
-
Gently tug on the plastic ribbon connected to the bottom side of the speaker to unplug it.
-
-
-
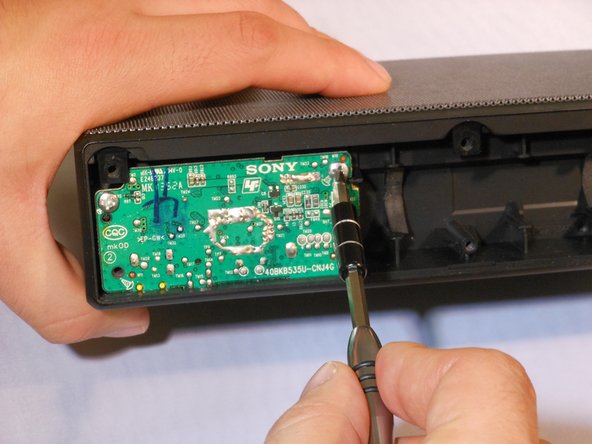
Using the Phillips #1 screwdriver, remove the two 6mm screws holding the AUX board in place.
-
-
-
Remove the aux board. Be careful as the board might need some wiggling to get out.
-


To reassemble your device, follow these instructions in reverse order.
To reassemble your device, follow these instructions in reverse order.
Rückgängig: Ich habe diese Anleitung nicht absolviert.
Eine weitere Person hat diese Anleitung absolviert.

Team

Eastern Washington University, Team 2-6, Mathisen Fall 2016 Mitglied von Eastern Washington University, Team 2-6, Mathisen Fall 2016
EWU-MATHISEN-F16S2G6
4 Mitglieder
5 Anleitungen geschrieben
2 Kommentare
hi there, where can i buy aux board for replacement? thank you
Donde puedo conseguir la tarjeta?