Einleitung
This Sony SRS-X55 has two speaker reverberators. This guide will walk you through the removal and replacement of them.
Was du brauchst
-
-
Locate the six 9 mm screws on the bottom of the speaker and remove them using Phillips head #2.
-
-
-
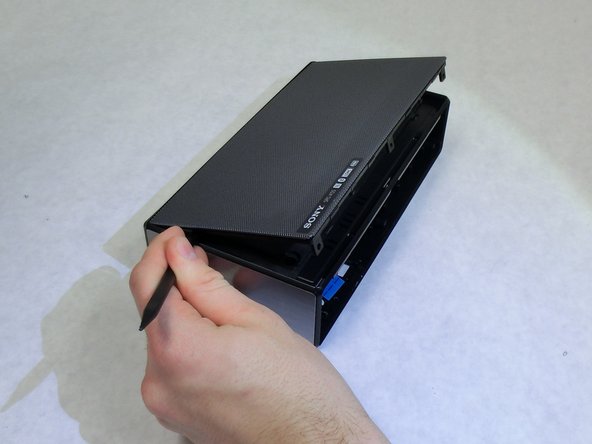
Insert a plastic spudger into the seam on the bottom panel and lift it away from the rest of the speaker.
-
-
-
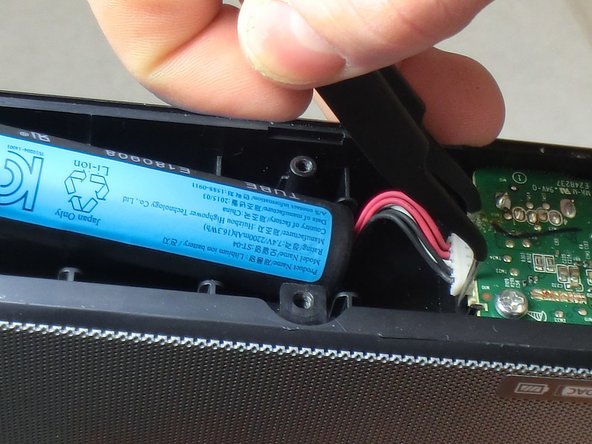
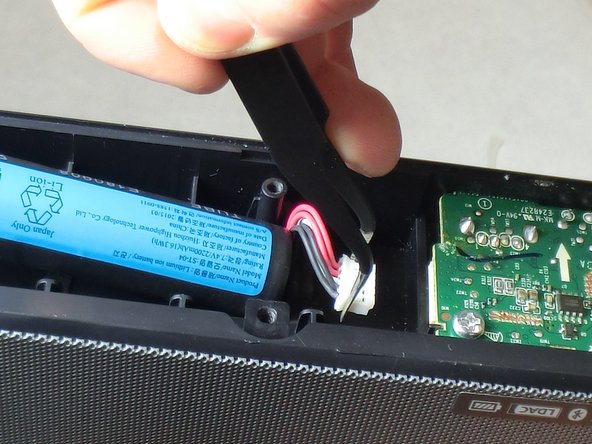
Locate the battery connection and unplug it using a pair of metal tweezers.
-
-
-
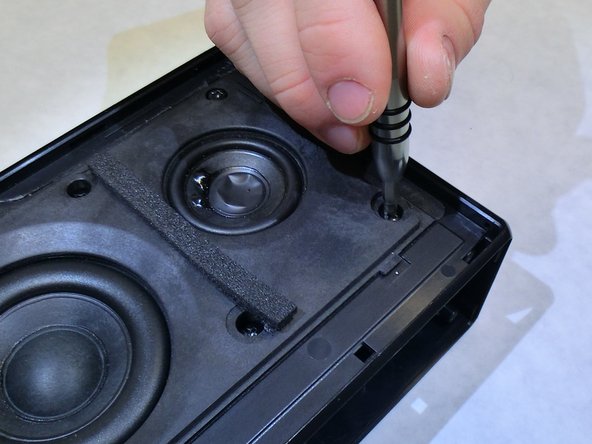
Locate the remaining two 3.5 mm screws on the bottom of the I/O board and remove them using a Phillips head #2 screwdriver.
-
-
-
-
Remove the I/O board from the rest of the speaker. A plastic spudger can aid in this process if it is inserted into the edge as shown and gently pried.
-
-
-
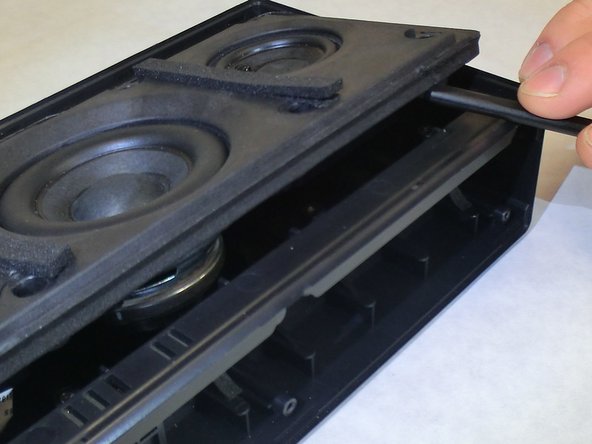
Insert a plastic spudger into the seam where the forward facing metal speaker cover meets the speaker body and gently pry it upward until it releases.
-
-
-
Locate the eight 8.9 mm screws on the face of the speaker assembly and remove them using a Phillips head #2 screwdriver.
-
-
-
Insert a plastic spudger underneath one of the tabs on the front of the speaker assembly and gently raise it.
-
-
-
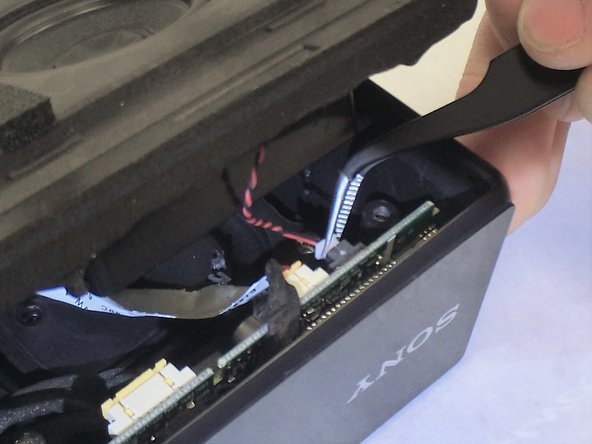
Locate the two wire connections as shown underneath of the speaker assembly and unplug them using a pair of tweezers.
-
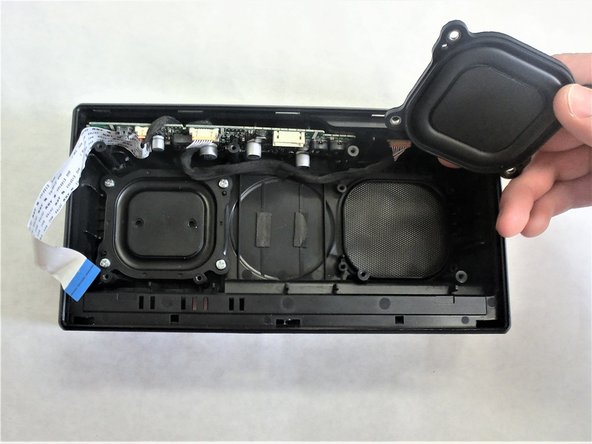
Lift the speaker assembly away.
-
-
-
Locate the eight 7.5 mm screws across both of the speaker reverberators and remove them using a Phillips head #2 screwdriver.
-
Lift the speaker reverberators away and replace them.
-


To reassemble your device, follow these instructions in reverse order.
To reassemble your device, follow these instructions in reverse order.
Rückgängig: Ich habe diese Anleitung nicht absolviert.
2 weitere Personen haben diese Anleitung absolviert.
Team

IUPUI, Team 2-3, Baechle Spring 2017 Mitglied von IUPUI, Team 2-3, Baechle Spring 2017
IUPUI-BAECHLE-S17S2G3
3 Mitglieder
3 Anleitungen geschrieben
Ein Kommentar
Nice Guide, but do you know the exact speaker size and/or type?
I can not find the exact speakers.
THX
Elduderino79