Einleitung
In this guide, we will go into detail about how to disassemble the Sony TC-FX170 player and replace the worn belt within the player.
A worn belt that is not replaced with time will cause problems within the device such as issues rewinding, pausing, or fast-forwarding your video content.
Before beginning, make sure the device is shut down completely and disconnected from a power outlet.
Was du brauchst
-
-
Remove the two sets of screws from both sides of the unit (four in total) using the Phillips #0 screwdriver.
-
Grasp the outer sheath from the bottom at the rear of the unit. Pull the sides gently outwards and lift, pivoting the panel off the front bezel of the deck.
-
-
-
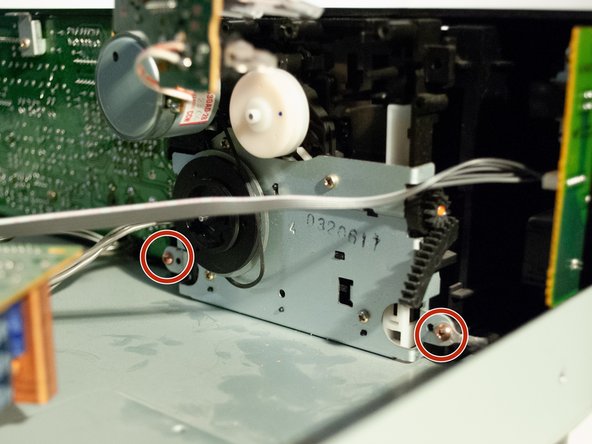
Remove the two Phillips #1 screws that hold the Motor IO board in place.
-
Use the edge of your fingernail to hold down the plastic clip, and slide the Motor IO board off the screw wells.
-
-
-
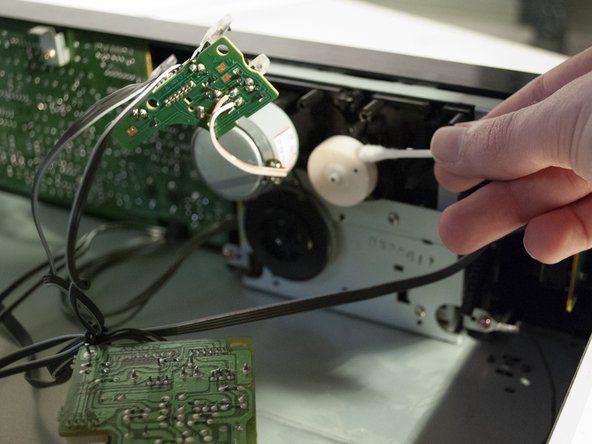
Remove the spindle belt by gripping it and sliding it over the wheel.
-
Clean any residue on the wheels with isopropyl alcohol and a Q-tip.
-
-
-
Remove the cassette door by gripping it from the top and bottom, and sliding upward.
-
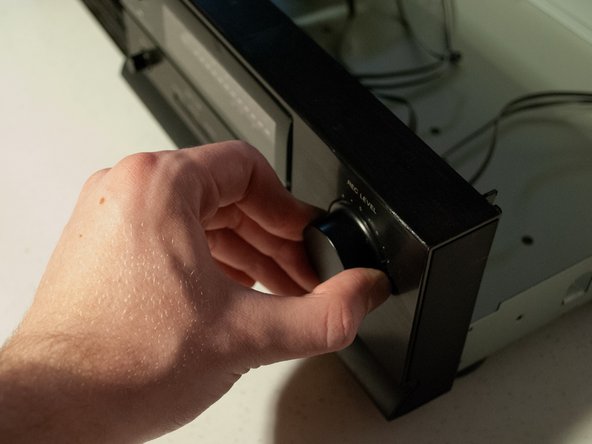
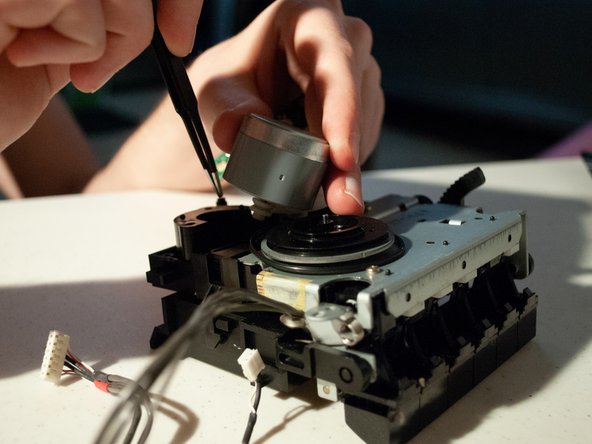
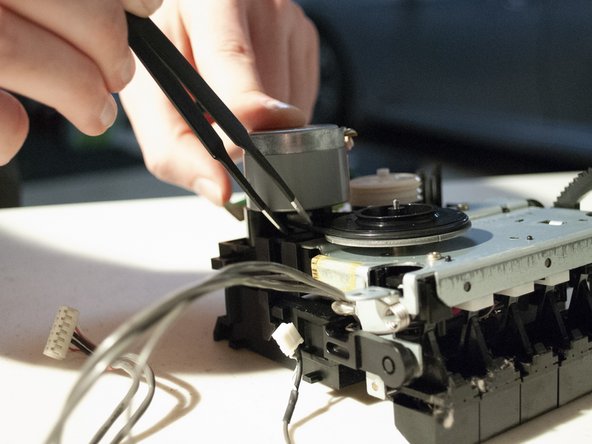
Remove the bias, balance, and record level knobs by firmly grasping them from both sides and pulling outward.
-
-
-
-
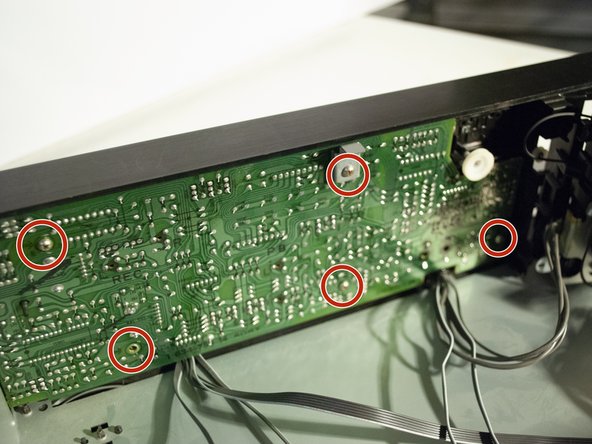
Undo the five Phillips #1 screws that hold the front IO board in place.
-
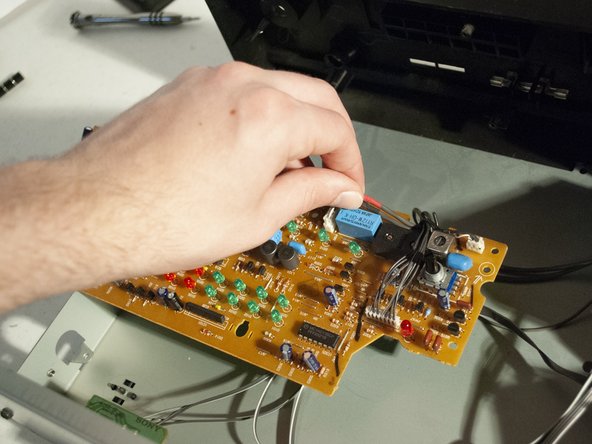
Unplug the two cables for the cassette mechanism from the board by gripping them from the sides and pulling outward.
-
-
-
Remove the four Phillips #1 screws keeping the cassette mechanism in place and lift it outward.
-
-
-
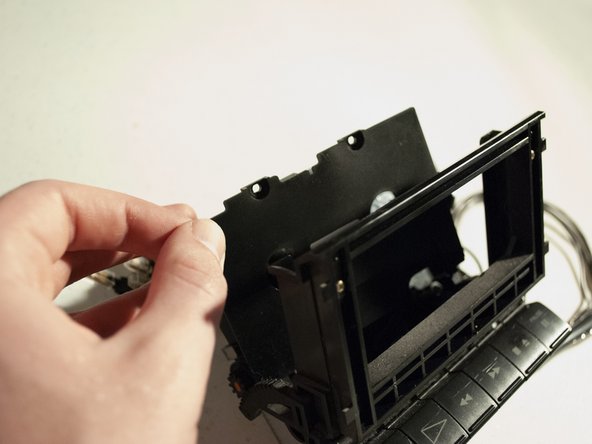
Remove the cassette mechanism cover by removing the two Phillips #1 screws at the top, and hinging it outward.
-
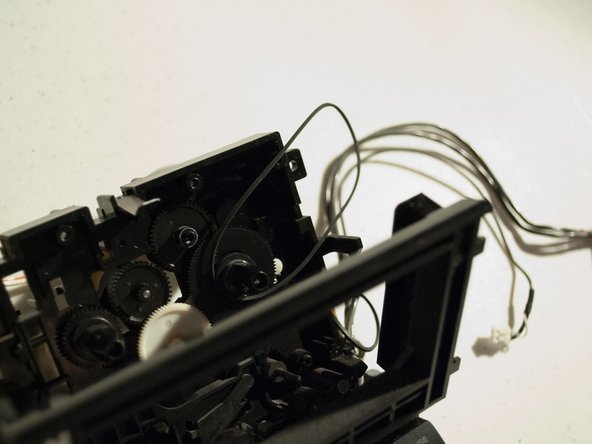
Discard the tape counter belt. Clean any residue it may have left.
-
-
-
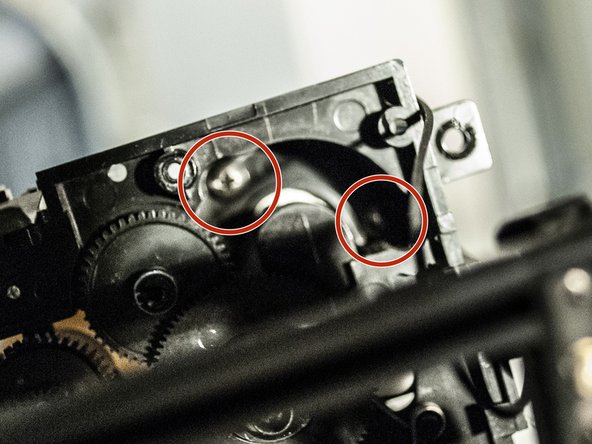
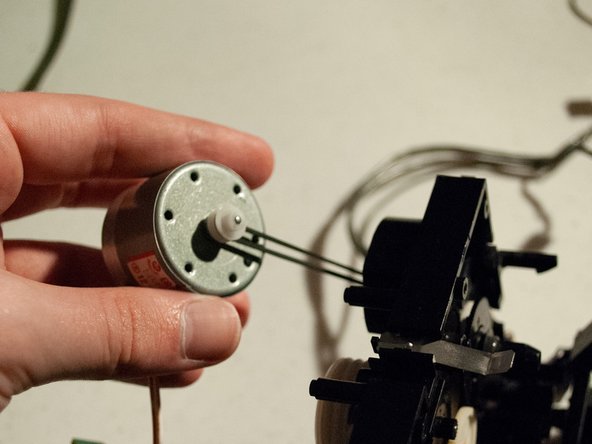
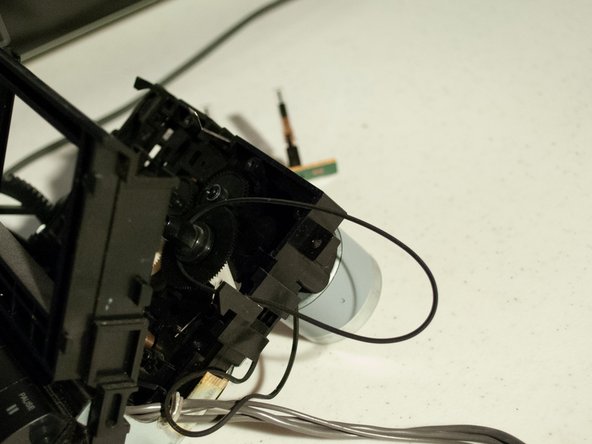
Remove the motor by unscrewing the two Phillips #1 screws within the mechanism. Pull it out from the rear of the mechanism.
-
Discard the main motor belt. Clean any residue it may have left.
-
-
-
Use a pair of tweezers to wrap the replacement belt over the large end of the black wheel.
-
Orient the motor such that the solder joints hang over the rear of the cassette mechanism, hold the replacement belt back with tweezers and slide the motor back into place on top of it. Slowly slide the belt back toward the motor, aligning the belt to the motor's spindle.
-
-
-
Using a pair of tweezers, loop the tape counter belt around the spindle and leave the other end off the side of the mechanism.
-
-
-
Reassemble the cassette mechanism and front IO boards by following the previous steps in reverse.
-
Using a pair of tweezers, loop the replacement belt around the smaller end of the black wheel, and the middle groove of the white wheel.
-


To reassemble your device, follow the remaining steps in reverse order.
To reassemble your device, follow the remaining steps in reverse order.
Team

University of North Texas, Team S2-G5, Raign Fall 2020 Mitglied von University of North Texas, Team S2-G5, Raign Fall 2020
UNT-RAIGN-F20S2G5
2 Mitglieder
1 Anleitung geschrieben