Einleitung
If the Sony TCM-919 is not recording sound, this guide provides replacement solutions. Comprehensive device opening and dismantling up to microphone replacement will be covered.
Was du brauchst
-
-
Turn the device around so that the back cover if facing upward. Use your thumbs to press down firmly and then push the battery door cover open.
-
Remove any batteries.
-
-
-
Remove the 5, 5.95mm screws as indicated in the picture using the Phillips head screwdriver.
-
-
-
-
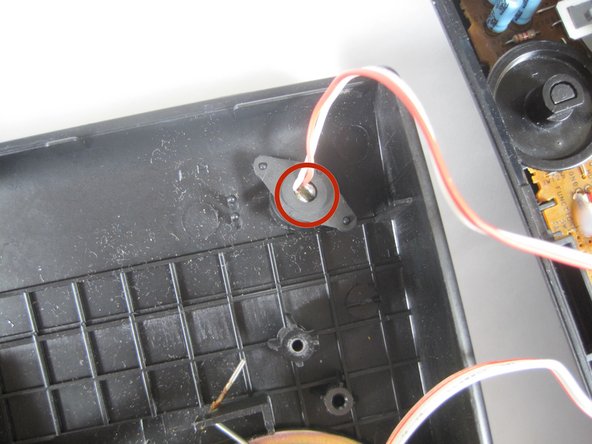
Look to the back of the top cover.
-
Desolder the two wires connected to the mircophone using the soldering station.
-
-
-
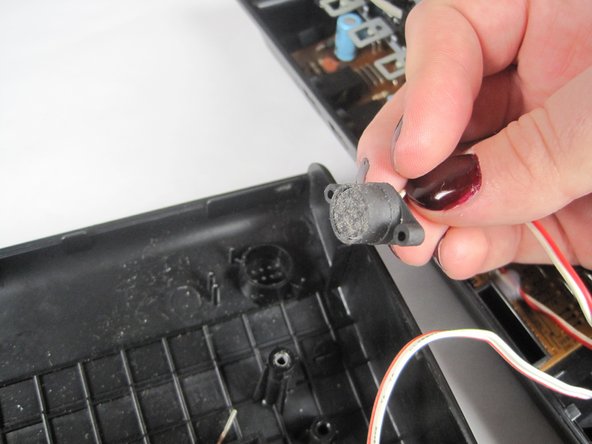
Gently remove the rubber top from the two plastic knobs that hold the microphone in place.
-
Remove the microphone by pulling up.
-


To reassemble your device, follow these instructions in reverse order.
To reassemble your device, follow these instructions in reverse order.

Team

Baylor, Team 4-3, Williams Fall 2014 Mitglied von Baylor, Team 4-3, Williams Fall 2014
BU-WILLIAMS-F14S4G3
3 Mitglieder
5 Anleitungen geschrieben