Einleitung
RAM is a vital part of any computer, and if your RAM is faulty or outdated, it can lead to slowdowns, crashes, errors, and even failures to boot. As a result, many laptops make it easier to replace the RAM if necessary, including the Sony VAIO. This guide will show you how to easily replace the RAM in a Sony VAIO SVE171C11L laptop.
CAUTION: Before beginning, make sure to turn off the laptop completely and disconnect from any external power source, or else it may cause harm to yourself and damage to the device.
When you handle RAM, always hold it by the edges. Never touch the electronic components or the gold stripes, otherwise it may be damaged.
Was du brauchst
-
-
Ensure the workplace is dust-free and clear of clutter to prevent dust from entering your laptop.
-
Power off your laptop and remove the power cable and/or battery.
-
-
-
Flip the laptop over so the label on the bottom side is right side up.
-
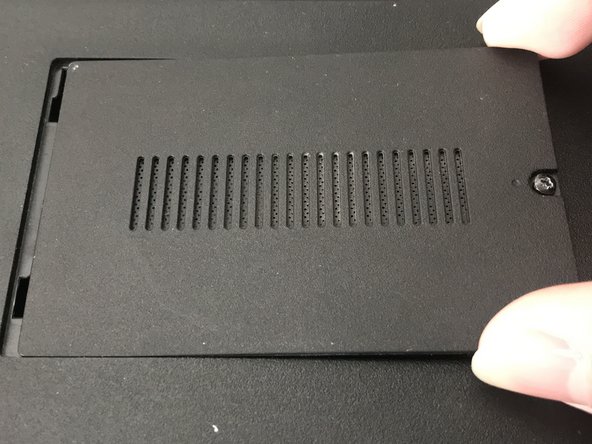
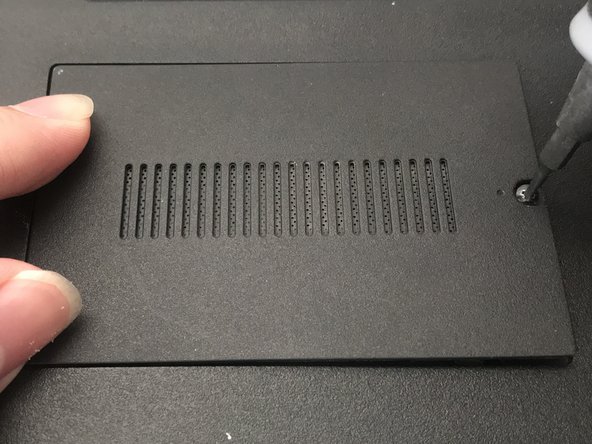
Locate the panel near the middle of the laptop with grates and a single screw.
-
-
-
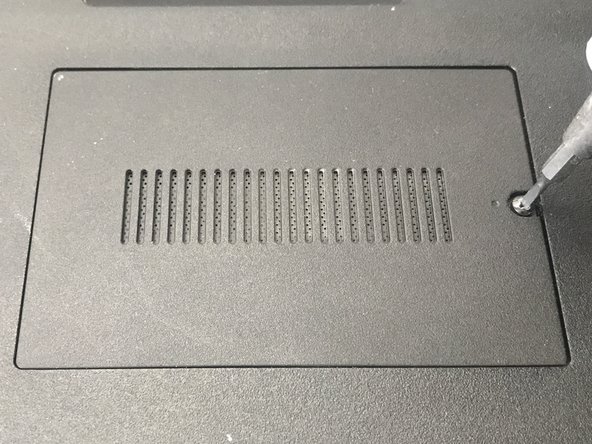
Use a 1.5 mm flathead screwdriver to turn the screw until the panel begins to pop off.
-
Once the side of the panel with the screw is no longer being held down, stop. Make sure to not remove the screw.
-
-
-
-
Carefully pull the loose end of the panel up until it pops up, but do not try to remove yet.
-
Slide the panel to the right until the hinges show.
-
Lift the panel up to remove it.
-
-
-
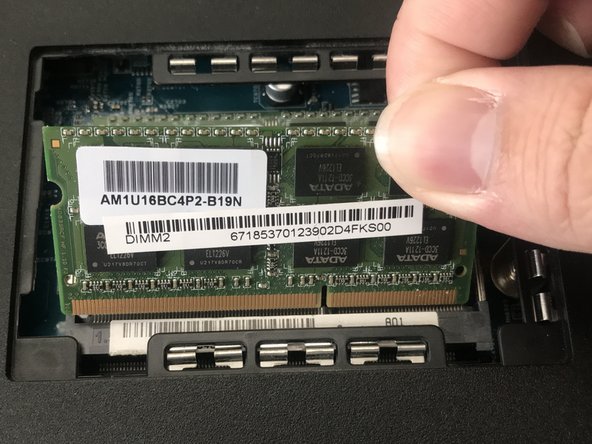
Choose which RAM you wish to replace.
-
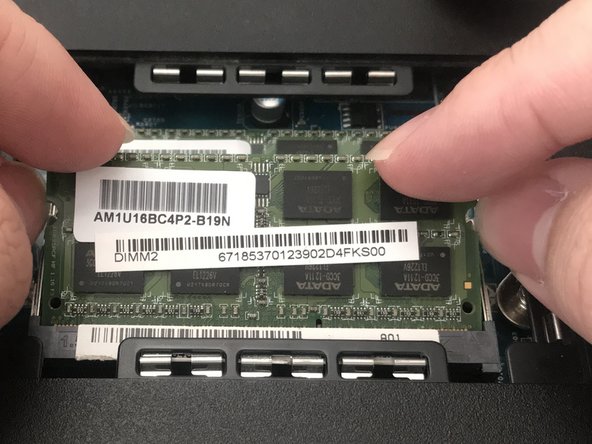
Move the pins holding the RAM outwards and the RAM will pop up.
-
Carefully slide the RAM out to remove. Make sure to hold the RAM by its edges, never by its electrical components.
-
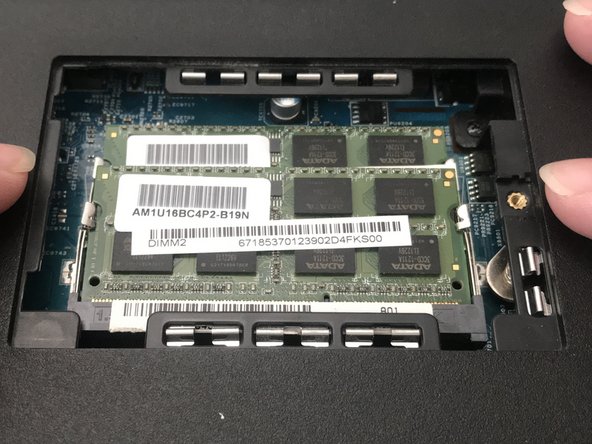
Repeat this step if you want to replace the second RAM that is behind the first.
-
-
-
Push the new RAM into the slot marked with silver stripes.
-
Once pushed in, it will stand on its own and be secured in place.
-
Move the pins outward and push the RAM downwards past the pins.
-
Release the pins and move them over the RAM.
-
-
-
Slide the panel hinge back into place.
-
Push down on the panel so it pops into place.
-
Screw the panel clockwise back on while pushing the panel downwards.
-
Continue to turn until the screw tightens in place.
-


You are now finished with the procedure and can plug in the charger and insert the battery again. The laptop is now ready for use.
You are now finished with the procedure and can plug in the charger and insert the battery again. The laptop is now ready for use.
Team

York University, Team S1-G17, Woodhouse Winter 2021 Mitglied von York University, Team S1-G17, Woodhouse Winter 2021
YORK-WOODHOUSE-W21S1G17
1 Mitglied
1 Anleitung geschrieben