Was du brauchst
-
-
-
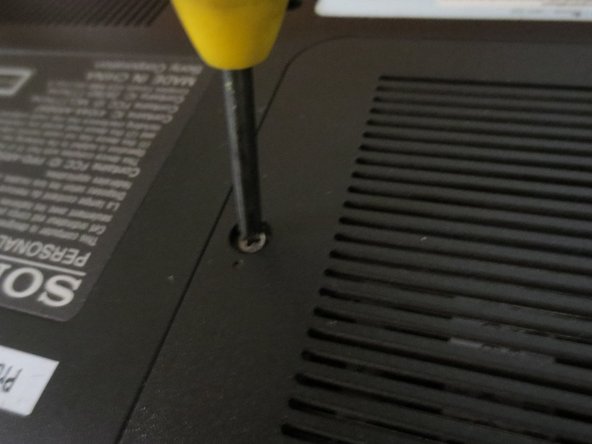
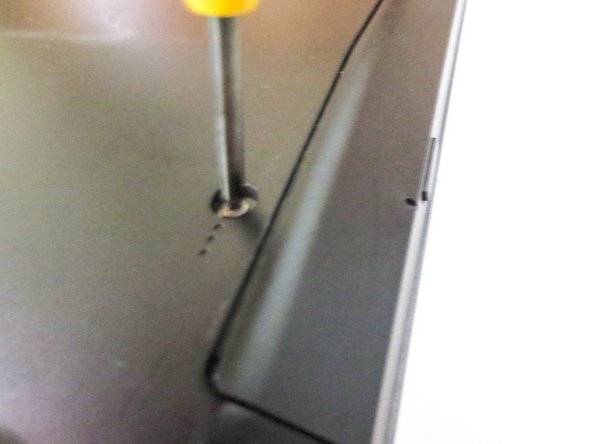
Remove the screws.
-
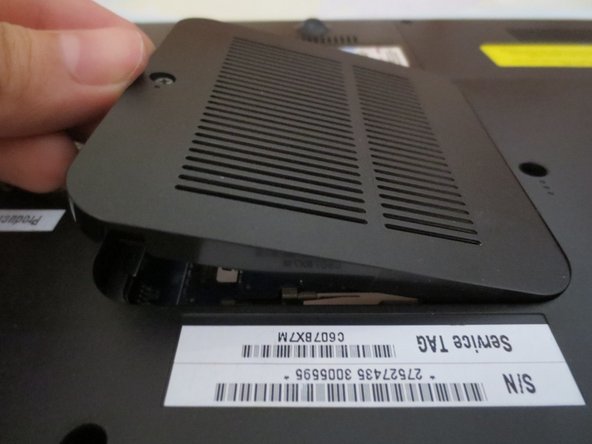
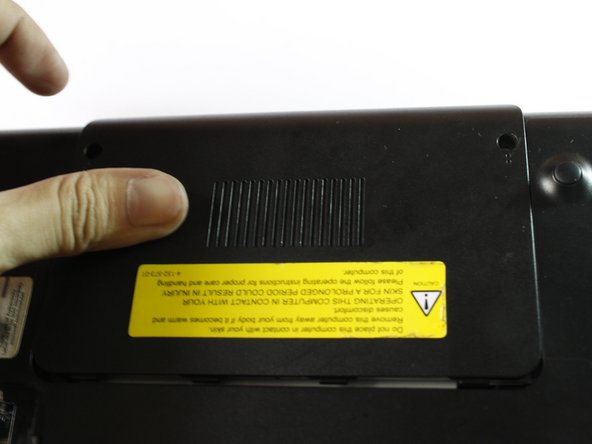
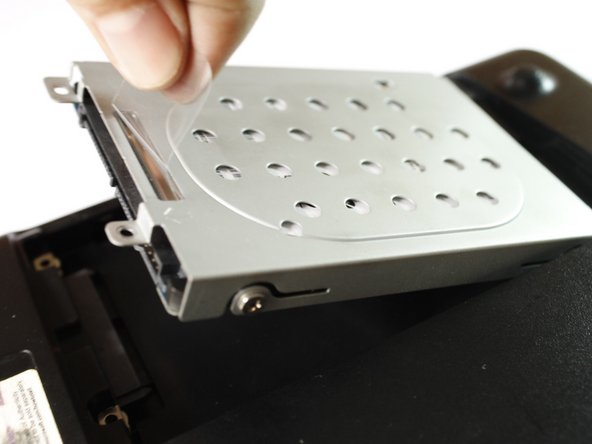
Slide the HD cover outward then lift.
-
-
-
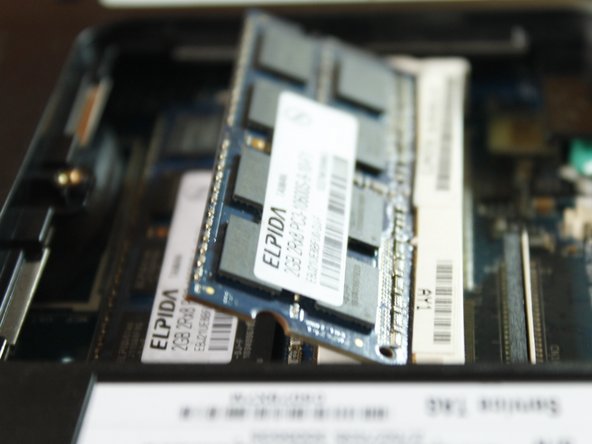
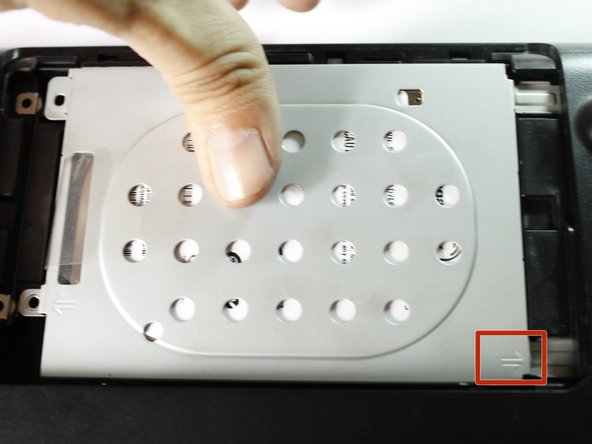
Remove all the other screws.
-
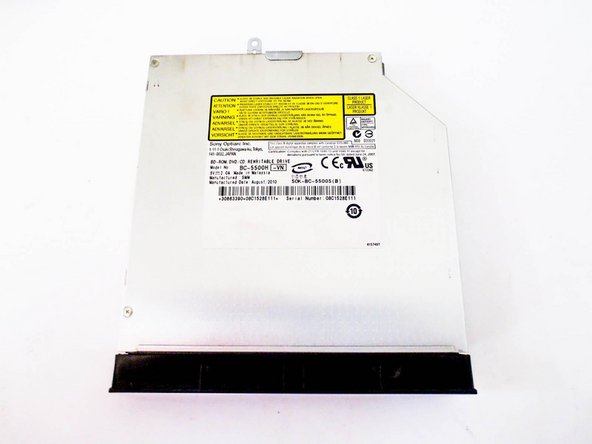
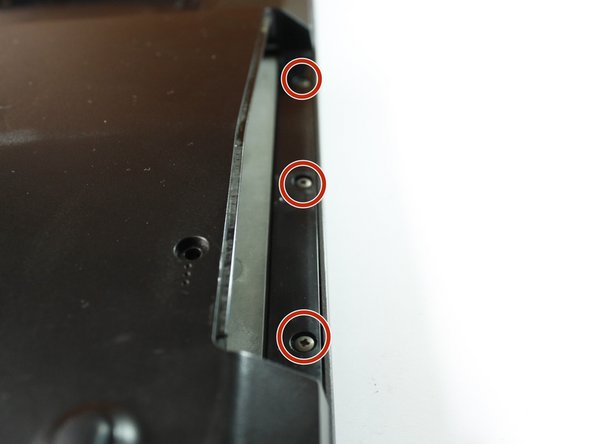
Dont forget the 3 screws after you remove the CD/DVD Drive.
-


Fast fertig!
To reassemble your device, follow these instructions in reverse order.
Abschluss
To reassemble your device, follow these instructions in reverse order.
Rückgängig: Ich habe diese Anleitung nicht absolviert.
Ein:e weitere:r Nutzer:in hat diese Anleitung absolviert.