Einleitung
Use this guide to replace the keyboard on your Sony Vaio PCG-161L. If you are having trouble with your keyboard, you may need to replace the entire keyboard.
Was du brauchst
-
-
Turn your device upside down and remove the 6 10mm screws attaching the back casing to the device using a phillips head screwdriver.
-
-
-
-
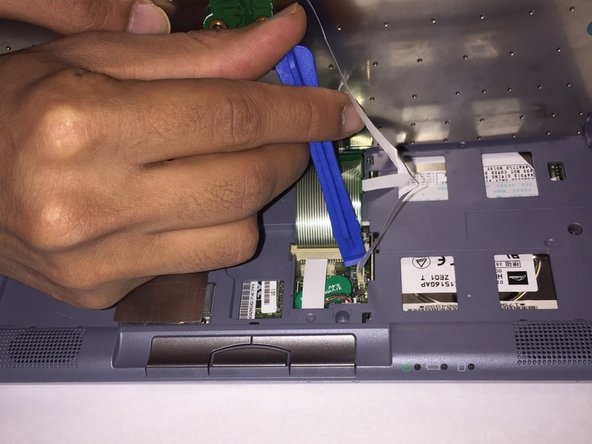
Lift up underneath the keyboard using the iFixit opening tool to expose the ribbon wires connecting the keyboard to the motherboard.
-
-
-
Use a plastic opening tool or your fingernail to flip up the small retaining flaps, then pull the ribbon cables out of their connectors.
-
To reassemble your device, follow these instructions in reverse order.
To reassemble your device, follow these instructions in reverse order.


