Zum Hauptinhalt wechseln

Sony Vaio PCG-31311L Motherboard Replacement

Was du brauchst

  1. Sony Vaio PCG-31311L Motherboard Replacement, Keyboard: Schritt 1, Bild 1 von 2 Sony Vaio PCG-31311L Motherboard Replacement, Keyboard: Schritt 1, Bild 2 von 2
    • Start with device closed, powered off, and upside down.

    • Locate 3 screws on the bottom plate and unscrew

    • These screws do not detach from the bottom plate.

  2. Sony Vaio PCG-31311L Motherboard Replacement: Schritt 2, Bild 1 von 2 Sony Vaio PCG-31311L Motherboard Replacement: Schritt 2, Bild 2 von 2
    • Use a plastic opening tool to pry up on the plate and remove from device.

  3. Sony Vaio PCG-31311L Motherboard Replacement: Schritt 3, Bild 1 von 1
    • Locate screw labeled "KB" and remove.

  4. Sony Vaio PCG-31311L Motherboard Replacement: Schritt 4, Bild 1 von 3 Sony Vaio PCG-31311L Motherboard Replacement: Schritt 4, Bild 2 von 3 Sony Vaio PCG-31311L Motherboard Replacement: Schritt 4, Bild 3 von 3
    • Use a plastic opening tool tool to pry around the edge of the keyboard.

  5. Sony Vaio PCG-31311L Motherboard Replacement: Schritt 5, Bild 1 von 3 Sony Vaio PCG-31311L Motherboard Replacement: Schritt 5, Bild 2 von 3 Sony Vaio PCG-31311L Motherboard Replacement: Schritt 5, Bild 3 von 3
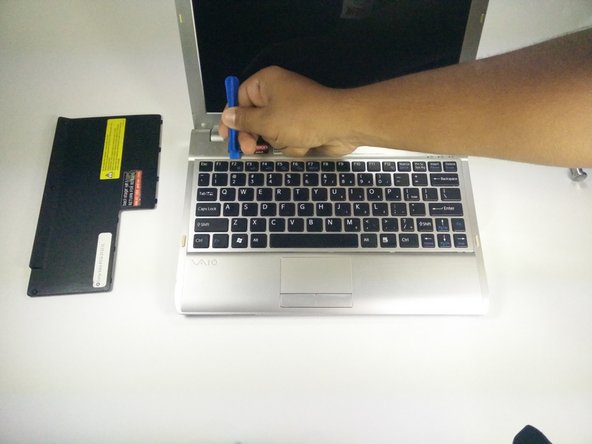
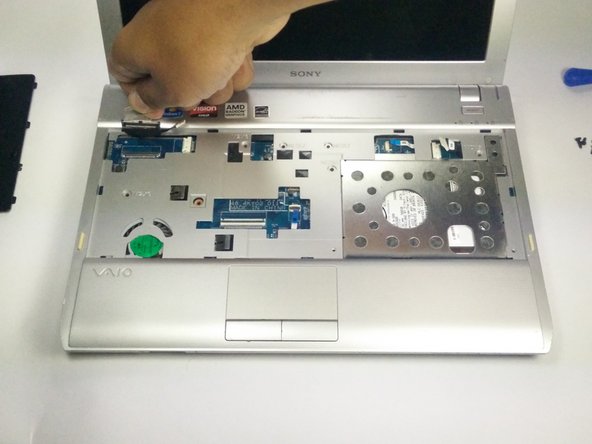
    • Once detached, tilt the keyboard forward, exposing a blue ribbon cable.

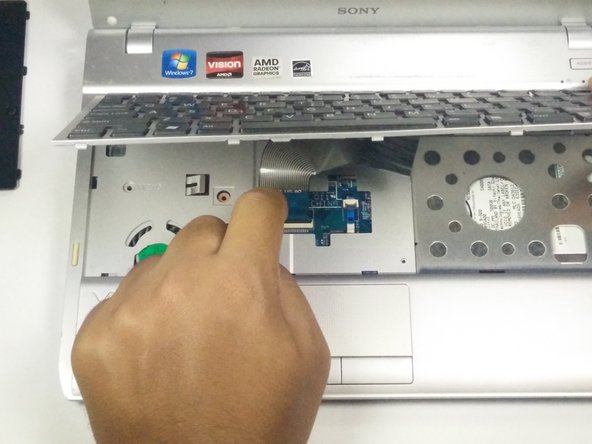
    • Place finger on black tab and pull back. Then, give a gentle tug on the ribbon cable and it will detach.

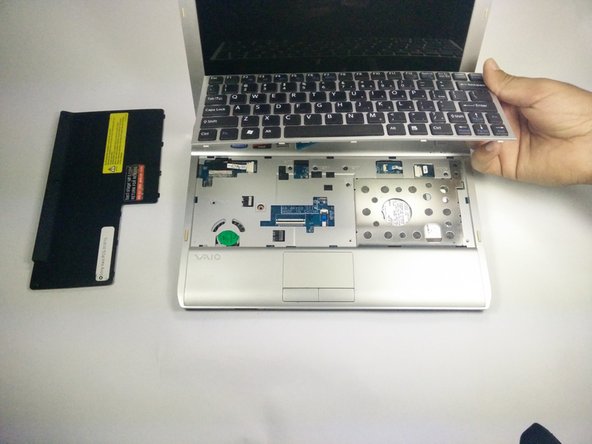
    • Once the ribbon cable has been detached, lift the keyboard away from the device.

  6. Sony Vaio PCG-31311L Motherboard Replacement, Motherboard: Schritt 6, Bild 1 von 2 Sony Vaio PCG-31311L Motherboard Replacement, Motherboard: Schritt 6, Bild 2 von 2
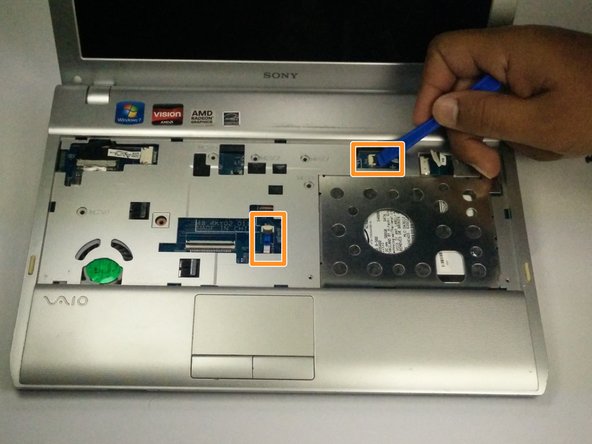
    • Use the plastic opening tool to pull back the ribbon cables attached to the motherboard

    • Use the plastic opening tool to pop up the black tabs and pull the remaining ribbon cables.

  7. Sony Vaio PCG-31311L Motherboard Replacement: Schritt 7, Bild 1 von 2 Sony Vaio PCG-31311L Motherboard Replacement: Schritt 7, Bild 2 von 2
    • Locate the LCD ribbon cable

    • Pull up and away from device to detach the LCD ribbon cable.

  8. Sony Vaio PCG-31311L Motherboard Replacement: Schritt 8, Bild 1 von 3 Sony Vaio PCG-31311L Motherboard Replacement: Schritt 8, Bild 2 von 3 Sony Vaio PCG-31311L Motherboard Replacement: Schritt 8, Bild 3 von 3
    • Close and flip over laptop.

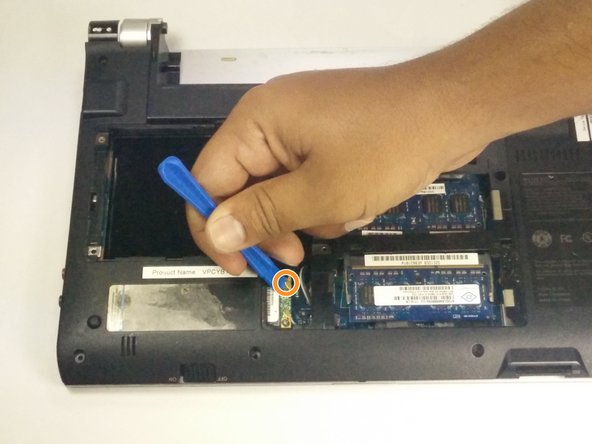
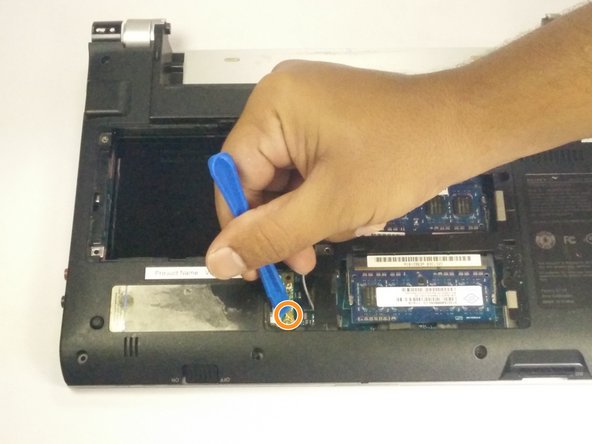
    • Locate the WiFi network card.

    • Use the plastic opening tool to pry up the two connectors.

  9. Sony Vaio PCG-31311L Motherboard Replacement: Schritt 9, Bild 1 von 2 Sony Vaio PCG-31311L Motherboard Replacement: Schritt 9, Bild 2 von 2
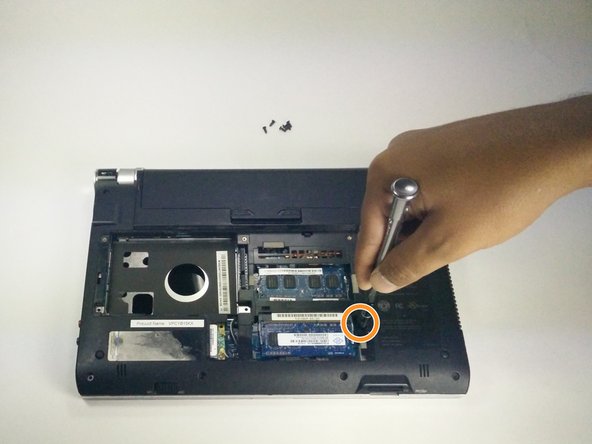
    • Locate the 6 screws on the bottom and remove.

    • Remove the final screw in the center to release the motherboard from the case.

Abschluss

To reassemble your device, follow these instructions in reverse order.

Eine weitere Person hat diese Anleitung absolviert.

Tyler

Mitglied seit: 08/24/16

45 Reputation

5 Anleitungen geschrieben

Team

USF Tampa, Team 1-1, Lacy Fall 2016 Mitglied von USF Tampa, Team 1-1, Lacy Fall 2016

USFT-LACY-F16S1G1

5 Mitglieder

10 Anleitungen geschrieben

0 Kommentare

Kommentar hinzufügen

Seitenaufrufe:

Letzte 24 Stunden: 1

Letzte 7 Tage: 2

Letzte 30 Tage: 16

Insgesamt: 1,595