Einleitung
This replacement guide demonstrates how to remove the fan from a Sony VAIO PCG-3C2L. The fan is responsible for circulating air throughout the device, regulating the device’s temperature. Dust particles can accumulate on the fan blades over time, degrading its cooling capabilities and thus degrading overall device performance. It is generally recommended to remove the fan for cleaning once a year.
Was du brauchst
-
-
Turn your computer over so the bottom is facing up.
-
The battery should be in the top on the back of the computer.
-
-
-
Initially, the "lock" button should be pushed all the way to the left. To unlock the battery, move the lock button from the left to the right.
-
-
-
Keep the "release" button pressed.
-
Use the iFixit opening tool (or your hands) to lift the battery up.
-
-
-
-
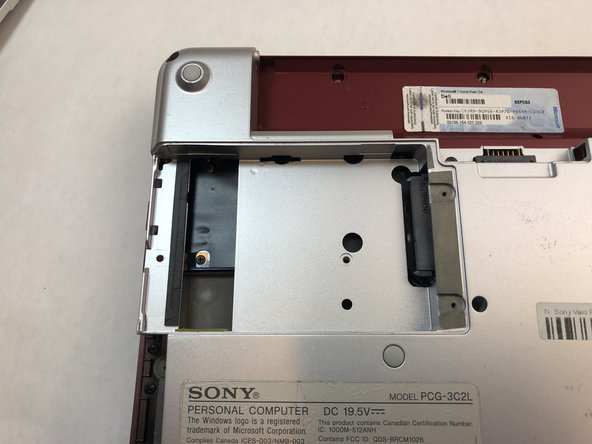
Using a Phillips #0 screwdriver, remove the two 3.5mm screws on the hard drive cover.
-
-
-
Using a Phillips #0 screwdriver, remove the three 8mm screws on the hard drive casing.
-
Remove the black hard drive casing by pulling it off.
-
-
-
Remove the six 8 mm edge screws from the back panel using a Phillips #0 screwdriver.
-
Remove the two 8 mm corner screws from the back panel using a Phillips #0 screwdriver.
-
Remove the four 8 mm middle screws from the back panel using a Phillips #0 screwdriver.
-
Remove the three 2 mm screws from the back panel using a Phillips #0 screwdriver.
-
-
-
Remove the 6 mm screw from the battery holder using a Phillips #0 screwdriver.
-
Remove the two 4 mm screws from the battery holder using a Phillips #0 screwdriver.
-
-
-
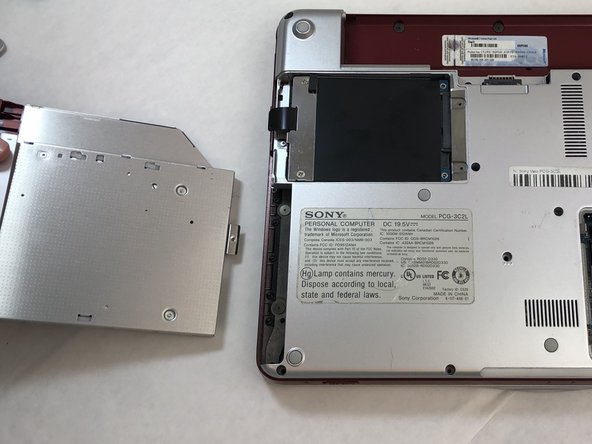
Using your hands, pull up the back panel about two inches up from the rest of the laptop.
-
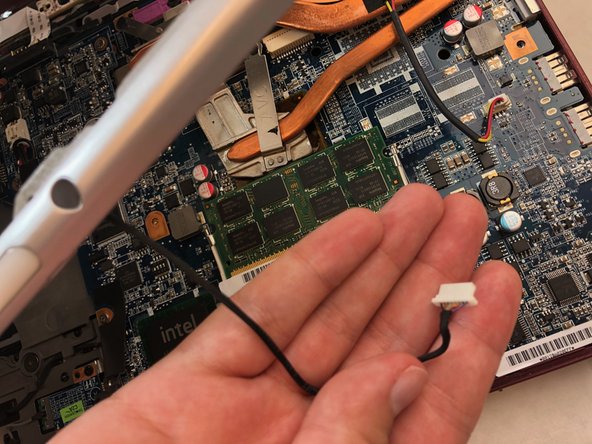
Disconnect the black wire connector.
-
Remove back panel.
-
-
-
Unscrew the four 4 mm captive screws from the fan casing using a Phillips #0 screwdriver.
-
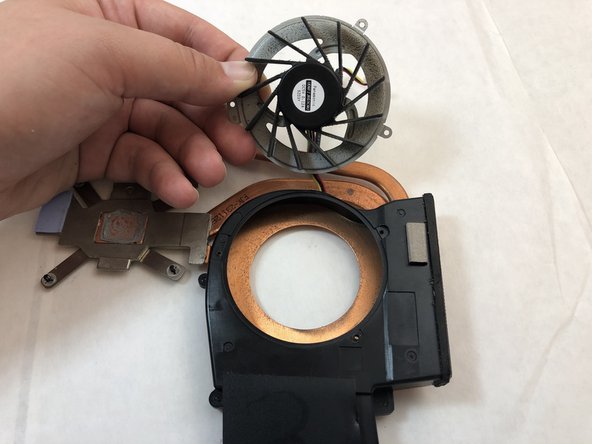
Disconnect the black/red/yellow wire connector by gently pulling on the wire.
-
Remove the copper colored fan casing that contains the fan by pulling it off of the bottom of the laptop.
-
-
-
Remove the three 3 mm fan casing screws from the fan casing using a Phillips #0 screwdriver.
-


To reassemble your device, follow these instructions in reverse order.
To reassemble your device, follow these instructions in reverse order.

Team

Embry-Riddle Aeronautical University, Team S8-G3, Salas Fall 2019 Mitglied von Embry-Riddle Aeronautical University, Team S8-G3, Salas Fall 2019
ERAU-SALAS-F19S8G3
4 Mitglieder
12 Anleitungen geschrieben