Einleitung
If the laptop is having internal software issues or Windows has warned that the battery has reached extremely low capacity, use this guide to remove and replace the battery.
Was du brauchst
-
-
-
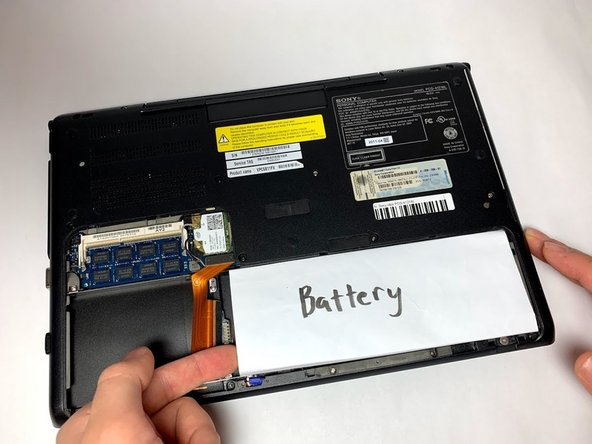
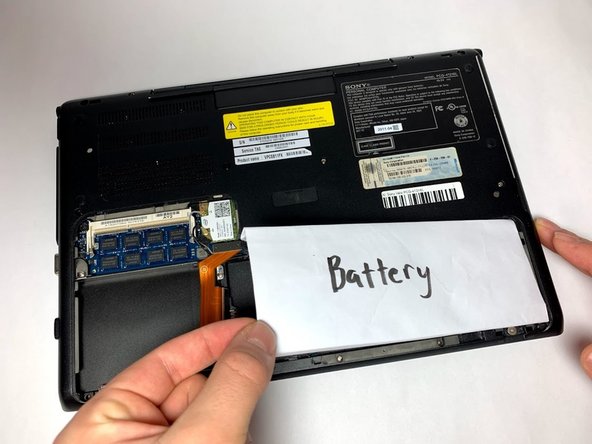
Remove the battery cover and set it aside. Carefully remove the non-functioning battery and insert the new battery in its place.
-


To reassemble your device, follow these instructions in reverse order.
To reassemble your device, follow these instructions in reverse order.
Rückgängig: Ich habe diese Anleitung nicht absolviert.
2 weitere Personen haben diese Anleitung absolviert.

Team

Oregon Institute of Technology, Team S1-G4, Lancaster Winter 2019 Mitglied von Oregon Institute of Technology, Team S1-G4, Lancaster Winter 2019
OIT-LANCASTER-W19S1G4
3 Mitglieder
10 Anleitungen geschrieben