Einleitung
If your computer is running slowly, and other troubleshooting options are not working, you may need to replace your hard drive. This guide will walk you through how to remove your hard drive, requiring only a PH0 screwdriver.
Was du brauchst
-
-
Slide the “Lock” switch to the right.
-
Slide and hold the “Release” switch to the left.
-
-
-
-
While holding the “Release” switch, lift the lip of the battery.
-
Lift the battery up and out of the laptop.
-
-
-
Using a #0PH screwdriver, unscrew the three 4.80mm screws on the back of the device.
-
The screws are held into the panel by washers, they will not fall out once unscrewed.
-
-
-
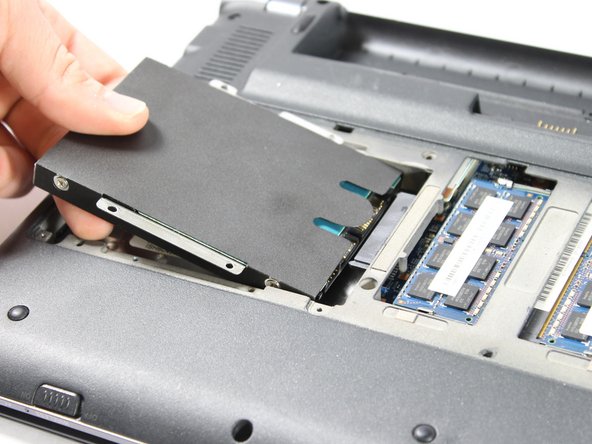
Carefully lift the hard drive.
-
Remove the hard drive by pulling it to the left.
-
To reassemble your device, follow these instructions in reverse order.
To reassemble your device, follow these instructions in reverse order.
Rückgängig: Ich habe diese Anleitung nicht absolviert.
Ein:e weitere:r Nutzer:in hat diese Anleitung absolviert.


