Diese Version enthält möglicherweise inkorrekte Änderungen. Wechsle zur letzten geprüften Version.
Was du brauchst
-
Dieser Schritt ist noch nicht übersetzt. Hilf mit, ihn zu übersetzen!
-
Turn the device over onto its back, where the battery is at the top of the device. Slide the "lock" switch to the right.
-
-
Dieser Schritt ist noch nicht übersetzt. Hilf mit, ihn zu übersetzen!
-
Slide the "release" switch to the left and gently lift the battery up to remove it.
-
Completely remove the battery from the device.
-
-
-
Dieser Schritt ist noch nicht übersetzt. Hilf mit, ihn zu übersetzen!
-
The hard drive panel is located in the bottom right corner of the device.
-
-
Dieser Schritt ist noch nicht übersetzt. Hilf mit, ihn zu übersetzen!
-
Using the PH #0 screwdriver, unscrew the two 6.5mm screws located in the bottom left and middle right of the panel. The screws remain in the panels.
-
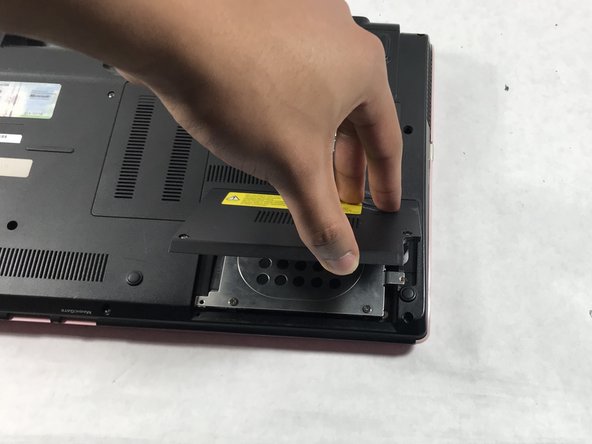
Remove the panel by pulling it up towards yourself.
-
-
Dieser Schritt ist noch nicht übersetzt. Hilf mit, ihn zu übersetzen!
-
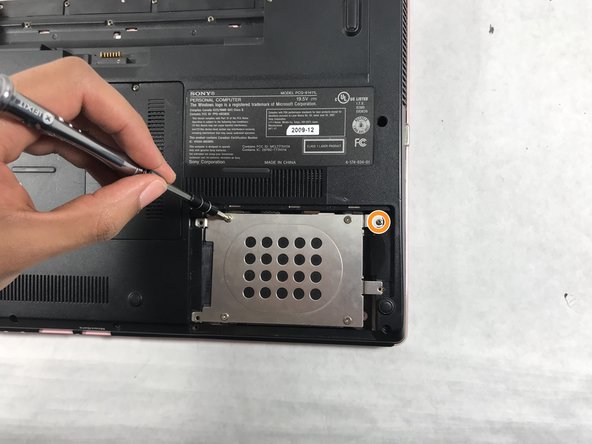
Using a PH0 screwdriver, remove the four 3mm silver screws located in the external hard drive cover.
-
Using a PH00 screwdriver, remove the final 3mm black screw located in the top right section of the hard drive cover.
-
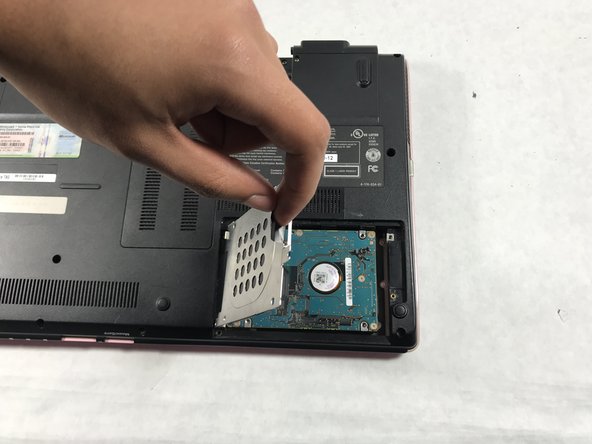
Carefully remove the silver hard drive cover.
-
-
Dieser Schritt ist noch nicht übersetzt. Hilf mit, ihn zu übersetzen!
-
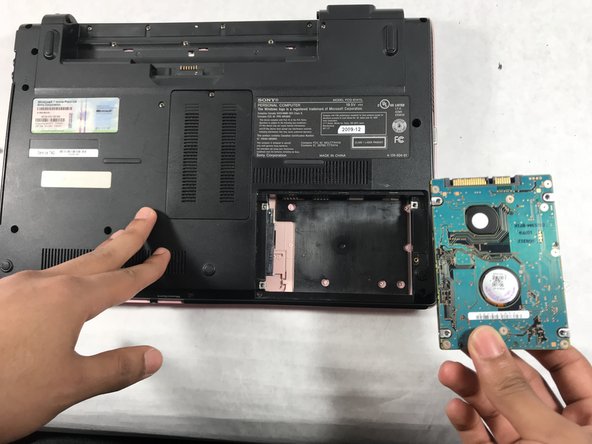
Detach the hard drive by disconnecting it from the motherboard, pulling it gently from left to right.
-


Rückgängig: Ich habe diese Anleitung nicht absolviert.
Ein:e weitere:r Nutzer:in hat diese Anleitung absolviert.
Team

UMass Dartmouth, Team S2-G1, Simcock Spring 2018 Mitglied von UMass Dartmouth, Team S2-G1, Simcock Spring 2018
UMASSD-SIMCOCK-S18S2G1
3 Mitglieder
5 Anleitungen geschrieben