Einleitung
A damaged hard drive or simply needing to upgrade the storage capacity. This is a guide to remove the hard drive for replacing.
Was du brauchst
-
-
Slide the release upwards and lift out the battery to remove.
-
Once battery is removed, long press the Power button for 30-60s and discharge any remaining power inside of the computer.
-
Put on the ESD bracelet, making sure the metal circle is touching your skin. Remove the alligator clip from the other end of the bracelet and insert the jack into the ground plug of an active electrical outlet. (the round hole). Do not move forward until you are grounded.
-
-
-
-
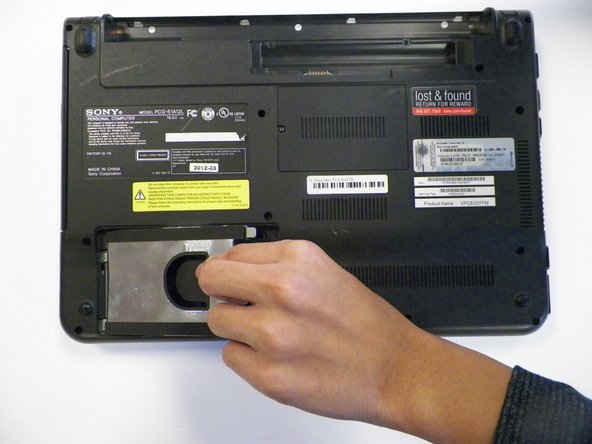
Using a Phillips #1 screwdriver, remove the 2 6.5mm screws around the hard drive case.
-


To reassemble your device, follow these instructions in reverse order.
To reassemble your device, follow these instructions in reverse order.
Team

University of North Texas, Team S3-G4, Thompson Fall 2017 Mitglied von University of North Texas, Team S3-G4, Thompson Fall 2017
UNT-THOMPSON-F17S3G4
4 Mitglieder
12 Anleitungen geschrieben