Zum Hauptinhalt wechseln

Diese Anleitung enthält neuere Änderungen. Wechsel zur neuesten unüberprüften Version.

Sony Vaio PCG-981L Battery Replacement

Was du brauchst

  1. Sony Vaio PCG-981L Battery Replacement, Battery: Schritt 1, Bild 1 von 1
    • Place the laptop on a flat surface as shown in the photograph.

    • Make sure to shut down your computer and remove any power cords you may have connected before continuing.

  2. Sony Vaio PCG-981L Battery Replacement: Schritt 2, Bild 1 von 1
    • Rotate the computer so that it is orientated like in the photo.

  3. Sony Vaio PCG-981L Battery Replacement: Schritt 3, Bild 1 von 1
    • Flip the computer over so that it is facing upside down.

  4. Sony Vaio PCG-981L Battery Replacement: Schritt 4, Bild 1 von 1
    • Slide the battery cover upwards.

  5. Sony Vaio PCG-981L Battery Replacement: Schritt 5, Bild 1 von 3 Sony Vaio PCG-981L Battery Replacement: Schritt 5, Bild 2 von 3 Sony Vaio PCG-981L Battery Replacement: Schritt 5, Bild 3 von 3
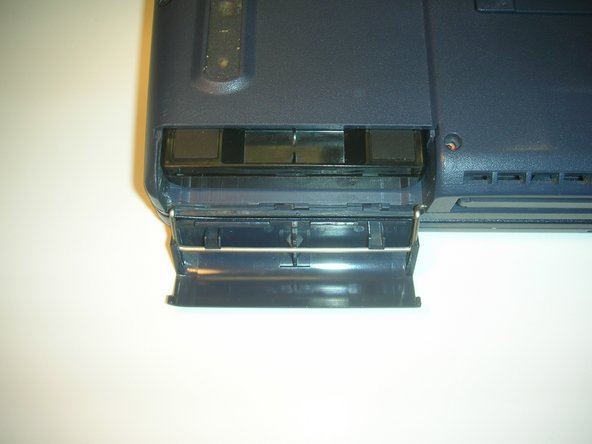
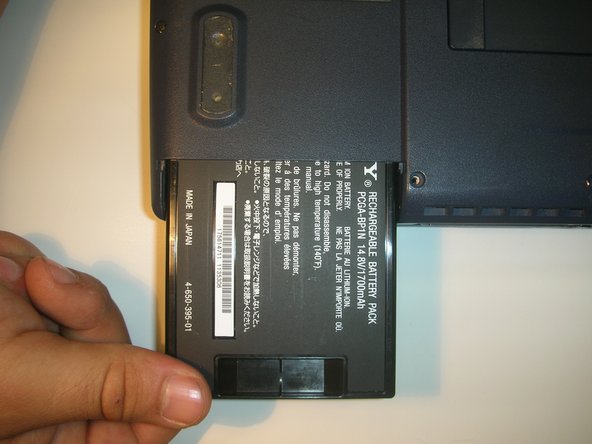
    • Now you should be able to see part of the computer's battery. Carefully pull this out.

  6. Sony Vaio PCG-981L Battery Replacement: Schritt 6, Bild 1 von 2 Sony Vaio PCG-981L Battery Replacement: Schritt 6, Bild 2 von 2
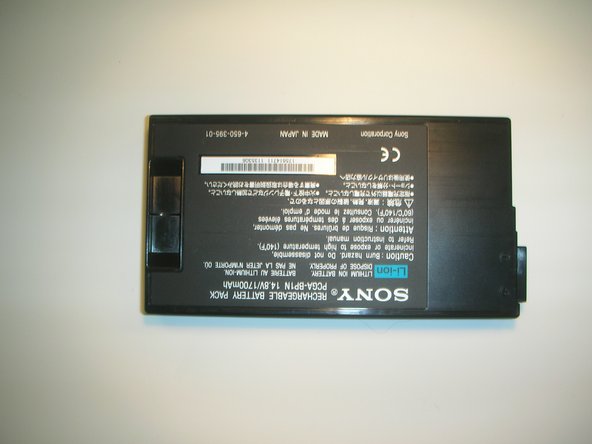
    • Dispose of the old battery carefully and responsibly. To install a new battery, follow these steps in reverse order.

Abschluss

To reassemble your device, follow these instructions in reverse order.

Team

Cal Poly, Team 18-68, Johann Spring 2010 Mitglied von Cal Poly, Team 18-68, Johann Spring 2010

CPSU-JOHANN-S10S18G68

4 Mitglieder

9 Anleitungen geschrieben

0 Kommentare

Kommentar hinzufügen

Seitenaufrufe:

Letzte 24 Stunden: 0

Letzte 7 Tage: 2

Letzte 30 Tage: 5

Insgesamt: 3,802