Einleitung
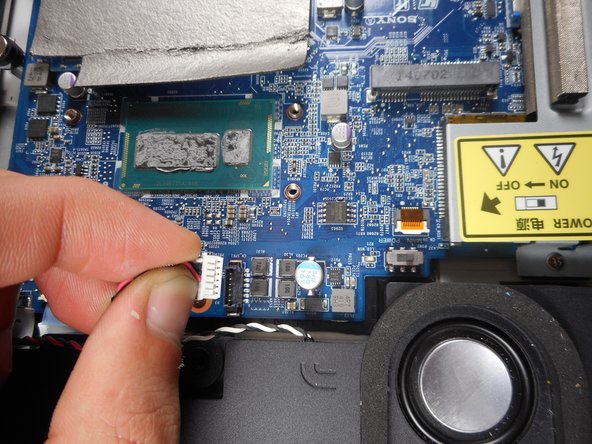
Use this guide to replace the speakers on a Sony Vaio Tap 21 all-in-one desktop. There are two speakers which are located on the upper corners of the device. They are connected to each other with a red and black cable.
Was du brauchst
-
-
Insert the plastic opening tool at an angle into the grill and lift the tab by applying force down and to the left as you are lifting it out of place.
-
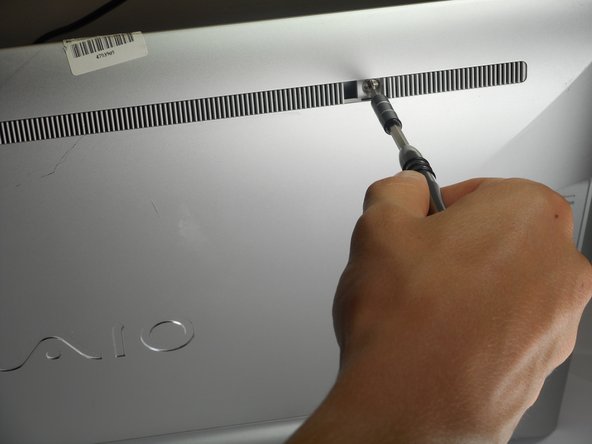
Use your plastic opening tool to remove the right plastic tab blocking the screw mounts behind the device.
-
The plastic tab is located on a plastic stretch of grill running along the upper half of the back of the device.
-
-
-
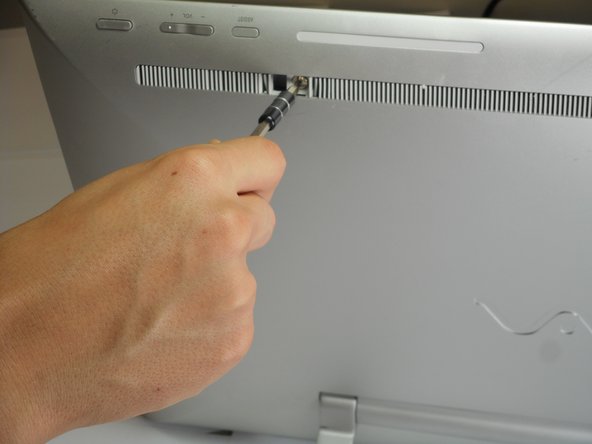
Insert the plastic opening tool at an angle into the grill and lift the tab by applying force down and to the left as you are lifting it out of place.
-
Use your plastic opening tool to remove the right plastic tab blocking the screw mounts behind the device.
-
The plastic tab is located on a plastic stretch of grill running along the upper half of the back of the device.
-
-
-
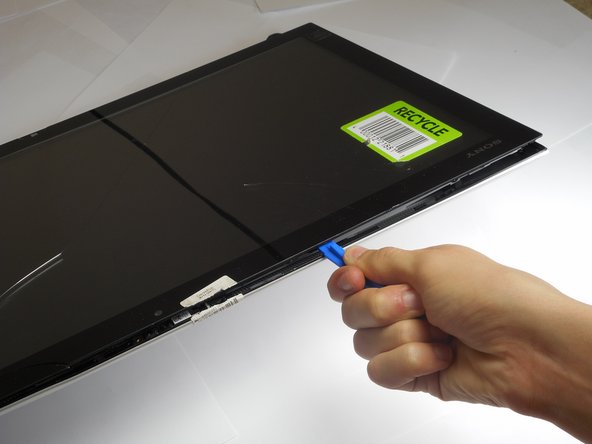
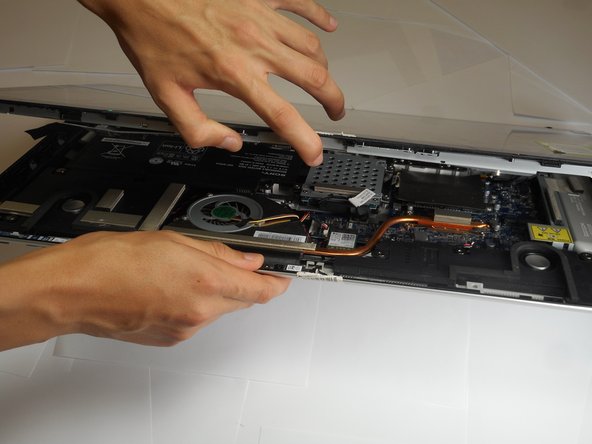
Face the screen of the device upwards.
-
Gently un-clip the screen around the four sides of the body with the plastic opening tool.
-
Use an up-down motion.
-
-
-
-
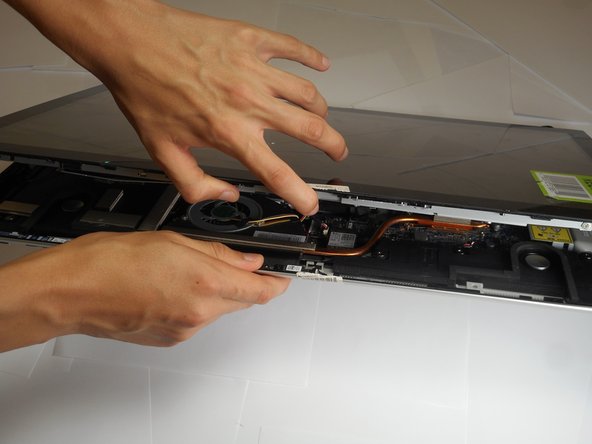
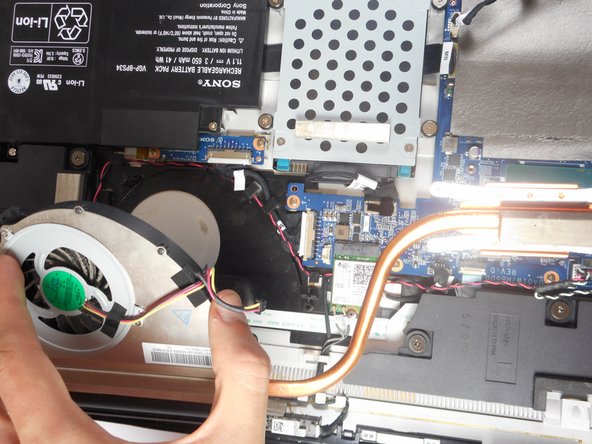
Remove four 9mm screws from the fan attachment located on the motherboard with a Phillips #1 screwdriver.
-
-
-
Remove two 6mm screws located on both sides of the fan component using a Phillips #1 screwdriver.
-
-
-
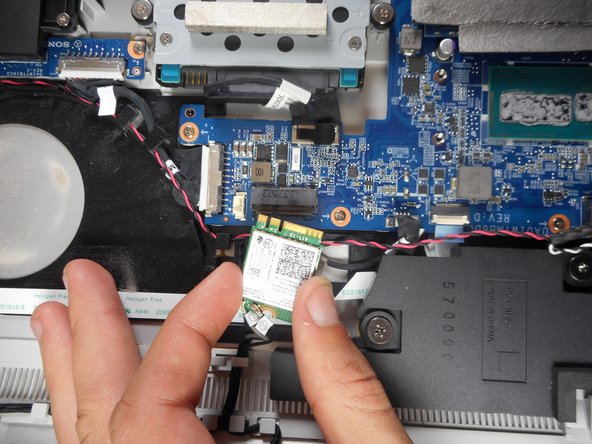
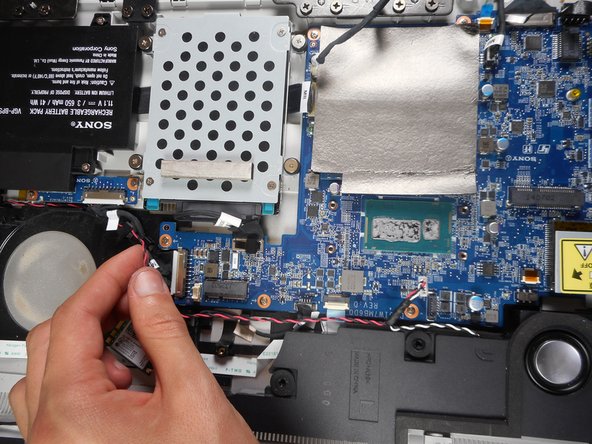
Use a JIS 00 screwdriver to remove a 5mm screw from the wireless receiver.
-
-
-
Gently detach the wireless receiver and place it somewhere it does not obstruct the speaker assembly.
-
-
-
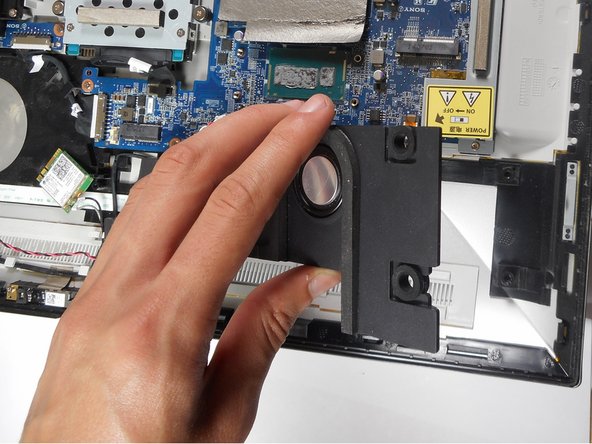
Remove a total of four 8mm screws with the Phillips #2 screwdriver from the speaker located below the motherboard.
-
-
-
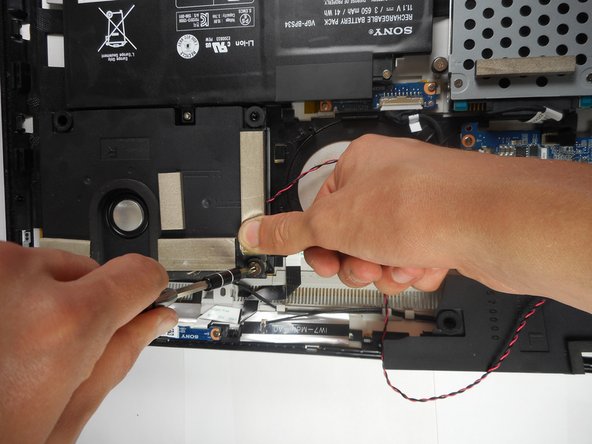
Remove four 8mm screws from the speaker below the battery with a Phillips #2 screwdriver.
-


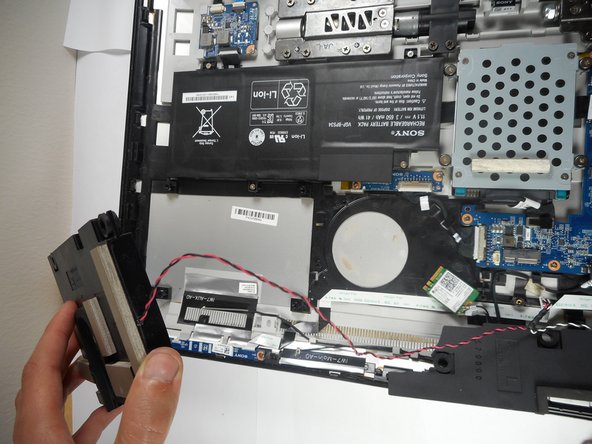
To reassemble your device, follow these instructions in reverse order.
To reassemble your device, follow these instructions in reverse order.

Team

Cal Poly, Team S4-G4, Livingston Fall 2017 Mitglied von Cal Poly, Team S4-G4, Livingston Fall 2017
CPSU-LIVINGSTON-F17S4G4
4 Mitglieder
12 Anleitungen geschrieben