Einleitung
In order to remove the speakers safely, be sure to take out the battery first. The speakers are located under the bottom covering of the laptop.
Was du brauchst
-
-
Slide the two latches towards the center of the laptop in order to release the battery.
-
-
-
Use fingernail or plastic tool to lift the battery. Rotate the battery up and away to remove from the laptop.
-
-
-
-
Using a Phillips #0 screwdriver to remove the two screws (Length: 7.7 mm) of the Hard Drive cover and place the cover to the side.
-
Using a Phillips #0 screwdriver, remove the one screw (Length: 7.7 mm) from the RAM cover and place it to the side.
-
-
-
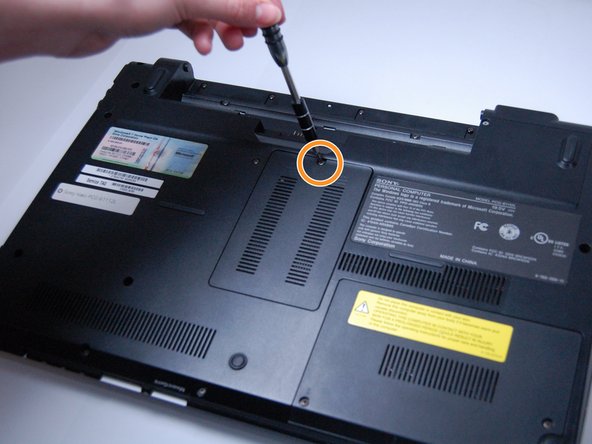
Using a Phillips #0 screwdriver, remove all twelve screws (Length: 7.7 mm) that hold the bottom cover.
-
-
-
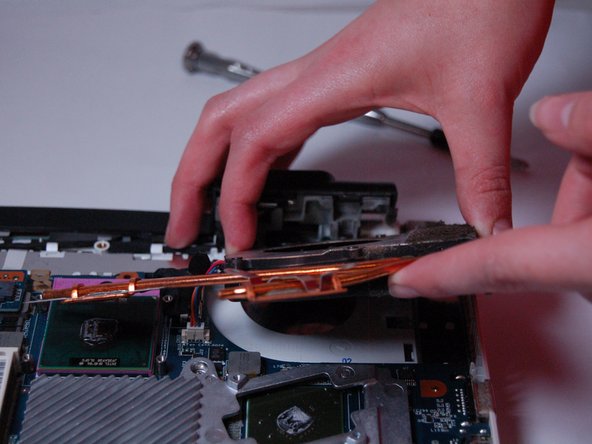
Locate the fan and use a Phillips #0 screwdriver, remove the two screws (Length: 7.7 mm) that hold it in place.
-
Lift the fan and move it out of the way.
-
-
-
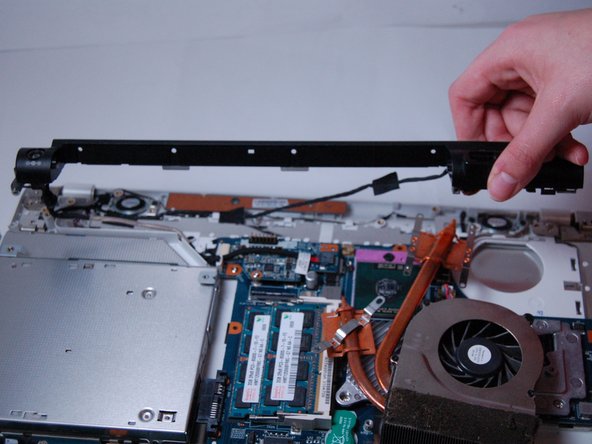
Begin removing the four screws with a Phillips #0 screwdriver (Length: 7.7 mm) from the back cover.
-
Place the cover out of the way.
-
-
-
Using a Phillips #0 screwdriver, remove the two screws (Length: 7.7 mm) that hold the speaker in place.
-
Follow the wire until you find the ribbon cable that holds the wires and pull straight out of the connect to remove it.
-
You are now free to replace the speakers.
-


To reassemble your device, follow these instructions in reverse order.
To reassemble your device, follow these instructions in reverse order.
Team

Texas Tech, Team S8-G5, Bennett Spring 2017 Mitglied von Texas Tech, Team S8-G5, Bennett Spring 2017
TTU-BENNETT-S17S8G5
4 Mitglieder
10 Anleitungen geschrieben